
Last updated October 9, 2026
Full 25-point door and opener safety check with every visit - springs, cables, rollers, tracks, and your LiftMaster or Chamberlain opener included
You get a price before we start. It does not change when the truck arrives.
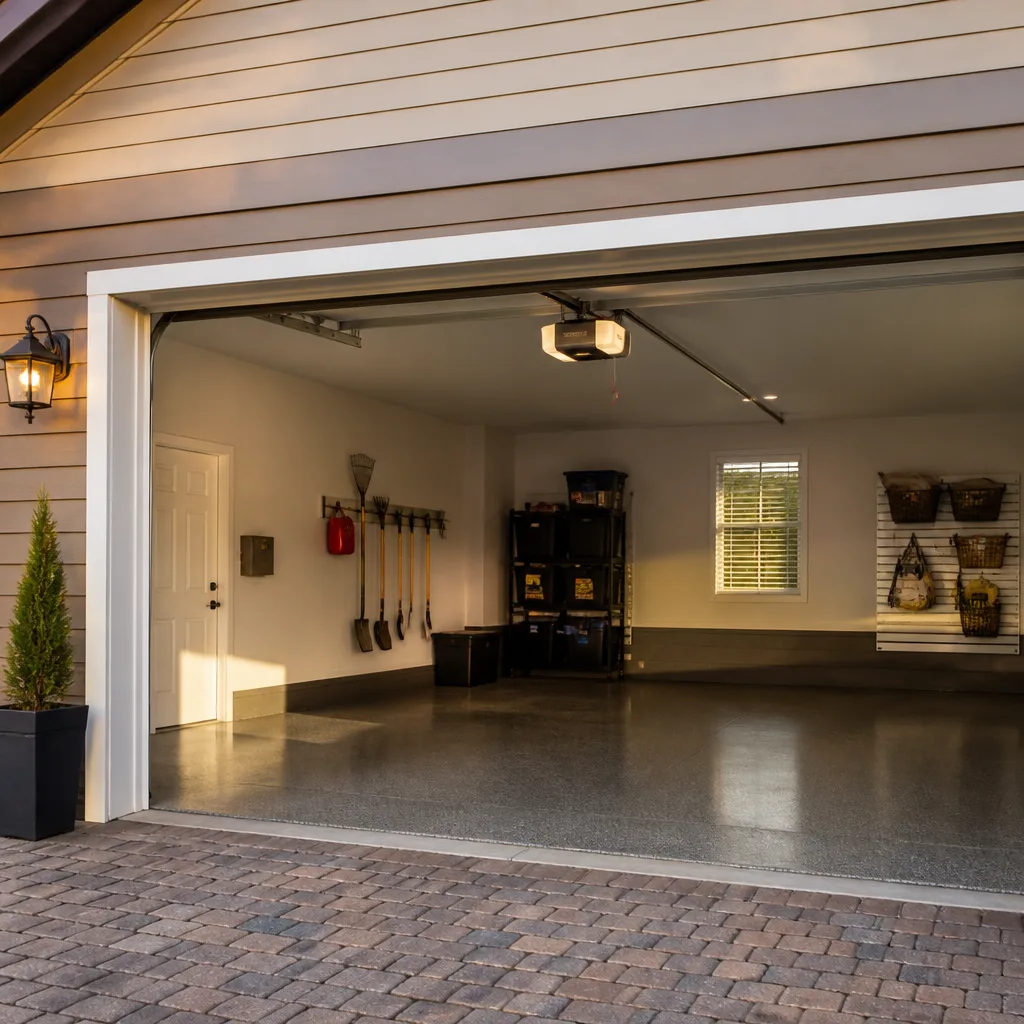
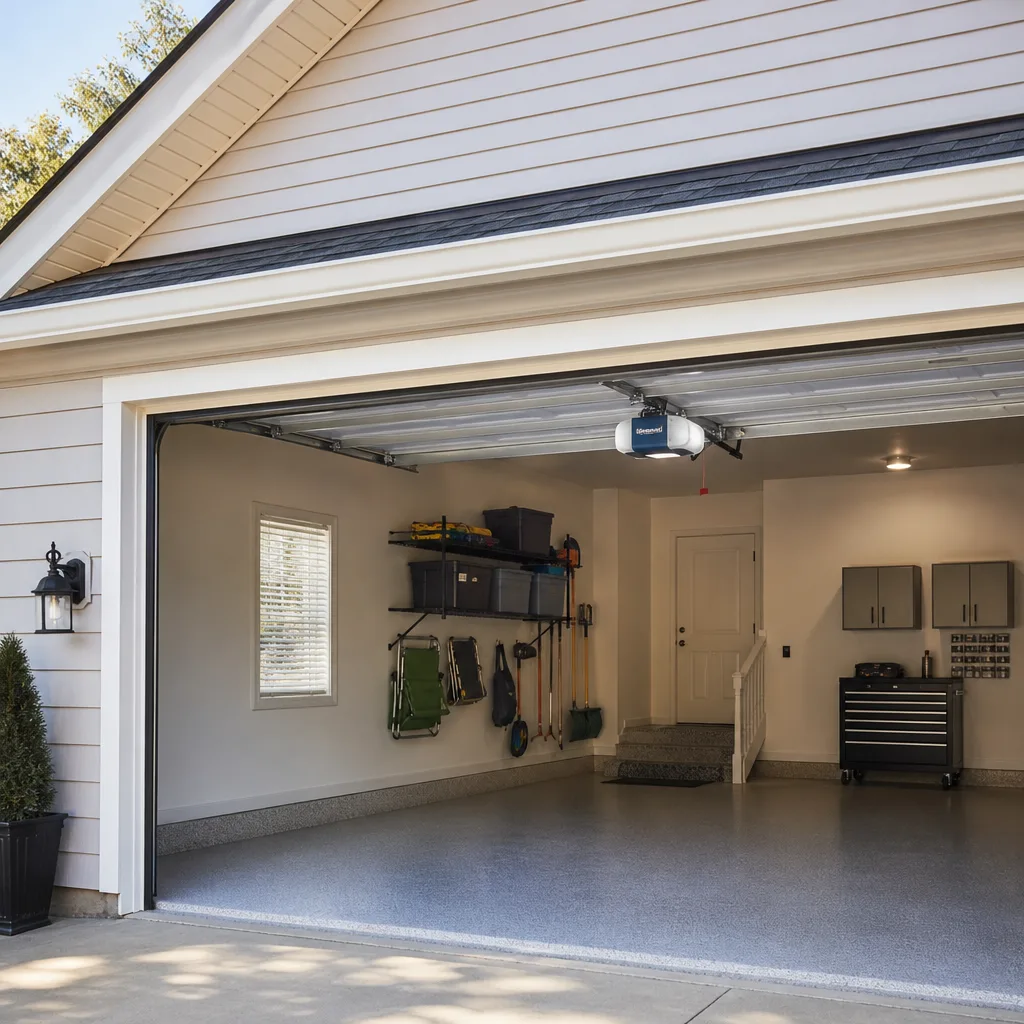
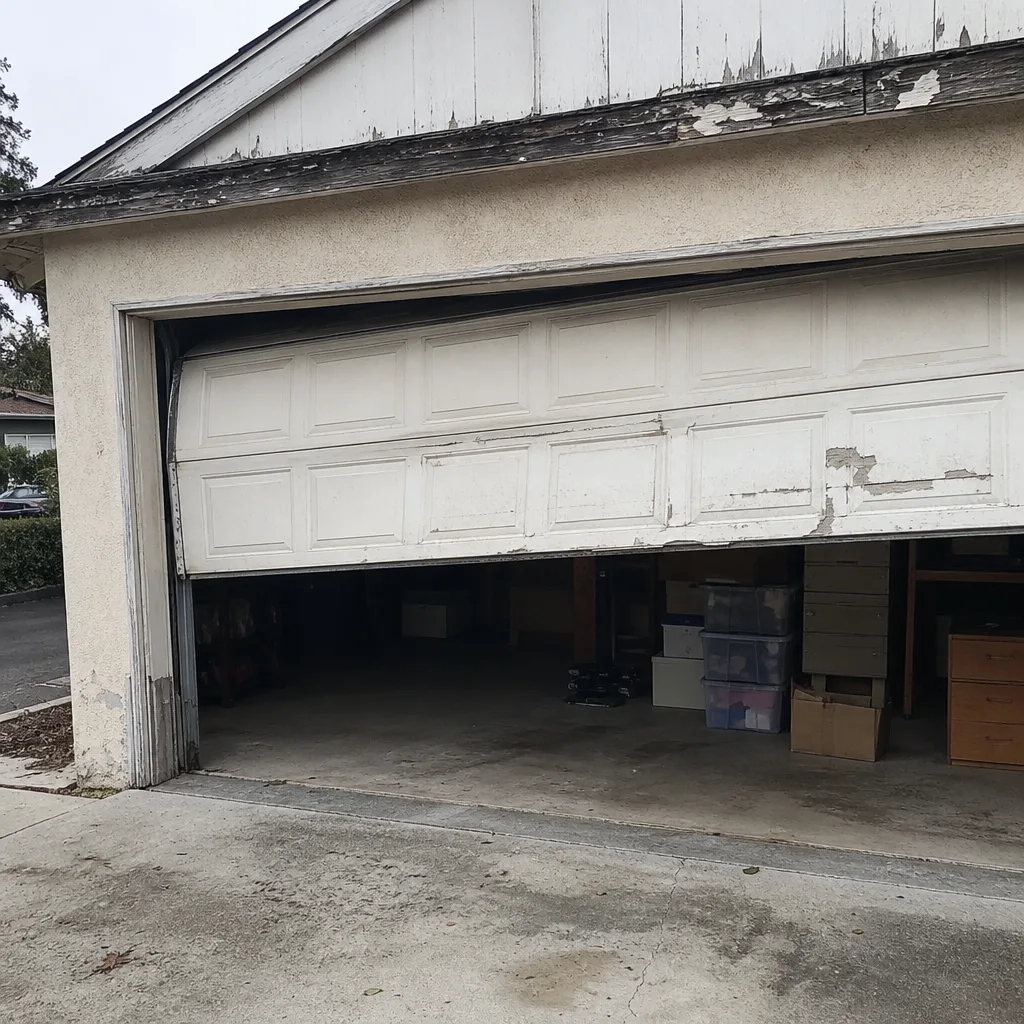 Before
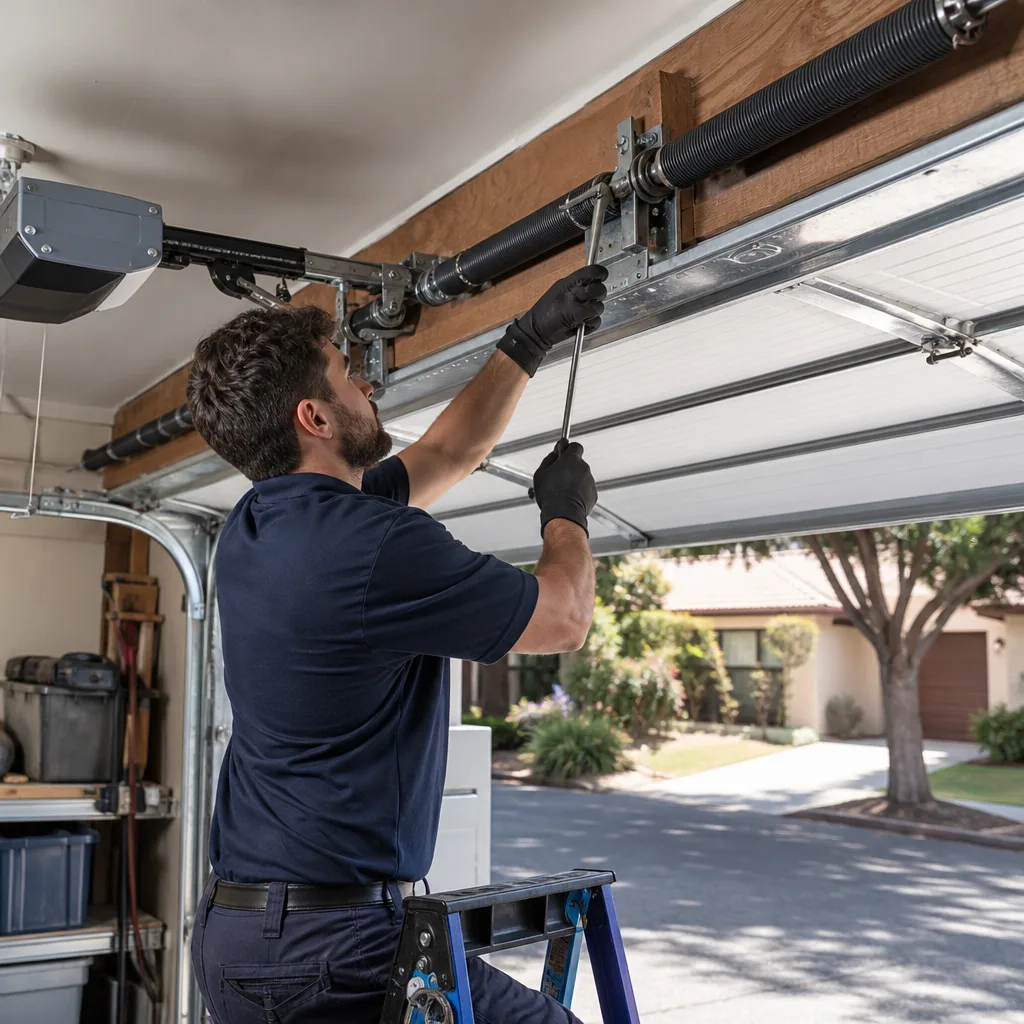 After
After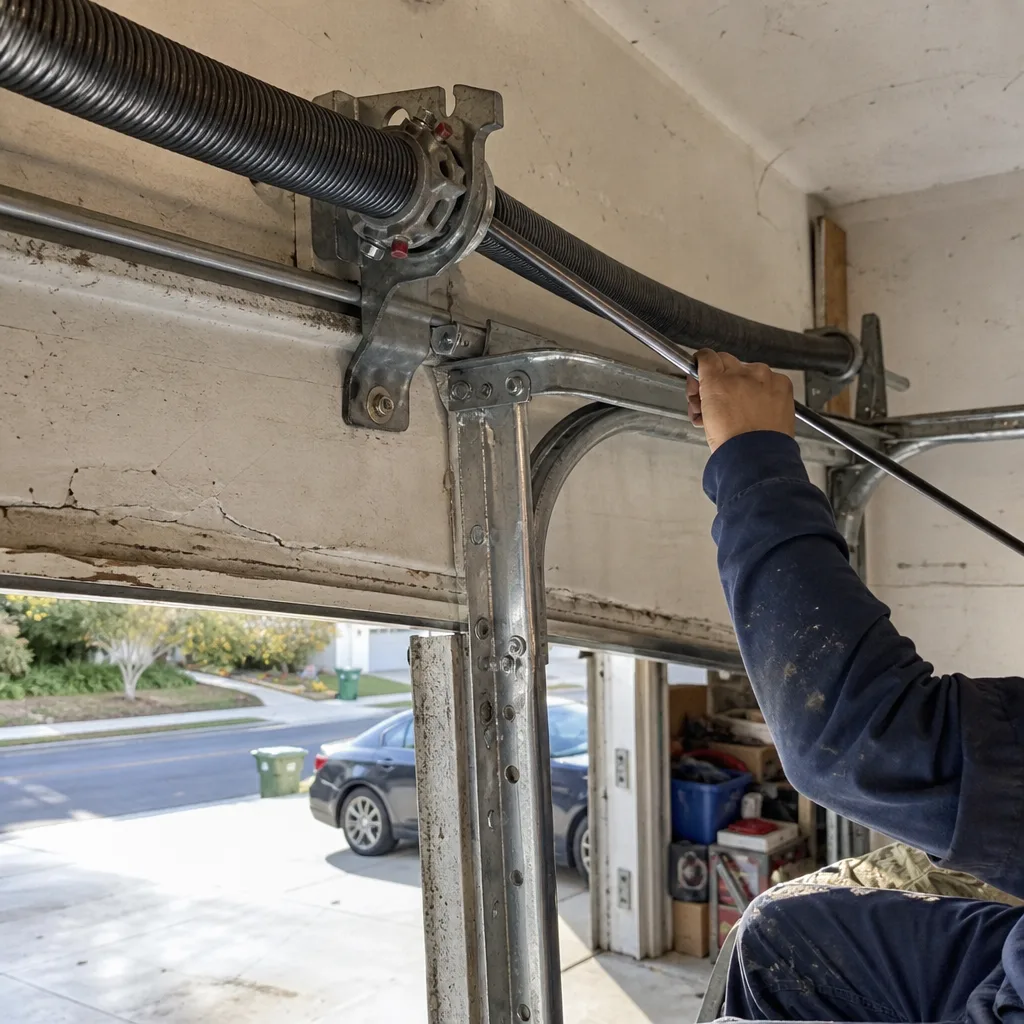 Before
 After
After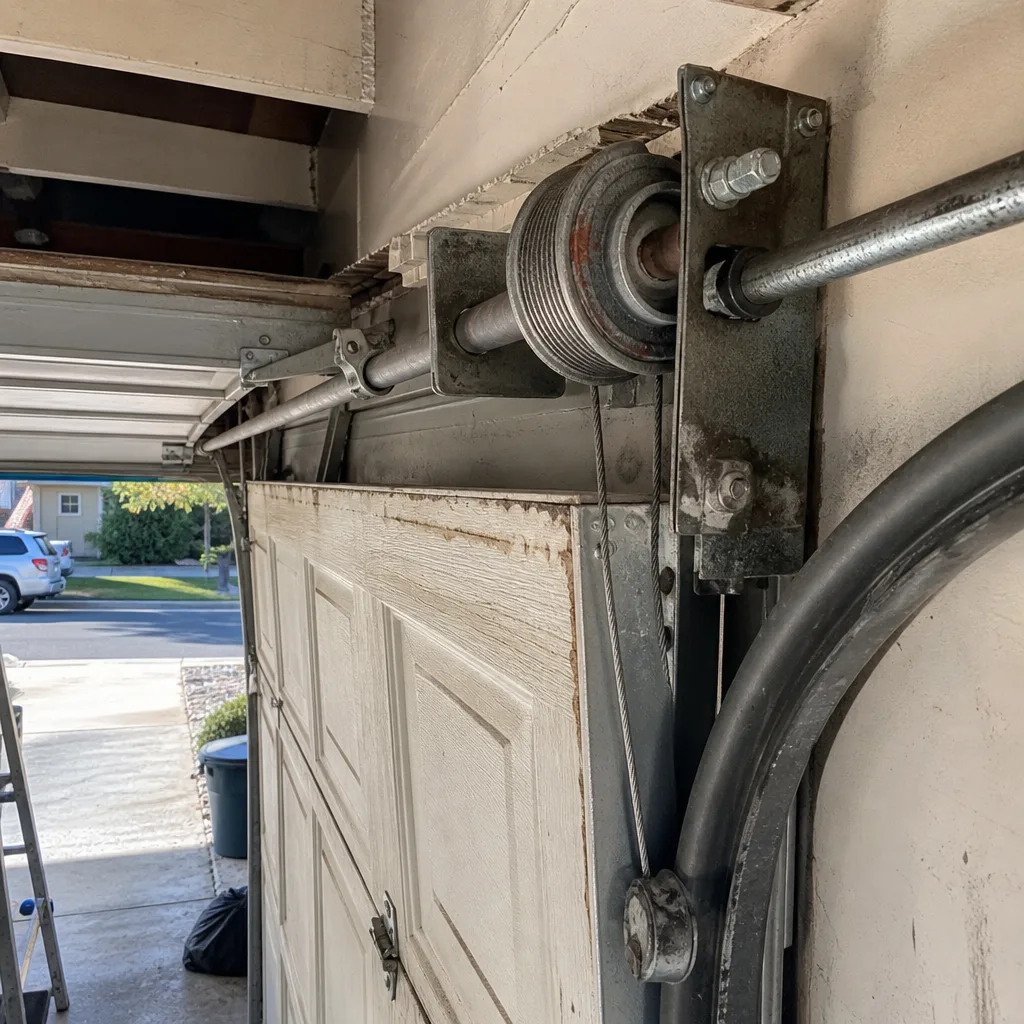 Before
 After
AfterGarage Door Cable Repair Maintenance Schedule: What to Do and When
Cable failures feel sudden. They almost never are. The fraying that drops a door starts six to eighteen months before the snap, and it’s visible to anyone who knows Garage Door Cable Repair Warning Signs Every Homeowner Should Know. In Los Angeles, where garage doors cycle open and closed more often than in most cities, cables wear faster than homeowners expect. A door used four times a day puts roughly 1,460 cycles on its cables every year. The steel strands fatigue, the galvanized coating wears thin, and eventually one wire gives, then another, then the whole cable lets go. What looks like an overnight emergency is usually a slow-motion failure that gave plenty of warning.
This guide covers the four inspections that catch cable wear before it becomes a snapped cable and a door jammed halfway up the track. Each inspection looks for a different failure mode, and each has specific pass/fail criteria so you’re not guessing. You’ll also learn why lubricating cables is not on the maintenance list, how Los Angeles weather shifts your inspection calendar, and what to write down so you can track wear over the life of the door.
Quick Answer
A garage door cable maintenance schedule has four parts: a monthly visual check for fraying and slack, a semi-annual physical inspection of drum seating and bracket bolts, an annual tension test, and a five-year hardware review covering drums, brackets, and cable channels. Most cable failures in Los Angeles give six to eighteen months of visible warning before breaking, and catching that warning early turns a $200 Garage Door Cable Repair services call into a simple adjustment.
Table of Contents
- Why Garage Door Cables Fail in Los Angeles
- Monthly Visual Inspection: What You’re Actually Looking For
- Semi-Annual Physical Inspection: Drums, Brackets, and Bolt Torque
- Annual Tension Check: The Test That Predicts Snap Timing
- Five-Year Hardware Review: When Wear Compounds
- Why Lubricating Cables Is Not on the Schedule
- Los Angeles Seasonal Factors That Shift the Calendar
- The Garage Door Cable Inspection Log: A Simple Template
Why Garage Door Cables Fail in Los Angeles
Before you can maintain something, you need to know how it breaks. Garage door cables are braided steel wire, typically 7×19 construction, meaning seven strands twisted around nineteen wires per strand. That’s 133 individual steel filaments working together to hold roughly 100 to 200 pounds of tension per cable, depending on the door’s weight and spring configuration. The cable doesn’t hold the door’s full weight on its own, it works in opposition with the torsion spring, the thick coiled spring mounted above the door that bears most of the lifting load. When the spring and cable are balanced, the door feels almost weightless. When one fails, the other takes the full load and usually fails shortly after.
In Los Angeles, three factors accelerate cable wear beyond the national average. First, the climate: heat causes steel to expand, and repeated daily cycles of expansion and contraction fatigue the galvanized coating that protects the wire from corrosion. Second, coastal moisture: homes within five to ten miles of the Pacific, from Santa Monica through Long Beach, get salt-tinged air that attacks cable coating faster than inland neighborhoods like Pasadena or Glendale. Third, usage: Los Angeles households use their garages as primary entry points more than in colder cities where garages are seasonal. More cycles means more fatigue, plain and simple.
The failure chain is predictable. A single wire within the cable frays. That fray catches on the drum, the grooved wheel that guides the cable as it spools. The snag causes the cable to ride up out of its groove. The misaligned cable rubs against the drum edge with every cycle. More wires fray. Tension becomes uneven. The door starts to lean or jerk during operation. Finally, the cable snaps, usually near the bottom bracket where it anchors to the door, and the door drops to one side or jams against the track. Each stage of this chain is visible during a specific inspection interval, which is why the schedule below is built around failure modes rather than calendar dates.
Monthly Visual Inspection: What You’re Actually Looking For
The monthly inspection takes five minutes and requires no tools beyond your eyes and maybe a flashlight. Do it with the door closed, so the cables are under full tension and any slack or misalignment is obvious. Stand inside the garage and look at both cables, the vertical steel wires running from the bottom corners of the door up to the drums mounted above the door on the torsion bar.
Here’s what you’re checking, in order:
- Broken strands. Look for any individual wire that has separated from the cable bundle and is sticking out. Pass: zero visible broken strands. Fail: one or more visible broken strands on either cable. A single broken strand means the cable has lost roughly 7% of its strength and will continue to fray. This is the earliest warning sign and the cheapest moment to act.
- Cable slack. With the door closed, each cable should be taut, not bowed or curved. Pass: both cables are straight and firm when you press them gently with a finger. Fail: either cable has visible slack or gives more than a quarter inch when pressed. Slack usually means the cable has stretched, the drum has shifted, or the door is not seating evenly on the floor.
- Track alignment. The cable should run vertically, parallel to the track, without touching it. Pass: cable runs straight from bottom bracket to drum with clearance from the track. Fail: cable rubs against the track, angles inward, or appears to twist. Contact between cable and track means friction, and friction means accelerated wear.
- Rust and discoloration. Pass: cable is uniformly gray or silver. Fail: reddish-brown rust patches, white powdery corrosion, or dark discoloration anywhere along the cable length. In Los Angeles coastal neighborhoods, check this monthly without fail. Salt air corrosion on galvanized cable starts as small white spots and spreads quickly once the zinc coating is breached.
If any item fails, take a photo with your phone and note the date. That photo becomes your baseline for the next inspection and gives a technician, or you, a record of how fast the wear is progressing. A cable with one broken strand that hasn’t changed in three months is a different situation than a cable that goes from one broken strand to four in the same period. The photo tells you which one you’re dealing with.
Most homeowners skip the monthly check. That’s a mistake, because the transition from “fraying” to “snapped” can happen in as little as thirty days once a critical number of strands break. The monthly check isn’t about preventing all cable failures, it’s about catching them early enough that a garage door cable repair in Los Angeles is a scheduled, same-day fix rather than a 2 a.m. emergency.
Semi-Annual Physical Inspection: Drums, Brackets, and Bolt Torque
Every six months, set aside fifteen minutes for a physical inspection that goes beyond what your eyes can see from a distance. This inspection catches the failures that start at the hardware, not the cable itself, but that eventually destroy the cable through misalignment or stress concentration.
What to check, step by step:
- Drum seating. The cable should spool evenly into the drum’s groove, wrapping in tight, even coils. Pass: cable rides fully inside the groove, coils are even and touching. Fail: cable overlaps itself, rides up onto the drum rim, or leaves visible gaps between coils. Overlap is a serious problem, it means cable is binding on itself, and every cycle scrapes the cable surface.
- Bottom bracket condition. The cable anchors to the door’s bottom corner through a steel bracket held by two bolts. Pass: bracket sits flat against the door, bolts are tight, no visible movement when the door operates. Fail: bracket is loose, bent, or shows a gap between the bracket face and the door. A loose lower bracket changes the cable angle and doubles the stress at the anchor point, which is exactly where most cables snap.
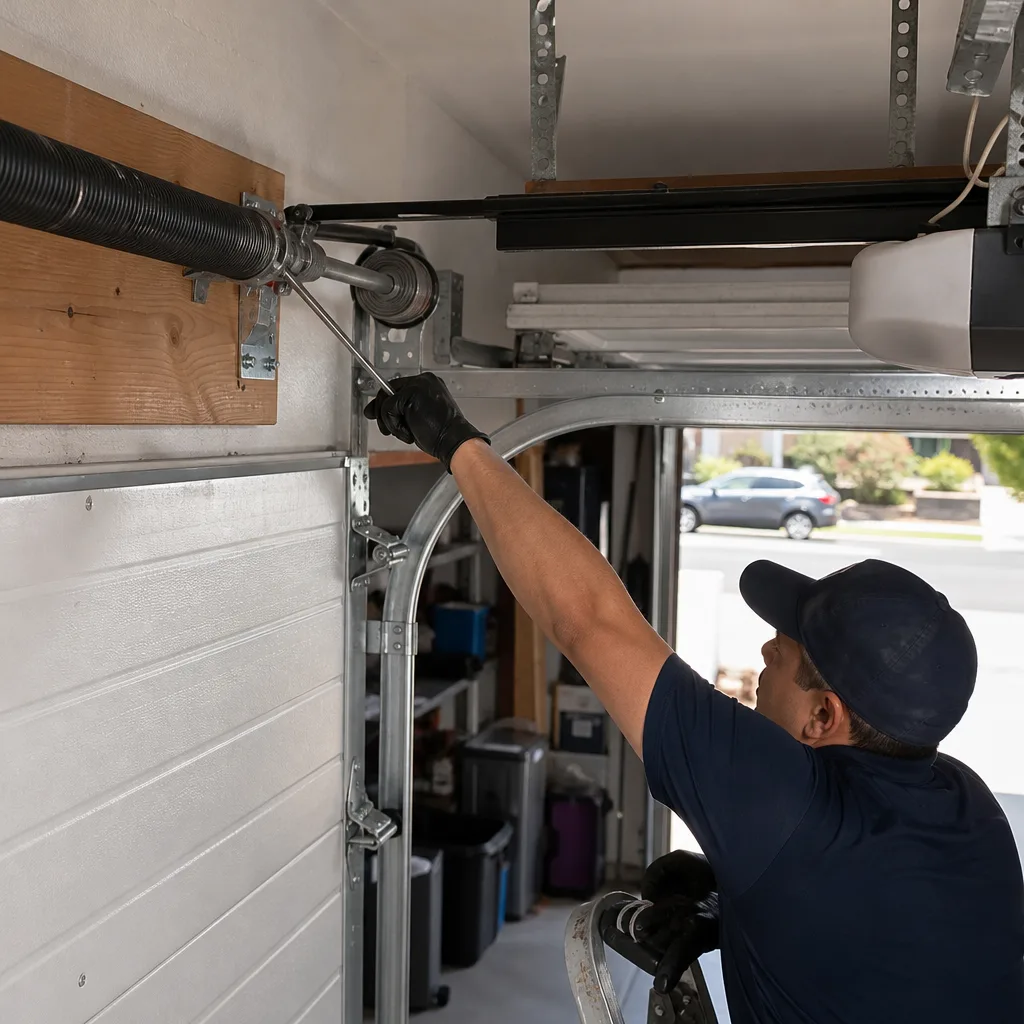
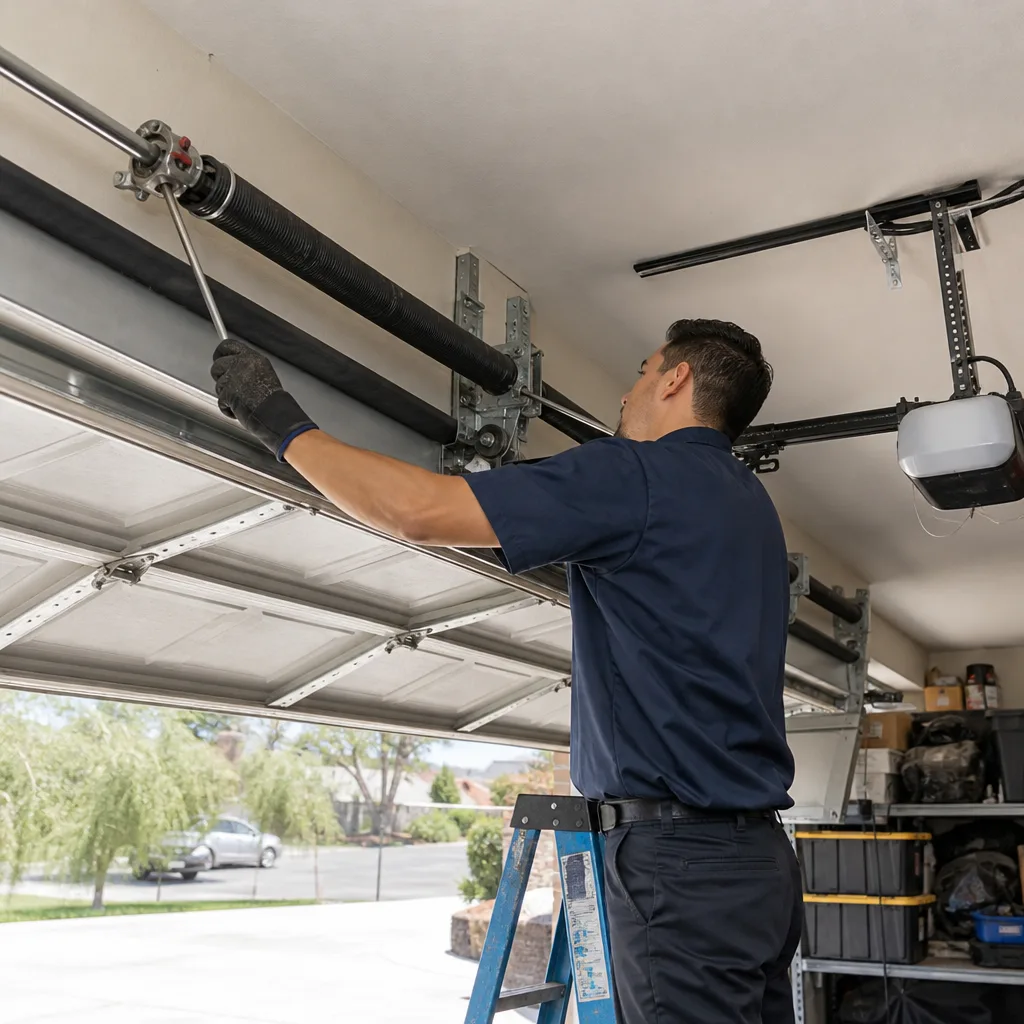
- Drum set screws. Each drum has one or two set screws, small Allen-head or hex screws that lock the drum to the torsion bar. Pass: screws are tight and show no rust. Fail: screws are loose, rusted, or show signs of having slipped, like scoring on the bar. A slipping drum changes cable length on one side and throws the door out of balance. Given that garage door components under spring tension can cause serious injury if worked on without proper training and tools, leave any drum or spring adjustment to a professional.
- Pulley condition. Doors with extension springs, common on older Los Angeles homes, use pulleys at the top of the track that the cable runs over. Pass: pulley spins freely, cable rides in the center of the pulley wheel. Fail: pulley wobbles, squeals, or the cable sits off-center. A seized pulley saws through a cable in weeks.
The semi-annual check is also when you should operate the door and listen. Cables don’t make noise when they’re healthy. If you hear squeaking, grinding, or a rhythmic scraping sound tied to door movement, that’s the sound of metal contacting metal where it shouldn’t. In our experience in Los Angeles, a scraping sound at the drum almost always traces back to either a misaligned drum or a cable that’s begun to fray and is dragging on the drum edge. Either way, it’s a repair that gets cheaper the earlier you address it.
Annual Tension Check: The Test That Predicts Snap Timing
Once a year, perform a tension check. This test tells you whether the cables are sharing load evenly with the torsion spring, and it’s the single most predictive test for when a cable is likely to fail. The test uses the door’s own balance behavior as a proxy for cable health.
Here’s how it works. First, with the door closed, pull the manual release cord, the red handle hanging from the opener rail, to disconnect the door from the opener. Then lift the door manually to halfway up the track and let go. Pass: the door stays in place, or drifts no more than a few inches before stopping. Fail: the door drops or rises on its own more than a foot.
A door that drops means the springs are no longer holding the correct tension, which forces the cables to carry more than their designed load. That’s like asking a rope rated for 150 pounds to hold 220 pounds every time the door opens. It won’t fail immediately, but it fails predictably, usually within a few months. A door that rises means the springs are overwound, which reduces cable load but causes the door to slam when closing and jar the cable anchors.
The second part of the annual check is visual symmetry. Stand back ten feet from the closed door and sight along the top edge. Pass: the top edge is level, and the gap between door and frame is even on both sides. Fail: the door tilts one way, or one side sits higher than the other. An unlevel door means one cable is longer than the other, either from stretch or drum slip, and the cable on the low side is bearing extra load that will eventually snap it.
If the door fails the annual tension check, don’t adjust the springs yourself. Torsion springs hold enough energy to cause serious injury. Call a professional who can rebalance the door and check the cables at the same time. A service call for adjustment typically costs far less than a post-snap cable repair, and most Los Angeles garage door companies, including ours, can schedule it in advance rather than as an emergency.
Five-Year Hardware Review: When Wear Compounds
Every five years, or when the door reaches a major mileage threshold like 5,000 cycles, do a full hardware review. This isn’t a maintenance task per se. It’s a replacement evaluation. Cables, drums, and brackets don’t last the life of the door, and around the five-year mark in a high-use Los Angeles household, several components reach their wear limit at roughly the same time.
Here’s what the five-year review covers:
- Cable replacement threshold. If either cable shows any visible broken strands, rust penetration, or has been in service more than seven years, replace both cables at the same time. Replacing one cable while leaving a same-age neighbor on the other side is a false economy. The old cable snaps within months, and you pay for a second service call. Most cable repair prices in Los Angeles run $150 to $275, depending on cable type and drum condition, and doing both at once costs less than two separate emergency calls.
- Drum wear measurement. Drums are machined with grooves matched to the cable diameter. After thousands of cycles, the grooves deepen and widen. Pass: grooves are smooth, no sharp edges, no visible metal shavings below the drum. Fail: you can feel a lip or burr at the groove edge, or the cable no longer sits flush in the groove. Worn drums destroy new cables in a matter of months, so on a five-year old door with visible drum wear, replace drums and cables together.
- Bracket fastener check. Remove any rust from the bottom bracket bolts and check for elongation of the bolt holes. Pass: bolt holes are round and bolts seat tight. Fail: bolt holes are oval, meaning the bracket has been shifting under load. Elongated holes mean the bracket needs replacement, not just new bolts.
- Track and roller condition. Worn rollers allow the door to shift laterally during travel, which pulls the cable out of its natural path. Pass: rollers roll, don’t slide, and the door travels without side-to-side movement. Fail: flat spots on rollers, metal-on-metal scraping, or visible door wobble during operation.
The five-year review is where the maintenance schedule pays for itself, as explained in more guides & resources. A homeowner who does the monthly and semi-annual inspections catches problems early and stretches component life. One who skips the inspections usually finds out at the five-year mark that everything needs replacement at once. That’s not a design flaw, it’s deferred maintenance catching up.
Why Lubricating Cables Is Not on the Schedule
There’s a persistent piece of advice floating around homeowner forums that says you should lubricate your garage door cables as part of maintenance. It’s wrong, and following it can shorten your cable’s life. Here’s why.
Garage door cables on modern doors are galvanized, meaning the steel wire is coated with a layer of zinc that prevents rust. That zinc coating is your cable’s primary defense against corrosion, and it’s designed to work dry. When you apply a spray lubricant to a galvanized cable, two things happen. First, the lubricant attracts and holds dust and grit, which acts as an abrasive paste inside the cable strands, grinding away the zinc coating and then the steel itself. Second, many common spray lubricants, especially WD-40 and similar penetrating oils, contain solvents that can degrade the zinc layer directly. The result is a cable that looks protected but is actually wearing faster than if you’d done nothing.
The only lubricant that belongs anywhere near your door’s moving parts is a lithium-based garage door grease on the hinges, rollers, and spring, not the cables. Cables should stay dry. If a cable is squeaking, the sound isn’t coming from the cable itself, it’s coming from the drum, pulley, or bracket where the cable contacts another surface. That’s a sign of misalignment or wear, not insufficient lubrication, and adding oil covers up the symptom while the underlying problem worsens.
If a previous owner or a well-meaning handyman has already lubricated your cables and you’re seeing black, gritty buildup, that’s exactly the abrasive paste described above. The fix is cable replacement, not cleaning. The damage is already in the strands.
Los Angeles Seasonal Factors That Shift the Calendar
The inspection schedule above assumes average conditions, but Los Angeles isn’t one climate. The city spans coastal marine zones, inland valley heat, and foothill temperature swings, and each affects cable wear differently. Here’s how to adjust your calendar for where you live and how you use your door.
Summer heat and thermal expansion. In San Fernando Valley neighborhoods like Van Nuys, Northridge, and Woodland Hills, garage temperatures regularly exceed 110 degrees in July and August. Steel expands when hot, and a 40-degree temperature swing between midday and midnight means the cables and springs are changing length microscopically every single day. Over a summer, that’s 120 expansion-contraction cycles that fatigue galvanized coating. If your garage gets direct afternoon sun, the semi-annual inspection should become quarterly during summer months, and the monthly visual check should happen every two weeks from June through September.
Winter rain and moisture. Los Angeles gets most of its annual rainfall between December and March, and winter mornings bring humidity to coastal and canyon areas. Moisture accelerates corrosion, especially on cables that already have small coating breaches from heat fatigue. If you live within five miles of the coast, from Santa Monica down through Torrance, or in fog-belt canyons like Topanga and Laurel Canyon, add a rust check to your monthly inspection during winter. Pay attention to the bottom six inches of each cable, where condensation collects on cold mornings.
Usage frequency. A family using the garage as the primary entry and exit point, with two cars and kids coming and going, cycles the door six to eight times daily. That’s 2,200 to 2,900 cycles per year, roughly twice the national average. High-use doors age in dog years. If your household fits this profile, treat every inspection as if six months more wear has occurred since the last one, and expect cable replacement around the five-year mark even with diligent maintenance. In lower-use households, typically older homeowners with one car or no daily driving, cables can last seven to ten years with proper inspection.
The Garage Door Cable Inspection Log: A Simple Template
Inspections only work if you can compare findings over time. A single frayed strand that appears and doesn’t change for a year is low urgency. A frayed strand that becomes four frayed strands in two months is a cable telling you it’s about to go. Without written records, you can’t tell those situations apart.
Print or copy this log, fill in the door installation date or approximate age at the top, and keep it taped inside the garage near the door opener. Each inspection takes one line and five minutes.
- Date: Month, day, year of inspection.
- Door age: Years since installation or approximate age at inspection.
- Broken strands: Count visible broken strands on left cable and right cable. Write “0/0” if none.
- Slack: “Pass” if both cables taut, “Fail” if either has visible slack.
- Drum seating: “Pass” if both cables spool evenly, “Fail” if overlap, riding, or gaps seen.
- Rust scale: Rate each cable 1 to 5: 1 = clean galvanized, 2 = light discoloration, 3 = visible rust spots, 4 = rust patches covering less than half, 5 = rust over more than half the cable.
- Balance test: “Pass” if the door stays in place at halfway, “Fail” if it moves more than a foot.
- Notes: Anything unusual: new sounds, door tilt, a specific event like a kid’s bike hitting the bottom bracket.
A completed log does more than track maintenance. It gives any technician who works on your door a precise history. When we arrive at a Los Angeles home and the owner hands us two years of inspection data, we know exactly what’s been watched, what’s been changing, and what needs attention now. That’s the difference between replacing components on schedule and replacing them in an emergency. And it’s the difference between a $200 cable repair and a $500 emergency call with a door jammed against the track and a car trapped inside.
If you’d prefer not to do the inspections yourself, a garage door repair in Los Angeles professional can perform a full cable inspection as part of a standard tune-up visit. But doing the monthly check yourself, even if you leave the semi-annual and annual work to a technician, still gives you early warning on the most common failure mode: gradual fraying that turns into a snapped cable.
Common Mistakes to Avoid
- Waiting until you hear something. By the time a cable makes noise, it’s already wearing against a drum edge or pulley. The whole point of a visual inspection is catching wear before it becomes audible. If you can hear it, you’re late.
- Lubricating the cables. As covered above, oil on galvanized cable is worse than no oil. It creates an abrasive paste and can degrade the zinc coating. Keep cables dry, period.
- Replacing only one cable. Cables wear at the same rate when installed at the same time. Replacing just the snapped one leaves you with a same-age cable on the other side that’s statistically likely to fail within months. Always replace in pairs.
- Ignoring a door that’s slightly off-level. A door that tilts even half an inch is a door with unequal cable length or tension. That imbalance multiplies stress on one cable every cycle. The longer it runs tilted, the faster the failure arrives.
- Adjusting springs as a DIY fix. Torsion springs are under enormous tension and cause serious injury when mishandled. If the balance test fails, the problem is the spring, not something a homeowner should correct with a wrench.
- Treating all Los Angeles garages the same. A Santa Monica garage with salt air and a Pacific Palisades garage with canyon fog need different rust-check frequency than a Pasadena garage in dry foothill air. Adjust the schedule to your microclimate rather than following a one-size-fits-all template.
- Skipping the photo. Memory is unreliable. A cell phone photo of a frayed spot, taken at the same angle each month, gives you an objective record of progression. Without it, you’re guessing whether that fray got worse.
When to Call a Professional
Some findings on the inspection schedule are actionable by a homeowner, like noting a fray and starting a monthly watch. Others call for professional help immediately. If you see two or more broken strands on either cable, call a professional. If the cable has jumped out of the drum groove or is overlapped on itself, don’t operate the door, and call a professional. If the door fails the balance test by dropping more than a foot, the springs need attention, which requires a trained technician with the right tools. If a cable has snapped and the door is stuck, do not try to force it open. The remaining cable and spring are under unpredictable load, and forcing the door can cause further damage or injury. Garage door opener repair in Los Angeles and cable work often go together, since a cable snap frequently damages the opener when the door binds mid-cycle.
Brock Garage Door Repair offers free estimates in Los Angeles. Call (254) 602-5116 and a live person answers, 24 hours a day, every day. Before any work begins, you get a written price. And every cable repair carries the 365-Day Done Right Promise in writing: if the repair fails within a full year, we return at no charge.
Frequently Asked Questions
Inspect cables monthly with a visual check, semi-annually with a physical inspection of drums and brackets, and annually with a tension test. Los Angeles homeowners with high-use doors or coastal exposure should increase visual checks to every two weeks during summer heat and every two weeks during winter rain months.
Most cable repairs in Los Angeles run $150 to $275, depending on cable type, drum condition, and whether both cables are replaced. Replacing both cables at once typically costs less than two separate service calls. Call (254) 602-5116 for an exact quote, the estimate is free and the price is in writing before work starts.
Look for broken individual strands, visible slack in the cable with the door closed, rust patches, or a cable riding up out of the drum groove. Any one of these is a warning sign. Two or more together, or any sign that’s getting worse month over month, means the cable is nearing failure.
No. Garage door cables are galvanized and designed to run dry. Lubricant attracts grit that grinds away the protective coating, and many penetrating oils degrade zinc directly. Lubricate hinges, rollers, and springs with lithium grease, never the cables themselves.
Cable replacement involves working under spring tension, which can cause serious injury. Cables attach to a torsion system that stores enough energy to break bones or worse if mishandled. This is a task for a trained professional with the proper tools and experience.
Yes. Our technicians work throughout Los Angeles, from the Valley to the coast, on all eight major brands including Chamberlain, Genie, and Clopay. Every job gets a written price before work begins and a written 365-day guarantee. Call (254) 602-5116 and a live person answers, day or night.
The Bottom Line
Cable maintenance is not a monthly ritual. It’s four specific inspections at defined intervals, each aimed at a different failure mode: monthly visual checks for fraying, semi-annual physical checks for hardware alignment, annual tension tests for load balance, and five-year reviews for component replacement. Do these checks, write down what you find, and you’ll catch cable wear six to eighteen months before it becomes a snapped cable. Skip them, and you’re gambling that a machine under constant spring tension will give you a warning it was never designed to give audibly. For Los Angeles homeowners who’d rather have a professional handle it, Brock Garage Door Repair home inspections are available with free estimates and written pricing. Call (254) 602-5116.
Written by Wade Mercer, Owner at Brock Garage Door Repair, serving Los Angeles since 2001.