
Last updated October 9, 2026
Full 25-point door and opener safety check with every visit - springs, cables, rollers, tracks, and your LiftMaster or Chamberlain opener included
You get a price before we start. It does not change when the truck arrives.
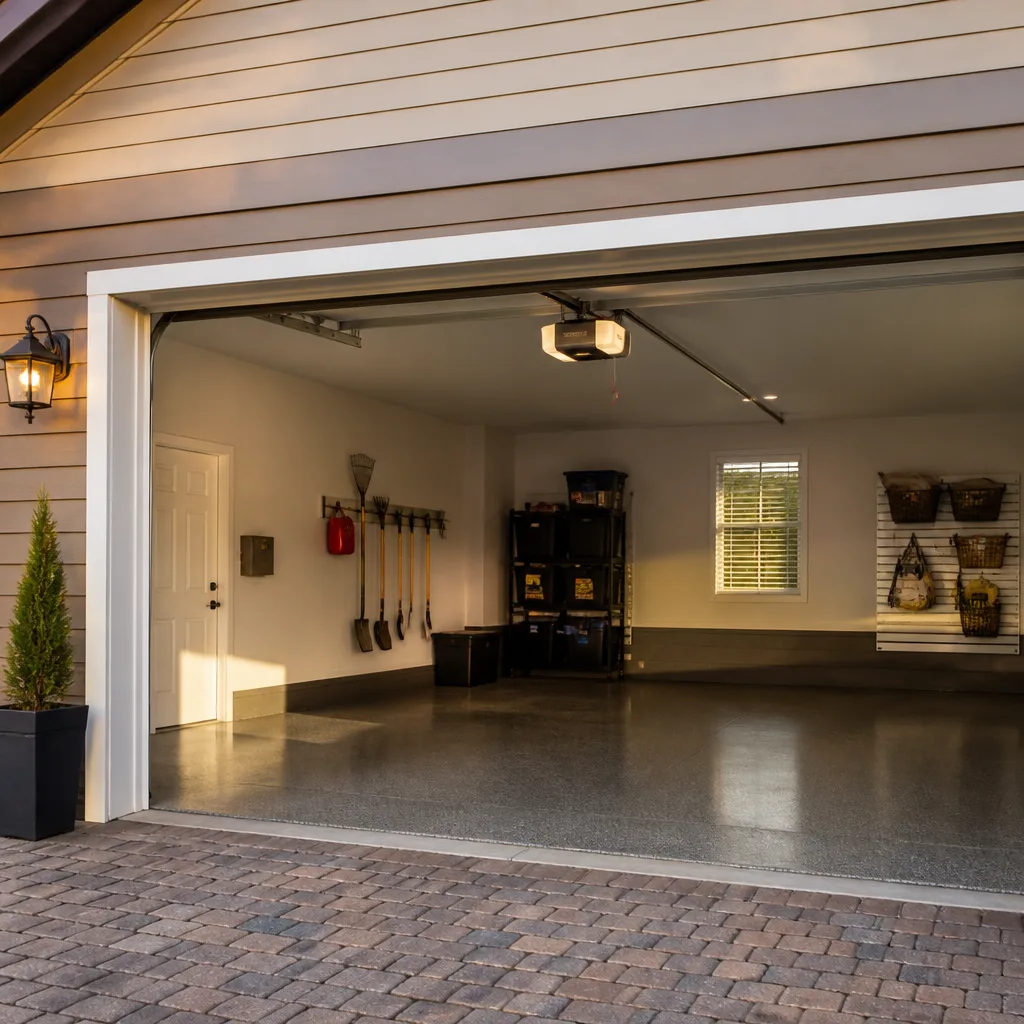
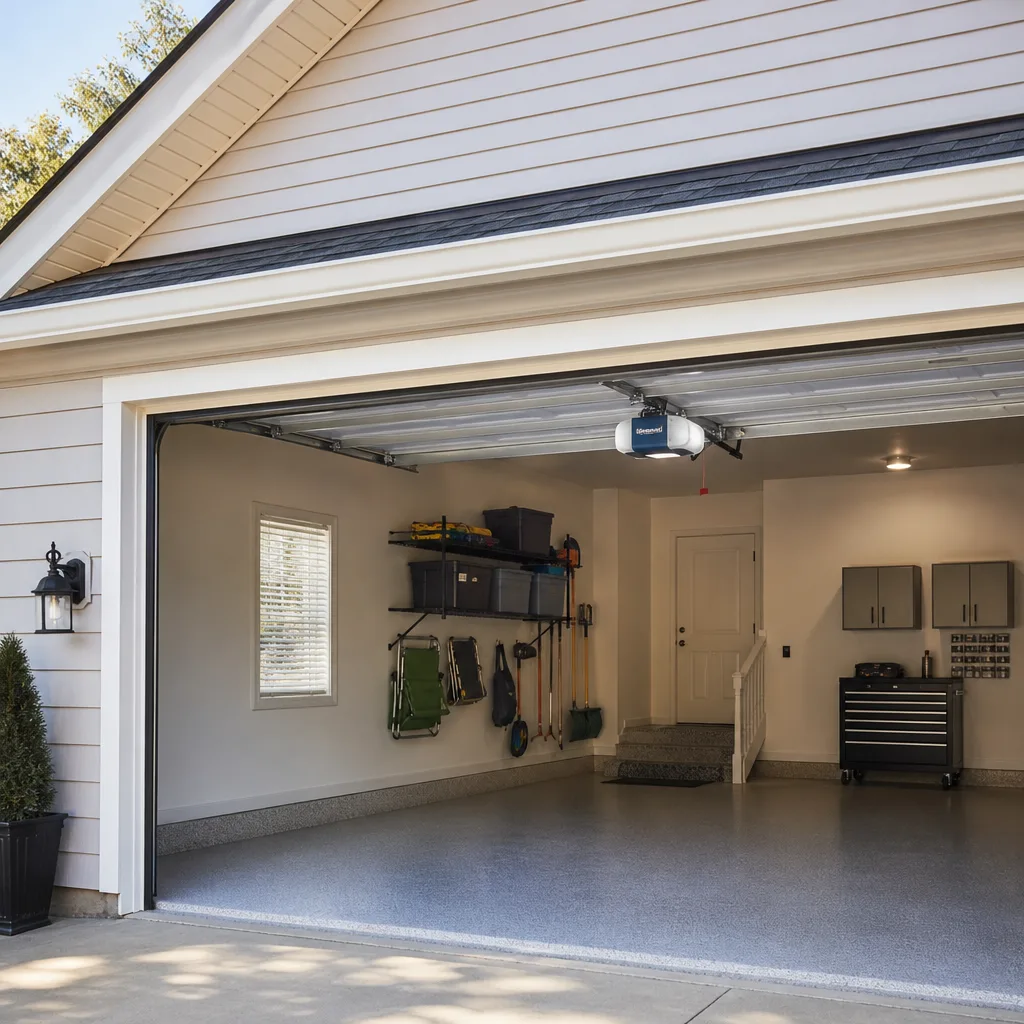
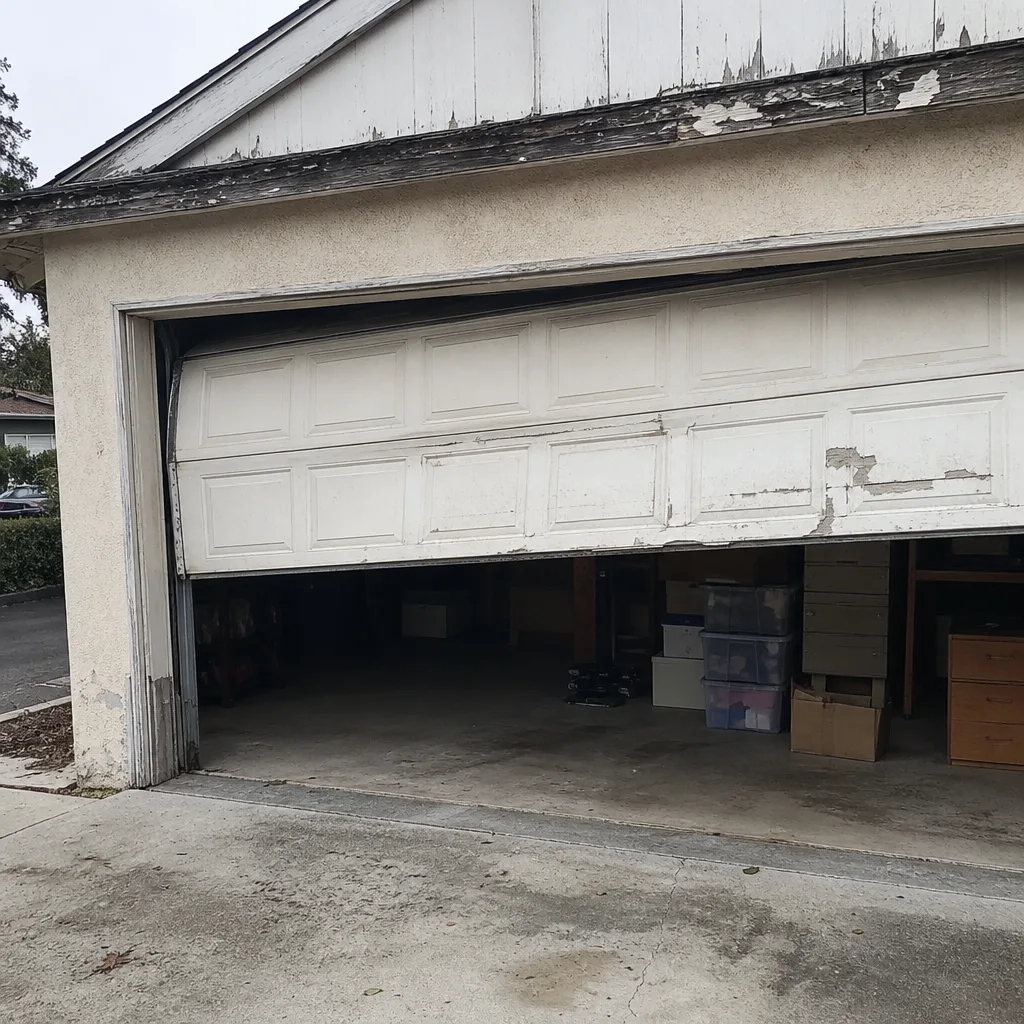 Before
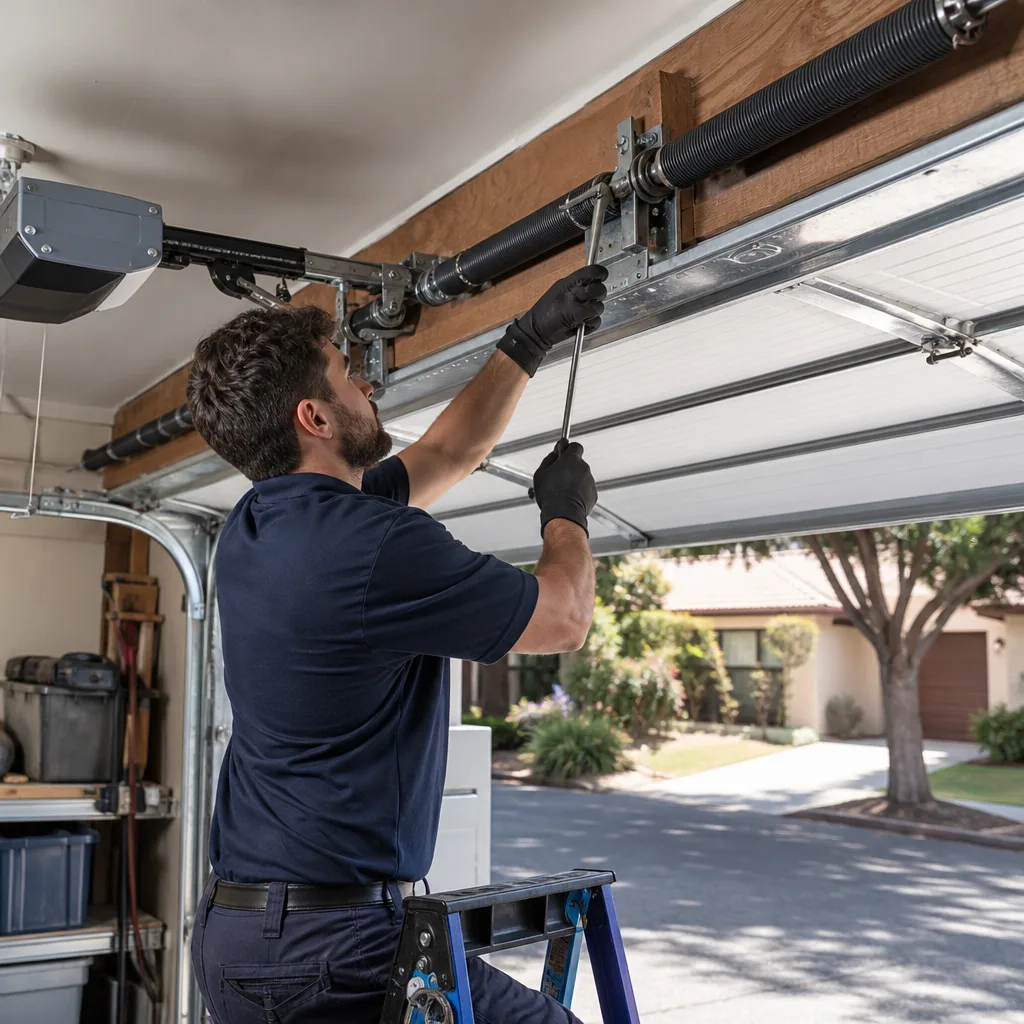 After
After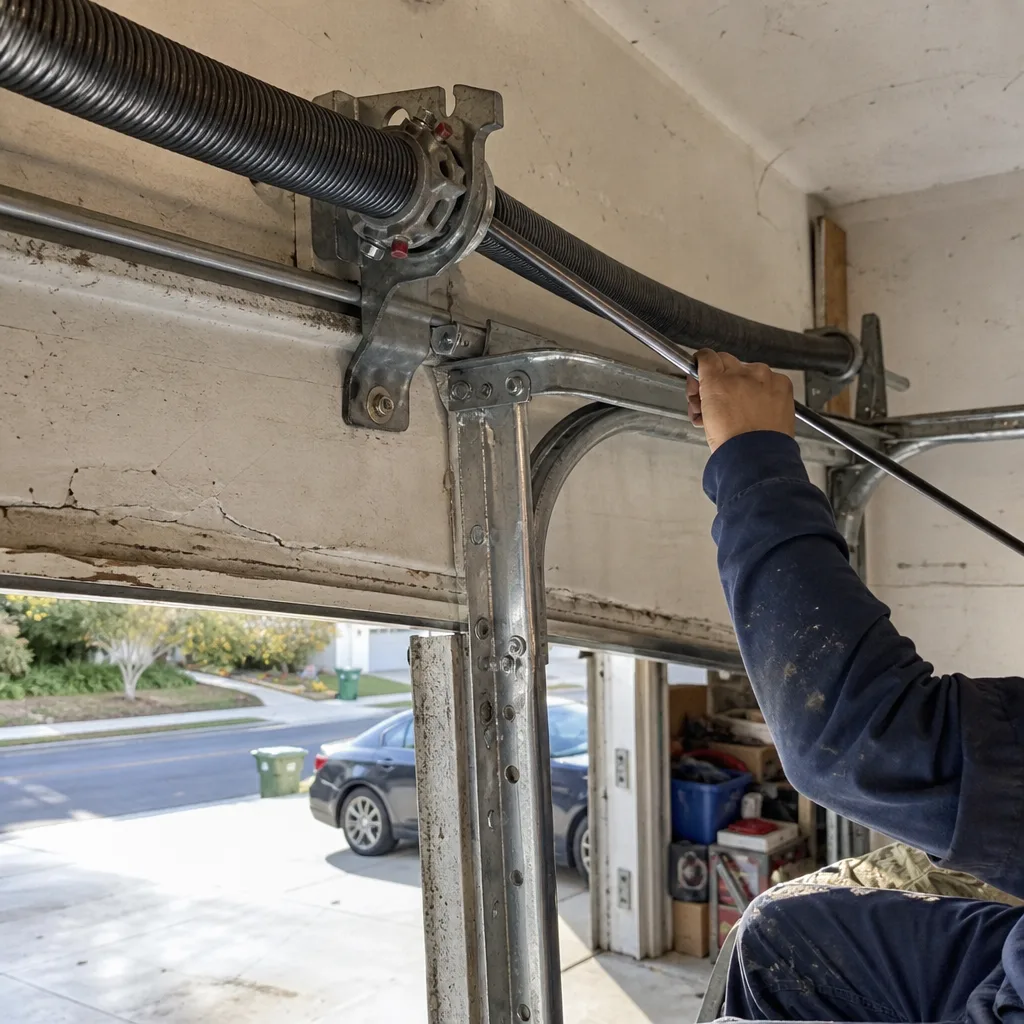 Before
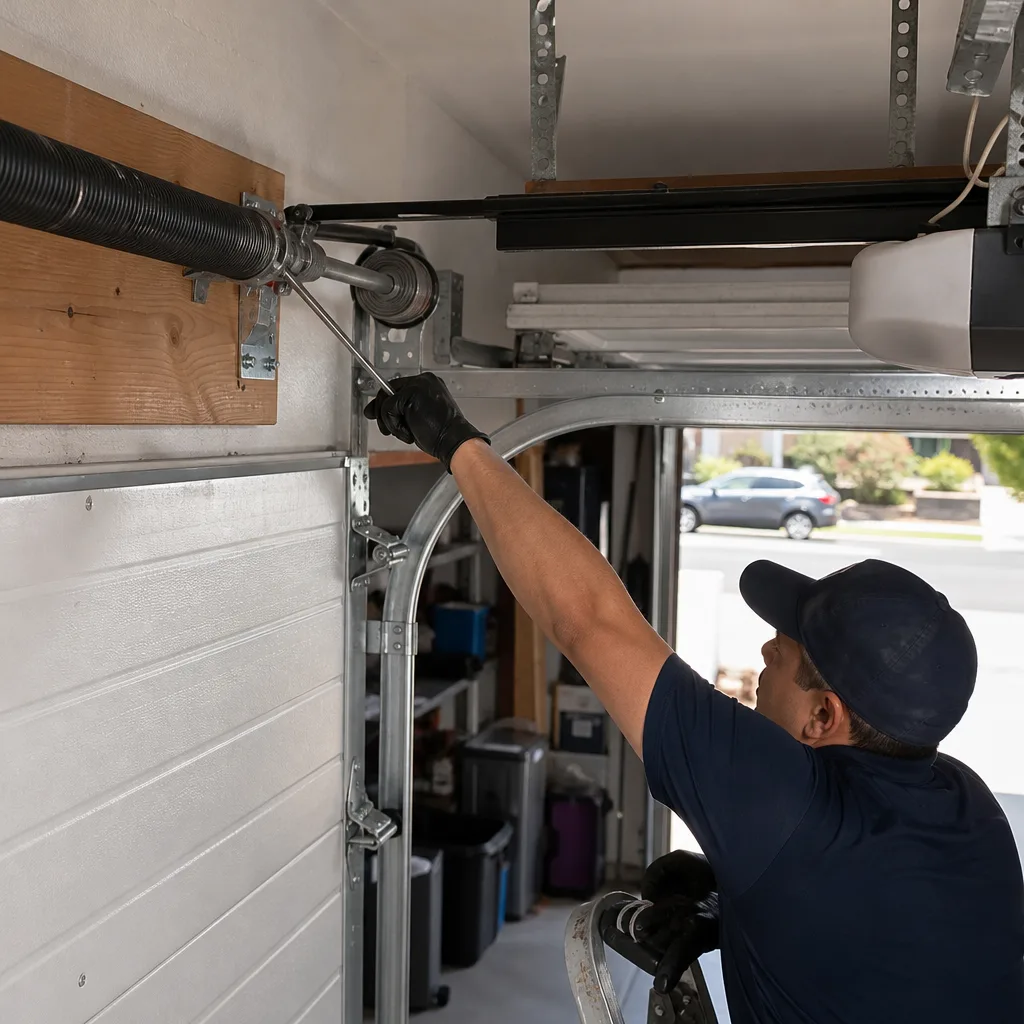 After
After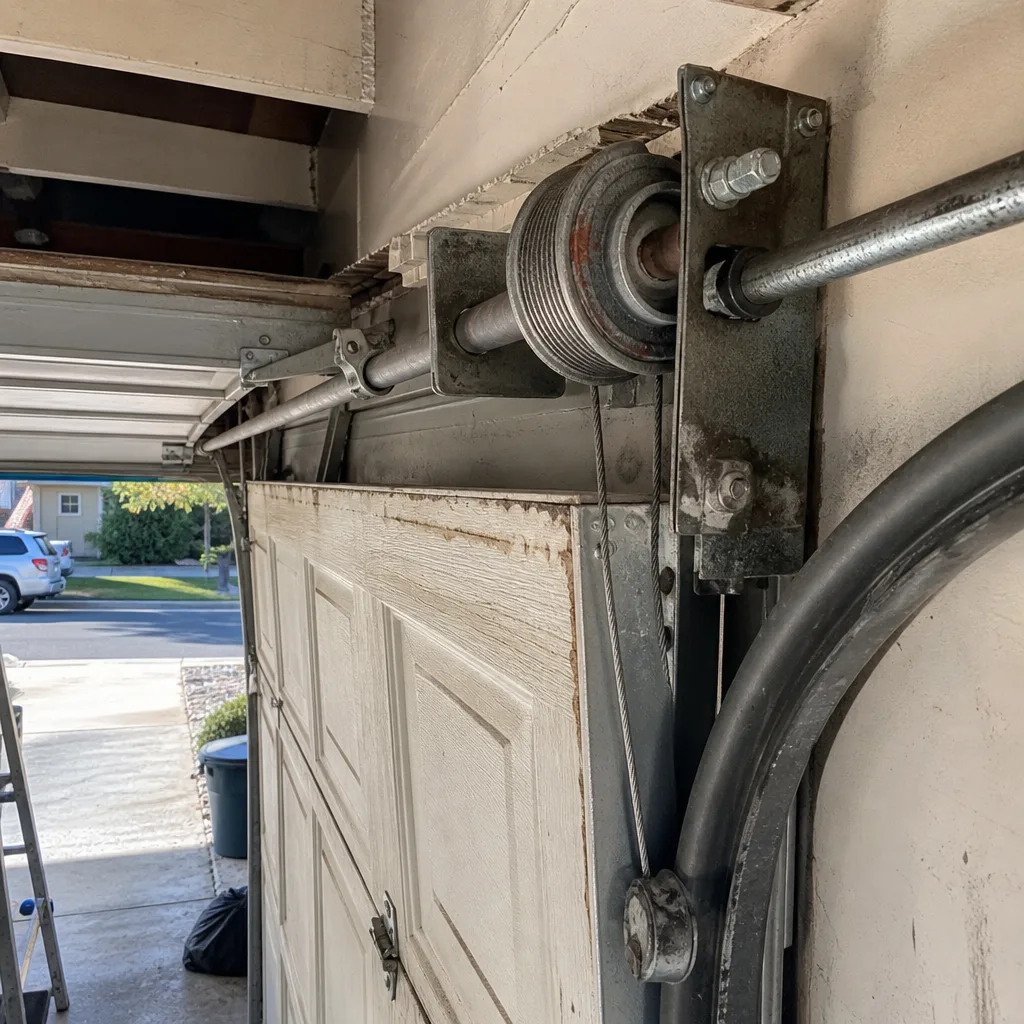 Before
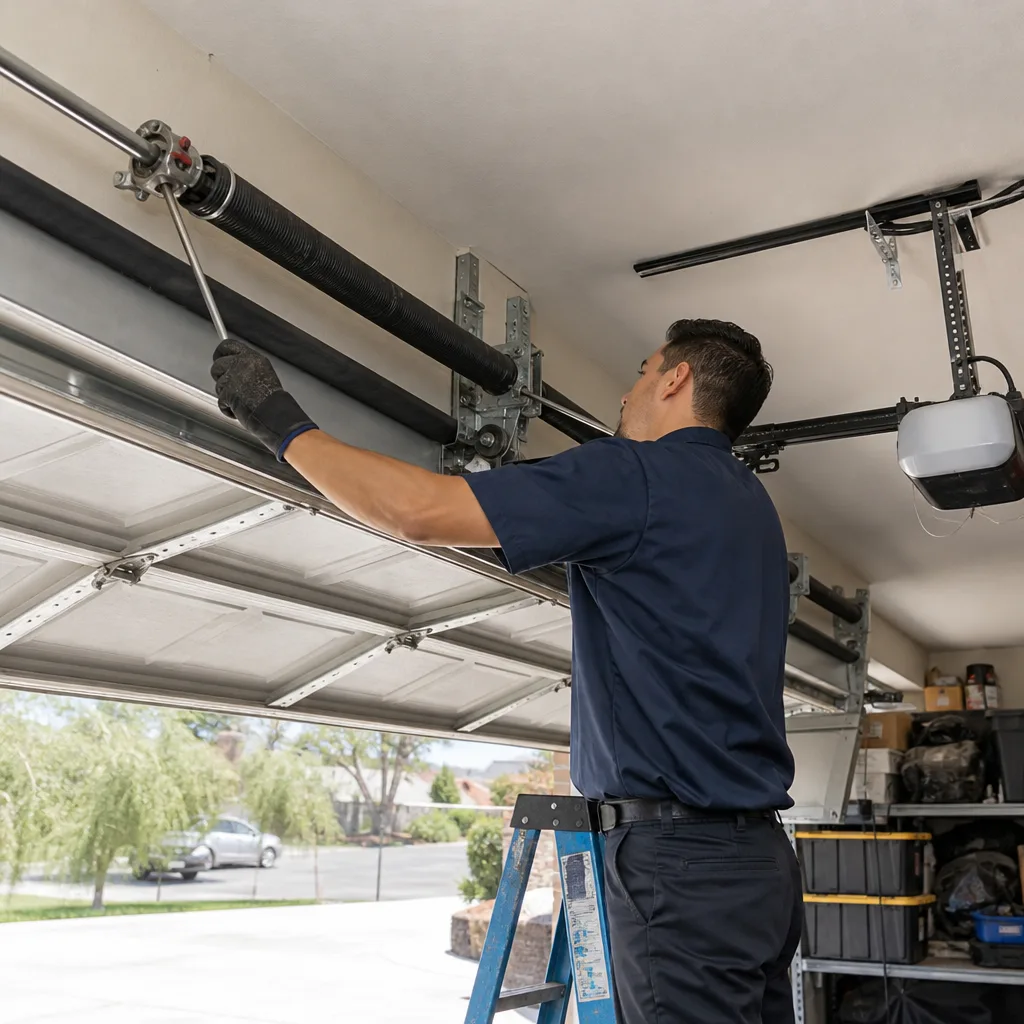 After
AfterGarage Door Repair Maintenance Schedule: What to Do and When
The average American garage door opens and closes about 1,500 times a year. At that rate, the manufacturer’s “annual maintenance” recommendation is already behind by month four. We see the consequences of that gap every week in Los Angeles, where doors that got a once-a-year checkup arrive at our shop with snapped cables, worn rollers, and springs that gave out months before anyone noticed. This guide-along with our Garage Door Repair Troubleshooting: Common Problems and How to Fix Them-replaces the calendar-and-guesswork approach with a schedule built on what actually wears a door down: how many cycles it runs, what the weather throws at it, and what you can check yourself in under ten minutes.
Quick Answer
A garage door maintenance schedule should be built around use cycles, not calendar months. For a door that opens four times daily, perform a visual and balance check every 500 cycles (about four months), lubricate moving parts and test safety features every 1,500 cycles (about one year), and schedule a professional inspection of springs, cables, and operator settings every 5,000 cycles (about three to four years). Homeowners in Los Angeles should also add two seasonal checks: one after the winter rains and one after the first Santa Ana wind event of the fall.
Table of Contents
- The Cycle-Based Framework: Why Calendar Months Fail
- The 500-Cycle Check: What to Inspect Every Four Months
- Lubrication Points: The Right Product for Each Spot (And Why WD-40 Isn’t One)
- The 1,500-Cycle Service: Annual Tasks That Take 30 Minutes
- Seasonal Adjustments for Los Angeles: Santa Anas, Rain, and Heat Spikes
- The Two-Minute Balance Test: Is Your Spring Still Calibrated?
- Warranty-Safe Maintenance: What to Log and What to Leave Alone
- Common Mistakes to Avoid
- When to Call a Professional
- Frequently Asked Questions
The Cycle-Based Framework: Why Calendar Months Fail
A garage door maintenance schedule printed on a calendar assumes every door works the same amount. That assumption is wrong by a factor of three or more. A door on a two-car suburban home in Los Angeles that handles two commuters and a school drop-off can cycle eight to twelve times a day. A door on a storage unit or a weekend cabin might cycle twice a week. Both doors get the same manufacturer’s recommendation: “inspect annually.” One of them needs service three times more often.
The better unit of measurement is the cycle. One cycle equals one full open and one full close. Manufacturers rate springs, rollers, and hinges in cycles, not years. A standard torsion spring set is rated for 10,000 cycles. A cheap extension spring set might be rated for 5,000. Rollers have their own ratings. When you schedule around cycles, you’re matching the maintenance to the actual rate of wear, not an arbitrary date on the wall.
Here’s the schedule we recommend at Brock Garage Door Repair home:
- Every 500 cycles (about four months for a four-cycles-per-day door): visual inspection of cables, rollers, hinges, and track alignment, plus a balance test.
- Every 1,500 cycles (about one year): full lubrication, safety sensor alignment check, force-setting test, and weatherstripping inspection.
- Every 5,000 cycles (about three to four years): professional inspection of torsion spring condition, cable wear at the drum, roller bearing wear, and operator gear and sprocket condition.
A door used four times a day hits 1,500 cycles in about 375 days. A door used twelve times a day hits it in 125 days. The calendar lied to the second homeowner for eight months. This framework doesn’t.
Quick Answer
How often should I maintain my garage door? For a door used four times a day, run a 500-cycle visual and balance check every four months, a full lubrication and safety test at 1,500 cycles (about once a year), and a professional spring and cable inspection every 5,000 cycles (roughly every three to four years).
The 500-Cycle Check: What to Inspect Every Four Months
The 500-cycle check is a ten-minute walkaround. No tools required beyond a flashlight and a willingness to look at your door the way a technician would. The point is to catch the small failures before they turn into service calls: a fraying cable strand, a roller that’s starting to wobble, a hinge screw backing out.
- Look at the cables first. Stand inside the garage with the door closed. On either side, running from the bottom bracket up to the drum at the top of the shaft, you’ll see two steel cables. They should be taut and smooth. Look for frayed strands, rust spots, or any section where the cable looks flattened or kinked. A frayed cable is a repair-now item, not a monitor-it item. When a cable fails, the door drops unevenly, and the weight shifts to one side, often bending the track on the way down.
- Check the rollers. Most doors have between eight and twelve rollers. They ride inside the vertical and horizontal track. Look at each one: it should be round, intact, and sitting centered on its stem. A cracked nylon wheel or a flattened steel roller will grind against the track and eventually bind. In our experience, a single failing roller left alone will take out two or three others before anyone notices the noise.
- Inspect the track alignment. Trace the track on both sides from floor to ceiling. It should be straight and the gap between the track and the door edge should be consistent the full length. A track that’s been bumped by a car bumper or a lawn mower will show a dent or a slight bow. Fixing it early means nudging it back with a rubber mallet; fixing it late means a new track section.
- Check the hinge screws and bracket bolts. Every hinge plate where two door panels meet has four screws. Give the hinges a visual once-over. A screw that’s worked itself loose will leave the hinge rattling against the panel. Tighten it with a socket wrench. Don’t overtighten: a stripped hole in a steel door panel is an avoidable repair.
- Run the balance test. We detail the full procedure below, but the short version is this: pull the red emergency release handle, manually lift the door to waist height, and let go. A balanced door stays put. One that drops or shoots upward means the springs are no longer matched to the door’s weight.
Write down what you find. A simple log with the date, cycle count, and any observations takes ninety seconds and builds the documentation you’ll want if you ever need to support a warranty claim. More on that later in this guide.
Lubrication Points: The Right Product for Each Spot (And Why WD-40 Isn’t One)
Lubrication is the single highest-value maintenance task on a garage door, and the one most often done wrong. The mistakes cluster around two things: using the wrong product, and using too much of the right one. Both cause failures that read as “worn out” but are really just “gummed up.”
First, the product rule. WD-40 is a penetrating solvent, not a lubricant. It displaces moisture and frees stuck parts, but it leaves behind almost no lasting film. On a garage door, it will quiet a noisy roller for about a week, then leave the bearing drier than it started. The correct product is a white lithium grease for metal-on-metal contact points like the torsion spring coils and the hinge pivot points, and a silicone-based spray for nylon rollers, the track, and the weatherstripping.
Here are the exact lubrication points on a standard overhead door, in the order you should hit them:
- Torsion spring (the thick coiled spring mounted on a shaft above the door): white lithium grease sprayed along the full length of the spring while the door is closed. The goal is to coat the coils where they rub against each other. This spring bears most of the lifting load, and unlubricated coils grind against each other thousands of times a year.
- Extension spring (if your older door has two long springs running parallel to the track, one on each side): same product, same goal. Use a step stool and keep your face clear of the spring path while spraying.
- Roller bearings: silicone spray on the roller stem where it enters the wheel. Do not use lithium grease here. Grease attracts dust, and dust is what kills roller bearings. One short spray per roller is enough.
- Hinge pivot points: white lithium grease at the joint where the hinge plates fold against each other, roughly where the door sections bend as the door travels the track radius.
- Trolley and rail on the opener (the metal bar that runs from the motor back toward the door): silicone spray on the rail. If you have a belt-drive opener, skip the belt itself; belts don’t take lubrication and grease shortens their life.
- Lock mechanism and latch: white lithium grease on the key-operated lock cylinder and the latch bolt. Use a thin coat, and wipe the faceplate after so the grease doesn’t end up on the door surface.
Now, the over-lubrication problem. Too much lithium grease on the torsion spring means it slings off onto the ceiling, the track, and the door panel. The overspray attracts dust, which works its way into the rollers and the track, creating a grinding paste. A clean wipe-down after lubricating solves it: spray the point, wipe away the excess. If the product is dripping off the spring, you used twice as much as you needed.
In Los Angeles, dust is a year-round factor. The same coastal air that keeps our temperatures mild also carries fine grit that builds up on any greasy surface. Keep lubrication light and wipe away excess every time.
The 1,500-Cycle Service: Annual Tasks That Take 30 Minutes
At 1,500 cycles, you’re doing everything from the 500-cycle check, plus the safety and performance items that confirm the door is still operating the way the manufacturer intended. These tests take half an hour and require no specialized tools.
- Test the auto-reverse safety sensors. These are the two small photo-eye units mounted six inches above the floor on either side of the door opening. Close the door, then wave a broomstick or a long object across the beam while it’s coming down. The door should reverse immediately and return to the open position. If it doesn’t, clean the sensor lenses with a dry cloth and re-test. If it still doesn’t reverse, the sensors need realignment or replacement. This is a family-safety issue, not a convenience item.
- Test the mechanical auto-reverse (force setting). With the door open, place a 2×4 or a roll of paper towels flat on the floor in the center of the opening. Close the door. It should contact the object and reverse within two seconds, without crushing it. If the door keeps pressing down or reverses only after significant pressure, the opener’s force limit is set too high. Lower it per the owner’s manual, then re-test.
- Inspect the weatherstripping. The rubber seal along the bottom of the door and the vinyl strips along the sides and top should be flexible and in full contact with the frame. In Los Angeles, UV exposure hardens and cracks weatherstripping faster than most other climates. A bottom seal that’s hard and brittle no longer blocks water or rodents. Replacement is a $20 part and fifteen minutes of work.
- Check the door’s travel limits. The door should stop flush with the floor at the bottom and fully clear the opening at the top. If the door stops an inch short or the opener strains to pull it closed, the travel limits need adjustment on the opener unit. Small corrections are usually a screwdriver turn; significant adjustments suggest something else has changed, like spring tension.
- Clear the track and wipe down the door panels. Dust and grit accumulate in the track and on the door face. A dry rag and a vacuum on the track clean things up without adding moisture.
If any of these tests reveal a problem you can’t fix in the moment, call a Garage Door Repair professional before the problem compounds. A door with a failing force setting will eventually strip the opener gear or damage the top panel.
Seasonal Adjustments for Los Angeles: Santa Anas, Rain, and Heat Spikes
Los Angeles doesn’t have a winter that freezes doors shut or a summer that bakes the hardware into expansion failure. What it has is wind, rain, and UV, and each one stresses a garage door in a specific way. When you live here, two seasonal checks per year cover what the weather actually does.
After the Santa Ana wind events (typically October through January). Santa Ana winds drive dry air through the region at sustained speeds that rattle doors and hurl debris. After a significant wind event, check the door for these three things: (1) track alignment, especially on the horizontal section near the ceiling, which can shift when wind presses against the full door face; (2) the weatherstripping along the sides, which takes a beating and can tear where the wind forces it back and forth; (3) the door’s balance. A door that’s been slammed by gusts while partially open can knock a cable out of its groove or introduce a slight bow in a panel. If the door has a new rattle or a new stiffness after a wind event, investigate it that week, not next month.
After the winter rainy season (typically February through April). Rain doesn’t damage the springs or rollers directly, but it accelerates rust on any bare metal and finds every gap in the weatherstripping. After the last significant rain, check the bottom seal for water intrusion. Run a hand along the inside of the door after a wet day. If the bottom of the panels is damp, the seal isn’t seating, and the wood or drywall behind it is taking on moisture. Also inspect the cable anchor brackets and the spring coils for surface rust. Surface rust on a spring is cosmetic. Pitting is structural: if the rust has formed small divots, the spring’s cycle rating is compromised.
After summer heat spikes above 95°F (July through September). Extreme heat softens the nylon in roller wheels and can cause the opener’s plastic drive gears to expand and bind slightly. After a sustained heat wave, run the door twice and listen. A grinding noise that wasn’t there in May often points to a roller bearing that’s wearing out. The heat didn’t cause the failure; it revealed it.
These two or three seasonal checks, combined with the cycle-based schedule, cover the Los Angeles climate honestly. Nothing else the weather does here moves a garage door in a way that matters.
The Two-Minute Balance Test: Is Your Spring Still Calibrated?
The balance test is the single most informative check you can run on a garage door without taking anything apart. It tells you whether the springs are still doing their job. A door that’s balanced feels nearly weightless when you lift it manually. A door that’s out of balance either drops or fights you, and it’s putting load on the opener that the opener was never designed to carry.
Here’s the procedure:
- Close the door.
- Pull the red emergency release cord hanging from the opener rail. This disconnects the door from the opener carriage so the door moves freely by hand.
- Lift the door manually to waist height (about three feet off the floor) and let go.
- Watch the door for three seconds.
A properly balanced door will stay roughly where you left it, moving maybe an inch or two before settling. If the door drops toward the floor, the springs have lost tension and are no longer counterbalancing the door’s full weight. If the door shoots upward toward the ceiling, the springs are over-tensioned, which is less common but still a setup error that puts stress on the cables and the top panel. Either result means the spring system needs attention from a professional.
Run this test at every 500-cycle check. It’s the fastest early-warning system for spring wear, and spring wear is the most common source of a door that eventually won’t open at all. In Los Angeles, where a large share of homes run their doors ten to twelve times a day during the workweek, we recommend running it at the start of each season, not just at the scheduled cycle marks.
One caution: if you have a door with broken or visibly damaged springs, do not attempt to lift it manually. A door with a broken torsion spring can weigh 150 pounds or more, and lifting it by hand puts you underneath a panel that wants to fall. Call a professional-our Garage Door Repair Warning Signs Every Homeowner Should Know guide explains what to watch for before failure.
Warranty-Safe Maintenance: What to Log and What to Leave Alone
Most garage door warranties, whether from the door manufacturer, the opener manufacturer, or the installing contractor, require that the system be properly maintained. “Properly maintained” is a phrase warranty administrators use to deny claims. The burden of proof sits with the homeowner. A maintenance log is how you meet that burden.
Here’s what to document every time you perform maintenance:
- Date of inspection or service
- Approximate cycle count since installation (or a simple note like “used 4x/day since March 2023”)
- Tasks performed (e.g., “lubricated springs and rollers, tested auto-reverse”)
- Any parts replaced, with the part brand and purchase date if you have it
- Observations (e.g., “slight surface rust on right spring, no pitting”)
A spiral notebook entry with this information is sufficient. A photo or two attached to a note on your phone works too. The point is that you have a record showing consistent attention.
Now, what voids a warranty if done wrong. The list is short but important:
- Adjusting or replacing torsion springs yourself. Most door manufacturer warranties explicitly exclude spring failure that occurs after “unauthorized adjustment.” A torsion spring under tension contains enough stored energy to cause serious injury or death if mishandled. This is one of the most dangerous components in a home, and it’s the one no manufacturer wants a homeowner touching. Any spring adjustment at Garage Door Repair in Los Angeles should be done by a licensed, trained technician.
- Using the wrong lubricant. A door that fails because a petroleum-based grease ate the nylon rollers will be denied on the grounds of improper maintenance. Stick to the products specified in the owner’s manual.
- Modifying the door or opener. Adding weight (insulation kits, decorative hardware that’s heavier than the manufacturer intended) or changing the opener without a professional evaluation shifts the system’s balance. A door that fails after being modified is a denied claim.
- Ignoring documented maintenance schedules. If your manufacturer’s manual says “lubricate every 12 months” and you have no record of ever doing it, the warranty is effectively voided by neglect. Log it, and you’re covered.
For the tasks homeowners can safely do themselves (lubrication, visual inspection, balance testing, sensor cleaning, weatherstripping replacement), do them and log them. For the tasks that carry a real risk (spring and cable work, opener gear replacement, any track repair), hire a professional and keep the receipt. The receipt and the maintenance log together are your warranty claim file.
Common Mistakes to Avoid
- Using WD-40 on the springs and rollers. It’s a solvent, not a lubricant. It strips away whatever lubrication is there and leaves the metal drier than before. Use white lithium grease on springs and hinge points, silicone spray on rollers and the track.
- Over-lubricating until the product drips. Excess grease attracts dust, and dust is what kills roller bearings. Spray, wipe away the excess, move on. If it’s dripping, you doubled the dose.
- Skipping the balance test because the door “still opens fine.” A door with weak springs still opens, because the opener is compensating. That compensation is burning out the opener’s motor and gears. The balance test catches the problem before the opener fails.
- Ignoring a new noise for more than a week. A grinding, squealing, or rattling sound is a mechanical component asking for attention. A roller replaced at first squeal is a $15 fix. A roller that seizes and gouges the track is a $300 fix.
- Doing spring work without understanding the danger. Torsion springs are the most dangerous component in a home. The stored energy in a wound spring can break bones or kill. This is not a task that rewards bravery.
- Replacing the opener when the real problem is the door. A door that’s out of balance or has failing rollers will make any opener work harder and fail sooner. Before you buy a new opener, have the door itself evaluated. In many cases, the opener is fine and the door is the problem.
When to Call a Professional
Some maintenance tasks are safe and simple for a homeowner. Others are not, and knowing the line is part of being a responsible door owner. Call a professional when the balance test shows the springs are out of calibration, when a cable is frayed or has come off the drum, when a roller has failed and the door is grinding against the track, or when any safety test fails twice in a row. Torsion springs, cables under tension, and track repairs carry a real risk of injury, and the cost of a service call is small compared to an emergency room visit or a door that lands on a car. At Garage Door Cable Repair in Los Angeles, our technicians see the aftermath of DIY spring work often enough to know the pattern. If you’re in the greater Los Angeles area and you’re not sure whether a problem is safe to handle yourself, call the shop. Garage Door Opener Repair in Los Angeles quotes are free, and we’d rather tell you over the phone that you don’t need us than have you risk an injury finding out the hard way. Brock Garage Door Repair offers free estimates in Los Angeles – call (254) 602-5116.
Frequently Asked Questions
Lubricate your garage door every 1,500 cycles, which for a door used four times daily works out to about once a year. In dusty climates like Los Angeles, a light application every six months is better than a heavy one once a year. Over-lubrication attracts dust that accelerates roller wear, so apply sparingly and wipe away excess.
A professional garage door tune-up in Los Angeles typically costs $89 to $150, depending on the door type and whether parts like rollers or weatherstripping need replacement. Most companies, including ours, include a full safety inspection, balance check, and lubrication in the base price. Call (254) 602-5116 for an exact quote – estimates are free.
Yes, you can safely perform visual inspections, lubrication, balance testing, sensor cleaning, and weatherstripping replacement yourself. Do not attempt any work on torsion springs, cables, or the track, which carry a risk of serious injury. For those components, hire a trained professional and keep the receipt for your warranty file.
No, regular maintenance by the homeowner does not void a warranty and in fact is usually required by the warranty terms. What voids a warranty is improper maintenance: using the wrong lubricant, attempting spring adjustments yourself, or neglecting documented service intervals. Keep a simple maintenance log with dates and tasks performed.
After a Santa Ana wind event in Los Angeles, check three things: track alignment on the horizontal section near the ceiling, side weatherstripping for tears, and door balance with the two-minute test. Strong gusts can shift a track, tear a seal, or knock a cable off its groove, and all three are cheaper to fix the week they happen.
A standard torsion spring set is rated for 10,000 cycles, which translates to about seven years for a door used four times daily. If your door runs eight to twelve times a day, which is common in Los Angeles, the same springs wear out in three to four years. When spring tension starts to fail, the balance test will catch it months before the spring actually breaks.
The Bottom Line
A garage door is a mechanical system that runs thousands of cycles a year, and the only maintenance schedule that respects that fact is one built on cycles, not calendar dates. Check the door every 500 cycles, lubricate and test safety features every 1,500, and have a professional inspect springs and cables every 5,000. For deeper dives, see our more guides & resources. Add two seasonal checks for Los Angeles weather, run the balance test regularly, and keep a log. The door will last longer, the opener will work less hard, and the repair bills will shrink to the cost of small parts instead of full replacements. That’s the whole schedule. It fits on a single index card, and it works.
Written by Wade Mercer, Owner at Brock Garage Door Repair, serving Los Angeles since 2001.