
Last updated October 9, 2026
Full 25-point door and opener safety check with every visit - springs, cables, rollers, tracks, and your LiftMaster or Chamberlain opener included
You get a price before we start. It does not change when the truck arrives.
 Before
 After
After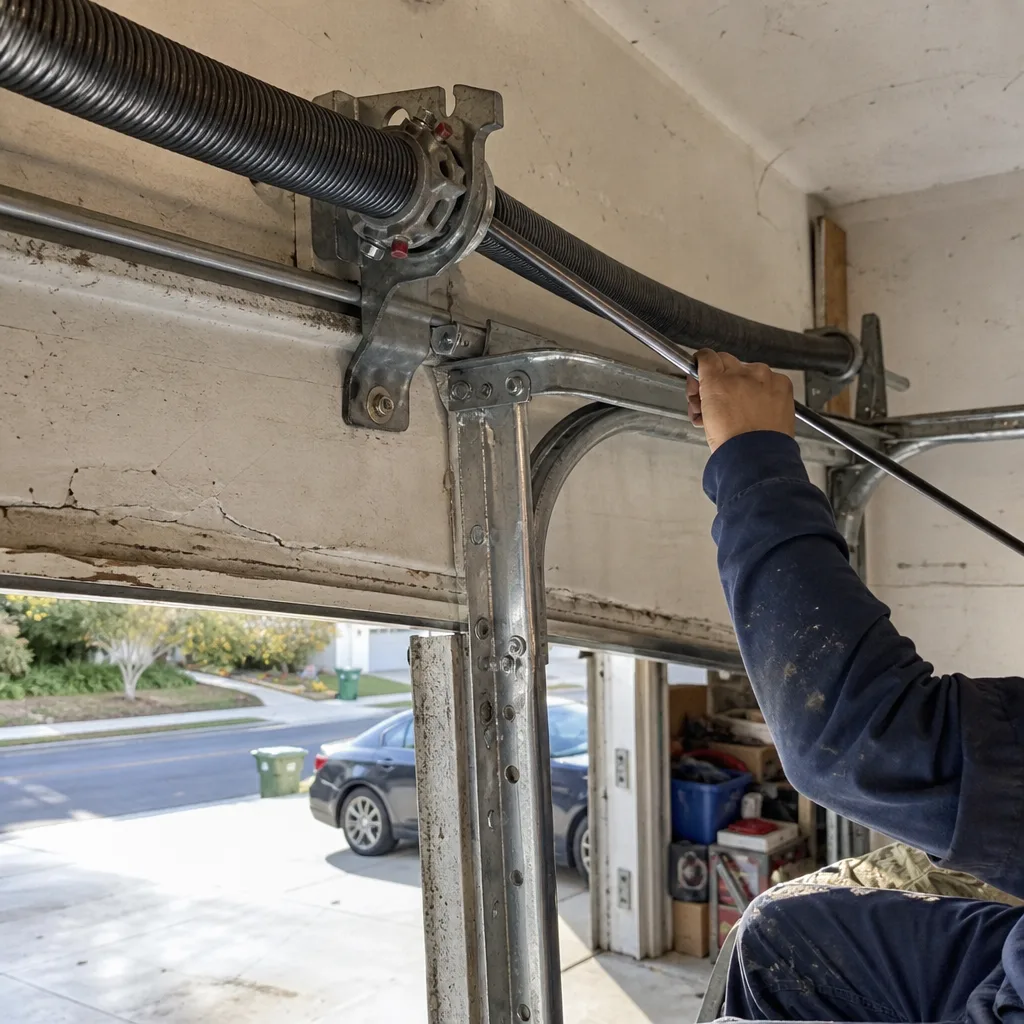 Before
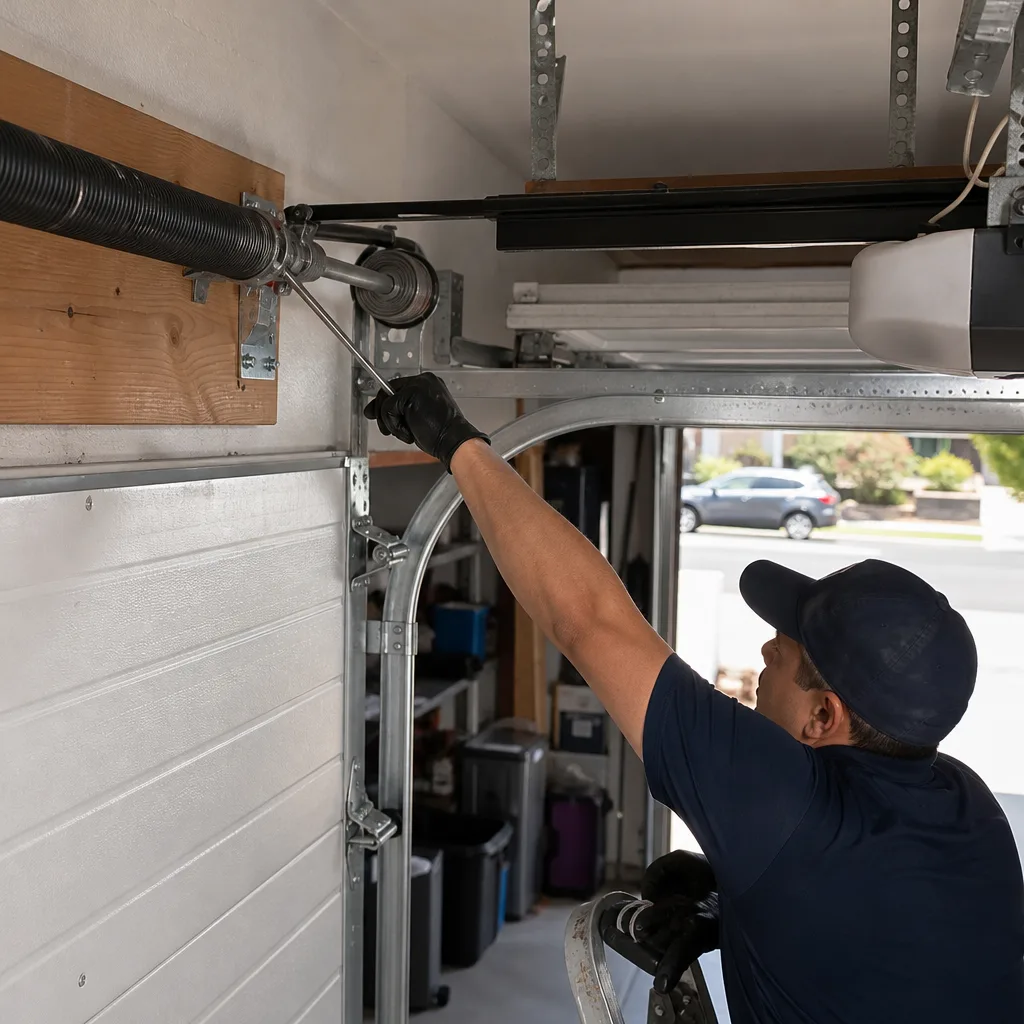 After
After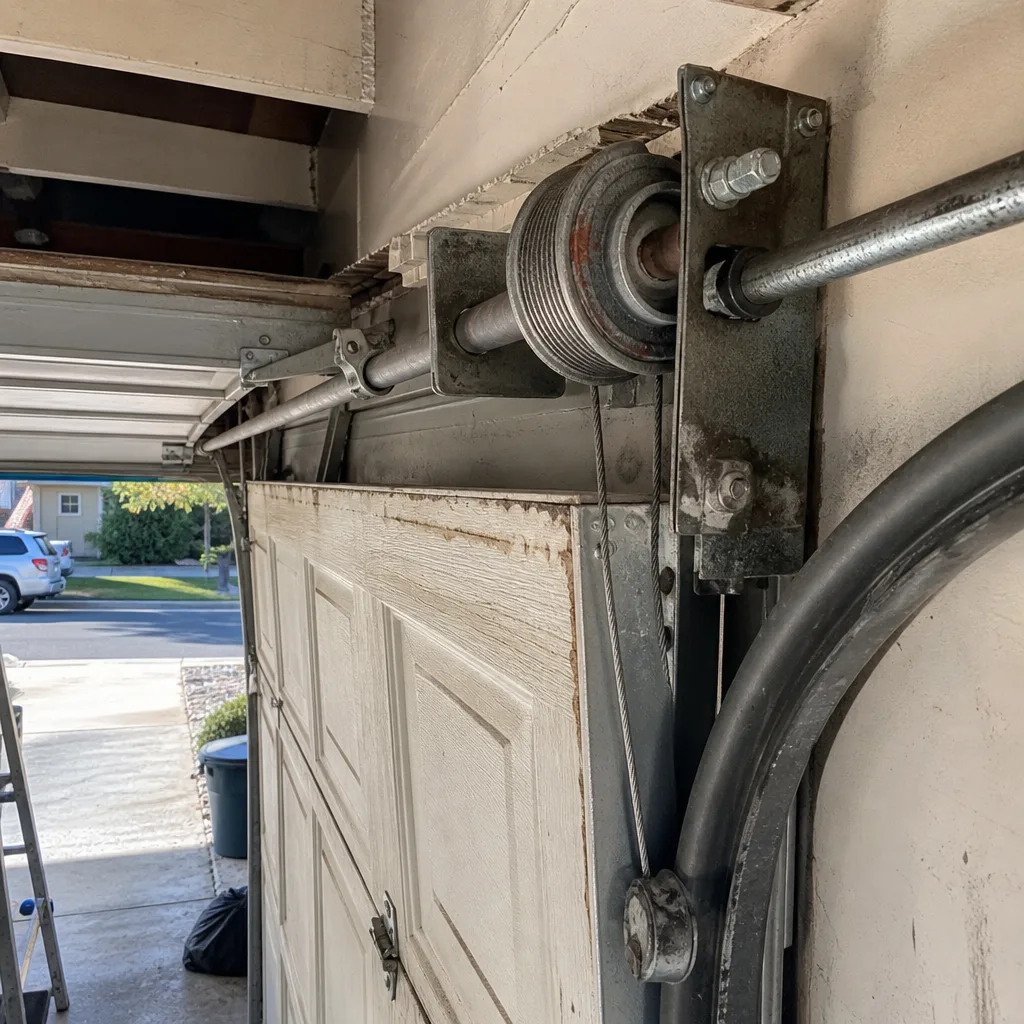 Before
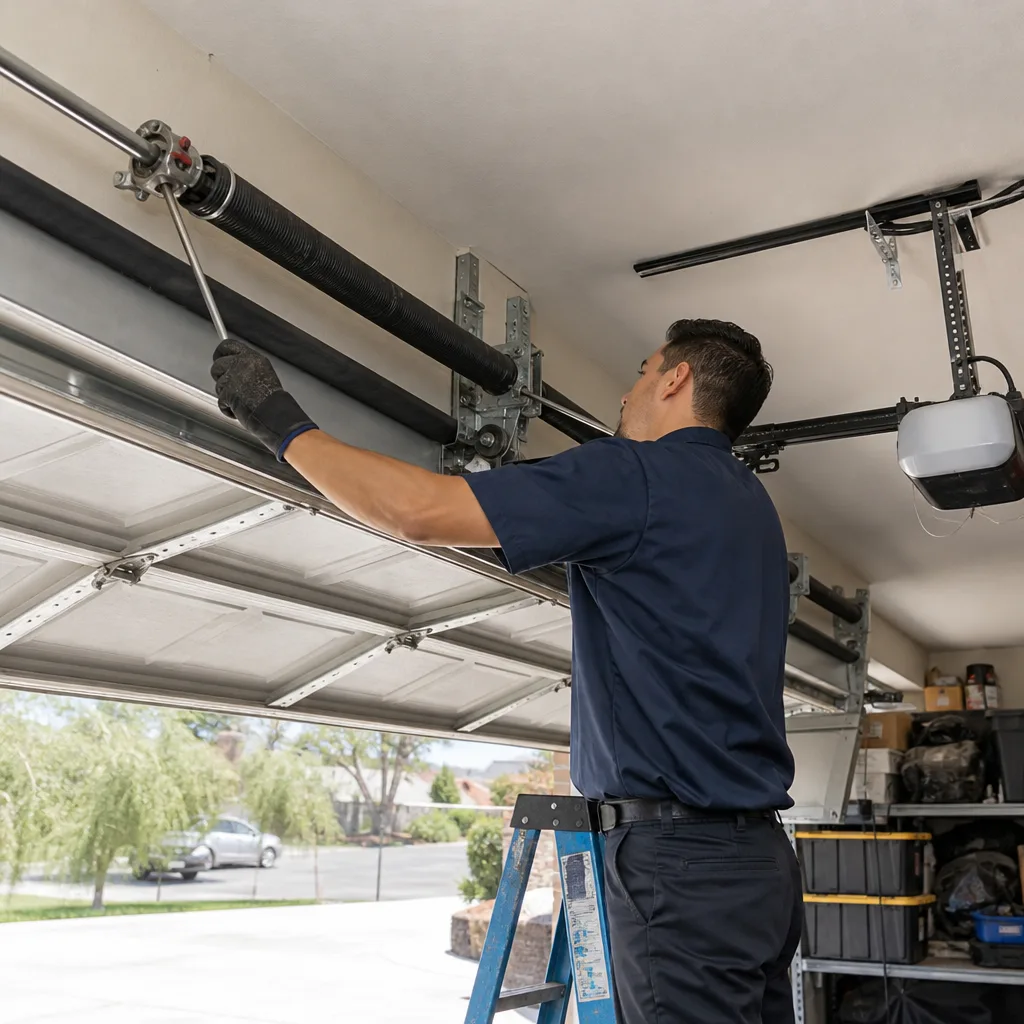 After
AfterDIY vs Professional Garage Door Opener Repair: What’s Safe to Do Yourself
Here’s a number that surprises most Los Angeles homeowners: roughly 60% of garage door opener service calls we run involve problems a homeowner could have fixed with a screwdriver and fifteen minutes of patience. That’s not an exaggeration, and it’s not a sales pitch designed to talk you out of calling us. It’s the honest reality of a trade where the equipment looks intimidating but the most common failures are remarkably shallow. What follows is a straight answer to the question every homeowner eventually asks: which opener repairs are genuinely safe to do yourself, and which ones quietly cross a line that can put your family at risk without ever throwing a visible error code. For a deeper look at this balance, see our guide on DIY vs Professional Garage Door Repair: What’s Safe to Do Yourself. This guide covers the full breakdown, written from the perspective of technicians who work on these systems daily across Los Angeles, from Sherman Oaks to Silver Lake to Torrance.
Quick Answer
Most garage door opener repairs that involve programming, alignment, or plug-in component swaps are safe for a careful homeowner to handle. The DIY line ends where work requires disconnecting hardwired power, modifying the opener’s mounting structure, or touching parts that participate in the door’s safety-reverse system. If you’re not certain which side of that line a given repair sits on, stop and call our Garage Door Opener Repair services before you turn a $40 fix into a $400 problem.
Table of Contents
- The Real Safety Question Opener Repairs Raise
- What’s Genuinely Safe to Do Yourself
- Where the DIY Line Ends
- How to Buy the Right Logic Board Without a Technician
- The Auto-Reverse Test You Must Run After Any Repair
- Los Angeles Conditions That Affect Opener Repairs
- Tools, Time, and Realistic Expectations
- Common Mistakes to Avoid
- When to Call a Professional
- Frequently Asked Questions
- The Bottom Line
The Real Safety Question Opener Repairs Raise
Unlike a torsion spring, which stores enough kinetic energy to remove fingers or worse when it lets go, the garage door opener itself is a relatively benign piece of equipment. The motor, the rail, the belt or chain, the logic board, the remote receiver: none of these carry the lethal energy of a wound spring. That said, openers sit in a weird middle zone that catches a lot of Los Angeles homeowners off guard. The danger isn’t the repair itself. It’s the possibility that a half-finished repair leaves the door behaving in a way that looks fine on a quick test but fails when it matters. A door that closes on a person because the auto-reverse was knocked out of adjustment during a seemingly unrelated fix is a scenario we’ve seen more times than we’d like to count.
Think of it this way. When you work on an opener, you’re not just fixing a motor that moves a door up and down. You’re working on a system that includes safety sensors, force settings, travel limits, and a reversing mechanism, all of which have to function together. Change one variable, like swapping a logic board, and you’ve potentially changed how the whole system interprets the other variables. The physical risk of touching an opener is low. The systemic risk of touching an opener incorrectly is real and can show up weeks later, when a car is halfway through the opening and the door decides to close on it.
In our experience working across Los Angeles, the homeowners who get into trouble are rarely the ones who don’t know anything. They’re the ones who know just enough to make a repair look successful without knowing what they don’t know. That’s the gap this guide is meant to close.
What’s Genuinely Safe to Do Yourself
Let’s start with the honest list. These are opener tasks we’ve seen competent homeowners handle successfully hundreds of times, and we’re comfortable saying they’re within reach for someone who can follow instructions and owns basic hand tools. None of these require opening the opener’s internal drive mechanism or touching hardwired electrical connections.
- Remote and keypad programming: Every major opener brand, including Genie and Chamberlain, publishes programming instructions on its website and in the manual. This is the most common opener call we receive in Los Angeles, and the most-fixed-by-the-homeowner fix. If your remote stopped working after a power outage or a move into a new house, there’s a real chance you’re ten minutes from solving it yourself.
- Safety sensor realignment: The photo eyes mounted near the floor on either side of the door are the most frequent cause of a door that reverses for no reason or refuses to close. A quick visual check for misalignment or a dirty lens solves a surprising percentage of these calls. This is safe, requires no disassembly, and the worst outcome is that you call us anyway.
- Logic board swap on a plug-in unit: If your opener plugs into a standard outlet, the logic board (the circuit board that acts as the opener’s brain) is often replaceable with a screwdriver and a sense of order. You unplug the unit, remove the cover, photograph the wire connections, swap the board, and reconnect everything the way it was. The important word there is “photograph.” We’ll return to that.
- Battery backup replacement: Openers with battery backup, which are increasingly common in Los Angeles homes because of our frequent rolling blackouts and fire-season outages, use a battery that wears out every two to four years. The replacement is straightforward and the battery is usually accessible from the outside of the unit.
- Travel limit adjustment: If your door doesn’t open all the way, or slams because it’s set to close too far, the travel limit adjustment is often a simple dial or screw on the opener body. This is a normal wear-and-tear adjustment that’s within reach of a careful homeowner.
Each of these tasks is low-risk, reversible, and well-documented by the manufacturers. If you try one and it doesn’t work, you haven’t made anything worse. That’s the bar for DIY work in our shop, and it’s a good bar for your garage too.
Where the DIY Line Ends
Now for the part most guides skip. There’s a line between the tasks above and the work that should never be attempted without a trained technician, and it’s drawn in a specific place: the moment you need to touch hardwired electrical connections or structurally alter how the opener is mounted or driven.
Here’s what belongs on the professional side of the line.
- Hardwired opener installation or replacement: If your opener is wired directly into a junction box rather than plugged into a standard outlet, that’s line voltage. In Los Angeles, this is common in older homes built before the 1990s, particularly in neighborhoods like Echo Park and Highland Park where the garages weren’t originally designed for automatic openers. A wrong connection here is a fire hazard and a code violation, not a learning experience.
- Replacing the trolley or carriage on a belt drive: The trolley is the part that rides the rail and pulls the door up and down. Replacing it requires partial disassembly of the rail, tensioning the belt correctly, and re-syncing the travel limits. Get the tension wrong and the belt either slips (door stops halfway) or grinds (premature wear on the motor). This is one of those repairs that looks easy on a YouTube video and takes an experienced tech forty-five minutes because we’ve done it a hundred times.
- Any work that requires disconnecting the unit from ceiling-mounted wiring: This is the bright-line rule. If the repair involves cutting, splicing, rewiring, or disconnecting anything that isn’t a clearly labeled plug, that’s the professional’s job. The opener’s motor draws real current. An incorrect connection can cause electrical fires inside the unit that you may not notice until the middle of the night.
- Replacing the drive motor itself: The motor is internal to the unit and its replacement involves more than a simple board swap. The gears, bearings, and shaft alignment have to be correct or the unit will chew itself up within months.
The pattern here is simple. Everything on the DIY-safe list is mechanical in a light sense, involving screws, dials, connectors, and plug-in components. Everything on the professional list involves the electrical supply, the drive mechanism, or the structural mounting of the unit. If the task requires a wire stripper or a torque wrench, you’re on the wrong side of the line.
How to Buy the Right Logic Board Without a Technician
This is the single most useful section in this guide for anyone attempting a logic board swap, because the number one cause of DIY failure on this repair in Los Angeles is ordering the wrong part. The good news: you can avoid that mistake with five minutes of label-reading before you ever open a browser tab.
Here’s the process we recommend, step by step.
- Unplug the opener. Never work on an opener that still has power. This isn’t just a safety rule for electrical work; it’s a way to protect the board itself from static discharge or a short.
- Find the model label. It’s on the opener body, usually on the side facing away from the door. You’ll see a model number, a serial number, and often a manufacturing date. Write all three down. Every one of them matters.
- Photograph the label. Clear photo, no zoom needed but make sure the numbers are legible. This is the photo a parts supplier can use to verify compatibility.
- Note the brand and the exact model family. Genie, for example, has several distinct opener families (like the Excelerator and the ChainDrive series) that use different logic boards. The model number is the only thing that reliably distinguishes them.
- Before you order, photograph the existing board’s wire connections. This is the step that saves you. The connectors on a logic board are often color-coded but not always, and having a photo to reference during reassembly is the difference between a twenty-minute swap and a two-hour puzzle.
- Order from the manufacturer or a verified supplier. Aftermarket boards exist and some of them work fine, but many don’t. When you buy from the manufacturer, you get the board that was designed for your specific unit. In a city like Los Angeles with a high concentration of older openers still in service, model-specific boards matter more than most parts suppliers want to admit.
One more note. Some openers have the logic board integrated into a larger assembly that isn’t sold separately, which means the board swap isn’t an option at all. If you find the board listed as “not serviceable” or “integrated with motor control,” that’s your signal that the unit is either replaced or the repair is handled by a professional with access to refurbished assemblies.
The Auto-Reverse Test You Must Run After Any Repair
This is the most important section in the entire guide, and it applies whether you fixed the opener yourself or a technician did the work. The auto-reverse function is the safety mechanism that causes the door to stop and reverse when it encounters resistance while closing. It’s not optional, it’s not a nice feature, and it’s the difference between a garage door that’s a convenience and a garage door that’s a liability.
Here’s the test, which takes thirty seconds and requires nothing but a roll of paper towels.
- Place the paper towel roll flat on the floor directly under the center of the door’s path.
- Close the door using the wall button or remote. Stand clear but keep the button in reach.
- Watch what happens when the door contacts the paper towel roll. The door should stop and reverse within two seconds of contact. It should reverse fully, not just lift an inch and stop.
- If the door crushes the roll, the auto-reverse is not working. Stop using the door immediately and call a professional. This is not a “fix it later” situation.
This test matters after every repair because several common fixes can affect the reverse mechanism without you realizing it. A logic board swap can reset the force sensitivity. A travel limit adjustment can change the closing distance. Even something as simple as rebalancing a door can alter how much force the opener needs to apply, which changes how the reverse mechanism should be calibrated. See our Garage Door Cable Repair Maintenance Schedule: What to Do and When for related guidance. In Los Angeles, where many garages double as storage, workshops, and sometimes secondary living areas in ADU conversions, the odds of a person being in the path of a closing door are unusually high. Run the test. Every time.
Los Angeles Conditions That Affect Opener Repairs
Opener problems don’t exist in a vacuum. The climate, the housing stock, and the way Los Angeles garages are actually used all shape which repairs are common and how they should be approached.
The heat is the first factor. Los Angeles summers put sustained stress on opener electronics. Logic boards, capacitors, and battery backups all run hotter in attics and garages that regularly exceed 100 degrees. In neighborhoods like Woodland Hills or Chatsworth, where summer temperatures are consistently higher than the coastal zones, we see a measurable uptick in board failures and battery degradation during the late summer months. If you’re doing a DIY board swap in August, give the unit time to cool before you start working on it. Heat-soaked metal and plastic are not friendlier to your hands or to the components you’re installing.
Coastal moisture matters too. In Santa Monica and Venice, the salt air works on electrical connections and remote battery contacts in ways that dry inland neighborhoods never experience. A remote that works intermittently in Los Angeles is often a remote with corroded contacts from six years of coastal fog, and that’s a DIY fix: clean the contacts with a pencil eraser, replace the battery, and test. No corrosive contact cleaner needed, and no technician call.
The age and style of Los Angeles housing affect the hardwired question. Homes built before the widespread adoption of automatic openers often have garages that were retrofitted later, sometimes with substandard wiring runs. That’s a big part of why the hardwired line matters here specifically. A plug-in opener is a modern convenience. A hardwired opener in a 1940s bungalow in Atwater Village is often a legacy installation with old cloth-insulated wire that should never be disturbed by anyone but an electrician or a trained garage door technician.
Tools, Time, and Realistic Expectations
If you’re going to attempt a DIY opener repair in Los Angeles, it helps to know what you’re signing up for in terms of tools and time. This is where a lot of homeowners get surprised.
The tool list for the DIY-safe tasks we covered is short. A Phillips screwdriver, a flathead screwdriver, a stepladder, a pencil for marking positions, and your phone for photos. That’s it. You don’t need a multimeter for a remote programming job or a sensor realignment. You don’t need specialty wrenches. The tasks we’ve identified as safe are safe partly because they’re accessible with basic tools.
Time is the bigger variable. A remote programming fix that takes a technician four minutes might take you twenty if you’re following along with a YouTube video and checking your work as you go. That’s fine. The point isn’t speed; it’s not making the problem worse. Budget half an hour for most of the DIY-safe tasks, and if you’re forty-five minutes in and nothing is working, stop. Call. The worst outcome of a DIY attempt isn’t failure; it’s frustration that leads to a forced error. In our experience, the homeowners who turn a $50 fix into a $300 problem are the ones who kept going past the point where they should have put the screwdriver down.
Parts availability in Los Angeles is a real advantage. The city’s size means most opener parts, especially for the major brands like Genie and Wayne Dalton, are available same-day from multiple suppliers. That’s not true everywhere, and it’s one of the quiet advantages of working on your garage door here rather than in a smaller market. If you’re doing a DIY board swap or battery replacement, you can usually have the part in your hand by early afternoon if you start looking in the morning.
Common Mistakes to Avoid
- Forgetting to photograph the wiring before disconnecting anything. This is the single most expensive mistake we see. You think you’ll remember where the red wire goes, and then you don’t, and now your opener is dead and you’re on the phone with us anyway. Photograph everything, twice, before you touch a single connector.
- Working on a unit that still has power. Plug-in openers are easy to disconnect, but hardwired units are another matter. If you can’t see a plug, assume the unit is still live and don’t work on it at all. That’s not a DIY caution; that’s a line you don’t cross.
- Skipping the auto-reverse test after a repair. Every time. No exceptions. If the test fails, the door is not safe to use, period. We covered the test in detail above because it’s the most important safety step in this entire guide.
- Adjusting the travel limits without understanding what they control. The travel limits tell the door exactly where to stop at both ends of its travel. A small adjustment is often all that’s needed, but a large one can cause the door to stop short or slam. Mark the original position with a pencil before you make any adjustment so you can return to it if you make things worse.
- Replacing a logic board without confirming compatibility with the exact model number. “Looks the same” is not the same. Genie and Chamberlain both have model families where visually identical boards are electrically incompatible. The model number is the only thing that matters.
- Ignoring a door that’s visibly out of balance while working on the opener. The opener is not a door-balancing device. If the door is heavy, sticks at certain points, or doesn’t stay in place when you disconnect the opener and lift it manually, the problem is the door, not the opener. Fixing the opener won’t fix the door, and the door’s imbalance will destroy a new opener within a year.
- Calling us after the door has already been damaged. We’d rather talk to you before a DIY attempt than after one that went sideways. The phone call is free, the estimate is free, and the advice about whether a repair is DIY territory is free. Use our Brock Garage Door Repair home page to find the number and the service area. A five-minute conversation can save you the cost of a second repair.
Every mistake on this list has the same root cause: proceeding without a clear understanding of the system. The opener is a machine with multiple interacting parts, and when you change one part, you can affect the behavior of the whole. The mistakes above are all avoidable with a little patience, a camera, and a willingness to stop and ask.
When to Call a Professional
Some problems are simply not DIY territory, and recognizing that is a skill in itself. Call a professional when the repair involves hardwired electrical work, when the door itself is out of balance or making grinding noises, when the opener’s internal drive mechanism needs service, or when you’ve already made the problem worse and need it made right. In Los Angeles, where garage doors operate under heavier daily use than most parts of the country and where a non-working garage door can mean a car stuck inside, a professional repair is often the fastest way back to normal. If you’re dealing with an opener problem that’s beyond the DIY-safe list, Brock Garage Door Repair offers free estimates for opener repair in Los Angeles, and every job comes with a written price before work begins and a written 365-day guarantee.
Frequently Asked Questions
Garage door opener repair in Los Angeles typically runs between $125 and $325 depending on the specific failure. Simple fixes like sensor realignment or remote reprogramming sit at the lower end of that range, $125 to $175, and often require no parts. Logic board replacements typically run $225 to $325 for the board and labor, depending on the opener brand and model. Battery backup replacements are usually $150 to $200 including the battery. Every estimate we quote in Los Angeles is written before any work starts, so the number you approve is the number you pay. Call (254) 602-5116 for an exact quote on your opener, and the estimate is free.
Yes, in many cases the fix is straightforward and DIY-safe. Start by replacing the remote battery, then check the opener’s antenna wire (it should hang down from the unit, not be coiled or pinched), then try reprogramming the remote using the instructions in your opener’s manual. If none of those steps work, the issue is likely the logic board’s receiver circuit, which is a professional repair. In Los Angeles, we frequently see remotes failing due to interference from the many wireless devices now common in densely built neighborhoods, so a working remote that suddenly stops responding is often a reprogramming issue that’s quickly solved. If you’ve tried the basic fixes and the remote still won’t connect, our Los Angeles opener repair service can diagnose it quickly.
For a plug-in opener, yes, a logic board swap is a reasonable DIY task if you photograph the wiring first and buy the correct board using the exact model number from the label. For a hardwired opener, no, the board swap should be handled by a professional because the unit is connected to line voltage. The safety distinction isn’t about the board itself; it’s about whether you’re working on a device you can fully disconnect from power or one that’s wired into your home’s electrical system. If you’re not sure which type you have, look for a power cord. No cord means professional repair.
In most cases, the safety sensors near the floor have become misaligned or their lenses are dirty. This is an extremely common problem in Los Angeles because of the fine dust and pollen that builds up on sensor lenses, especially in neighborhoods near the hills and canyons where the air is dry and particulate-heavy. The fix is usually simple: wipe the sensor lenses with a dry cloth, check that both sensors are pointed directly at each other at the same height, and test the door again. If the door still reverses, the sensors may have a wiring fault or the force settings may need adjustment, and that’s a professional repair call.
The opener is the motorized unit mounted to the ceiling that provides the lifting force, while the door is the panel assembly that rides in the tracks. Opener problems show up as failures to respond, intermittent operation, or travel errors. Door problems show up as visible sagging, grinding, sticking, or a door that’s heavy to lift manually. They’re often confused because a failing door makes the opener work harder and can cause the opener to fail, but the repairs are different. If your door is heavy or grinding, our Los Angeles garage door repair service handles the door side, and if the opener itself is the problem, our opener repair service covers that. We diagnose both before quoting, so you know what you’re actually paying to fix.
Yes. A live person answers our phone around the clock, including nights, weekends, and holidays, and we schedule same-day service for opener repairs throughout Los Angeles whenever the schedule allows. The call itself is free, the estimate is free, and the price you’re quoted is what you pay if you decide to go ahead. Call (254) 602-5116 now and we’ll work out a time that fits your day.
The Bottom Line
The honest truth about garage door opener repair is that the line between DIY and professional work is clear, but it’s not where most homeowners assume it is. Remote programming, sensor realignment, plug-in board swaps, battery replacement, and travel limit adjustment are all genuinely safe to handle yourself with basic tools and patience. Hardwired electrical work, drive mechanism repairs, and trolley or carriage replacement are not. Run the auto-reverse test after every repair, whoever did the work, and don’t let a door that “seems fine” become a door that wasn’t safe all along. If you’re in Los Angeles and the job is beyond the DIY-safe list, or you tried a DIY fix and it didn’t take, we’re here. Brock Garage Door Repair offers free estimates on every opener repair, with a written price before any work starts and a written 365-day guarantee on every job. Call (254) 602-5116 and get straight answers, not a sales pitch.
Written by Wade Mercer, Owner at Brock Garage Door Repair, serving Los Angeles since 2001. Explore more guides & resources on our blog.