
Last updated October 9, 2026
Full 25-point door and opener safety check with every visit - springs, cables, rollers, tracks, and your LiftMaster or Chamberlain opener included
You get a price before we start. It does not change when the truck arrives.
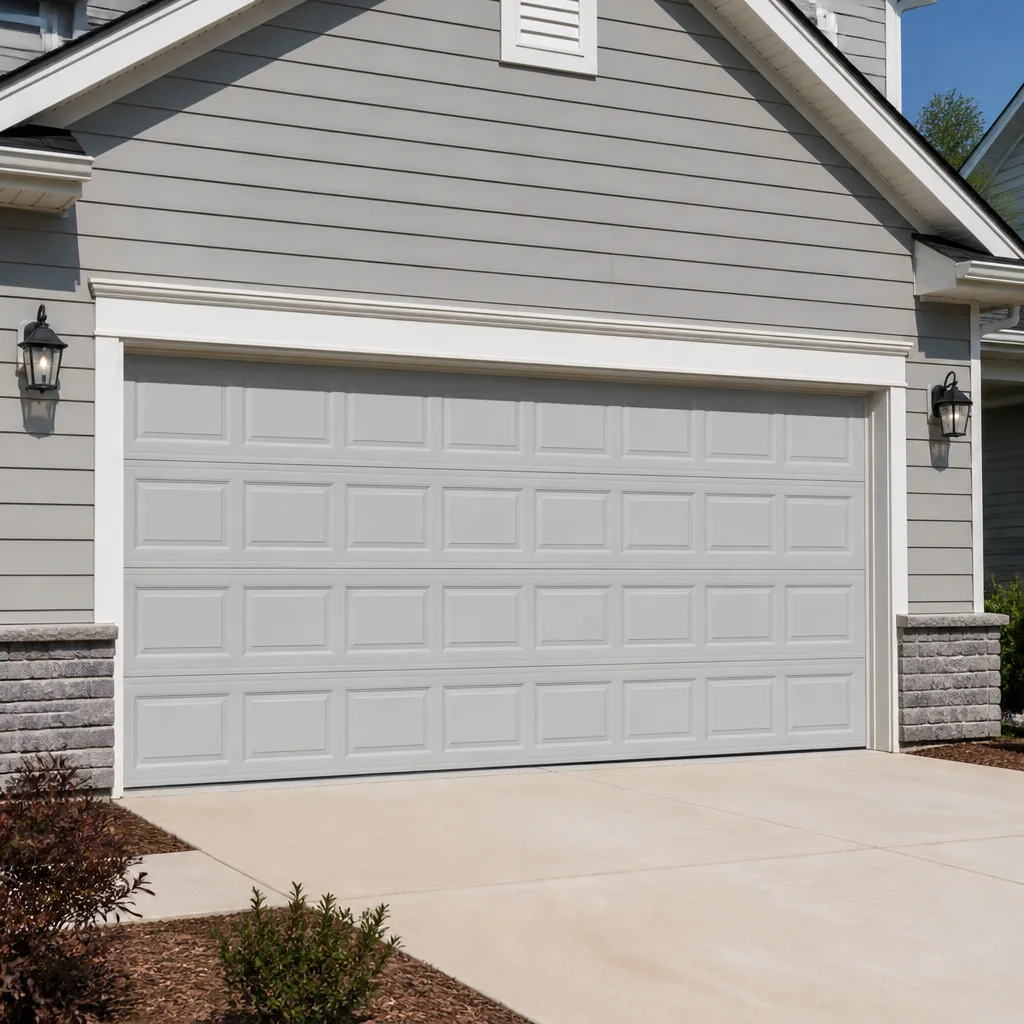
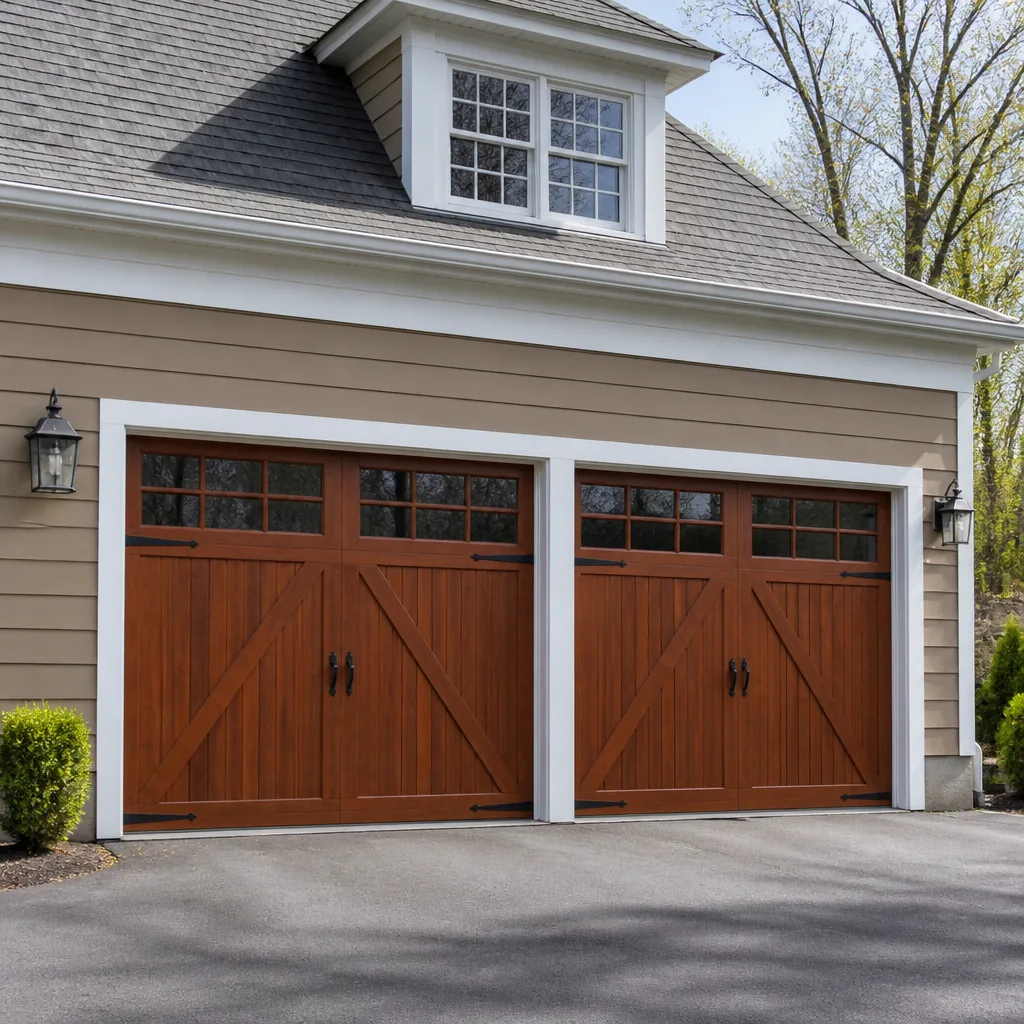
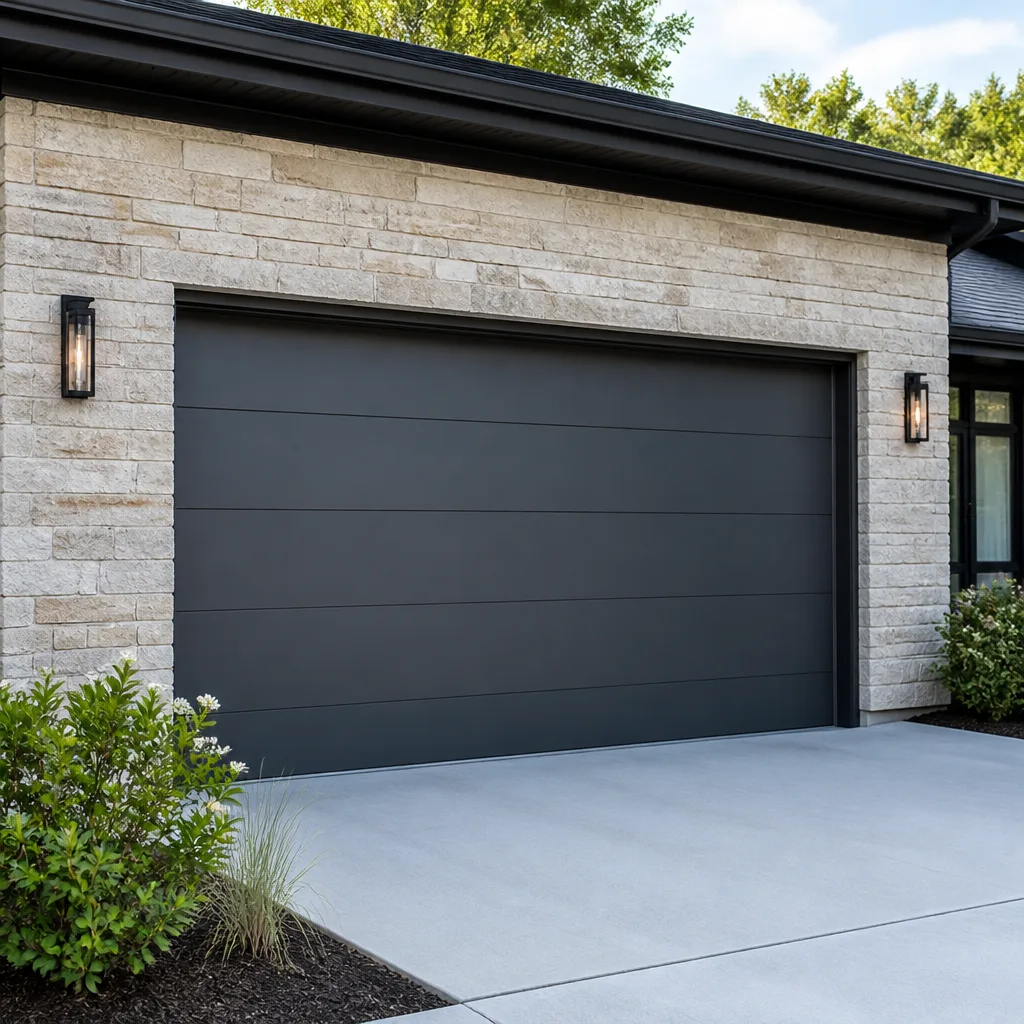
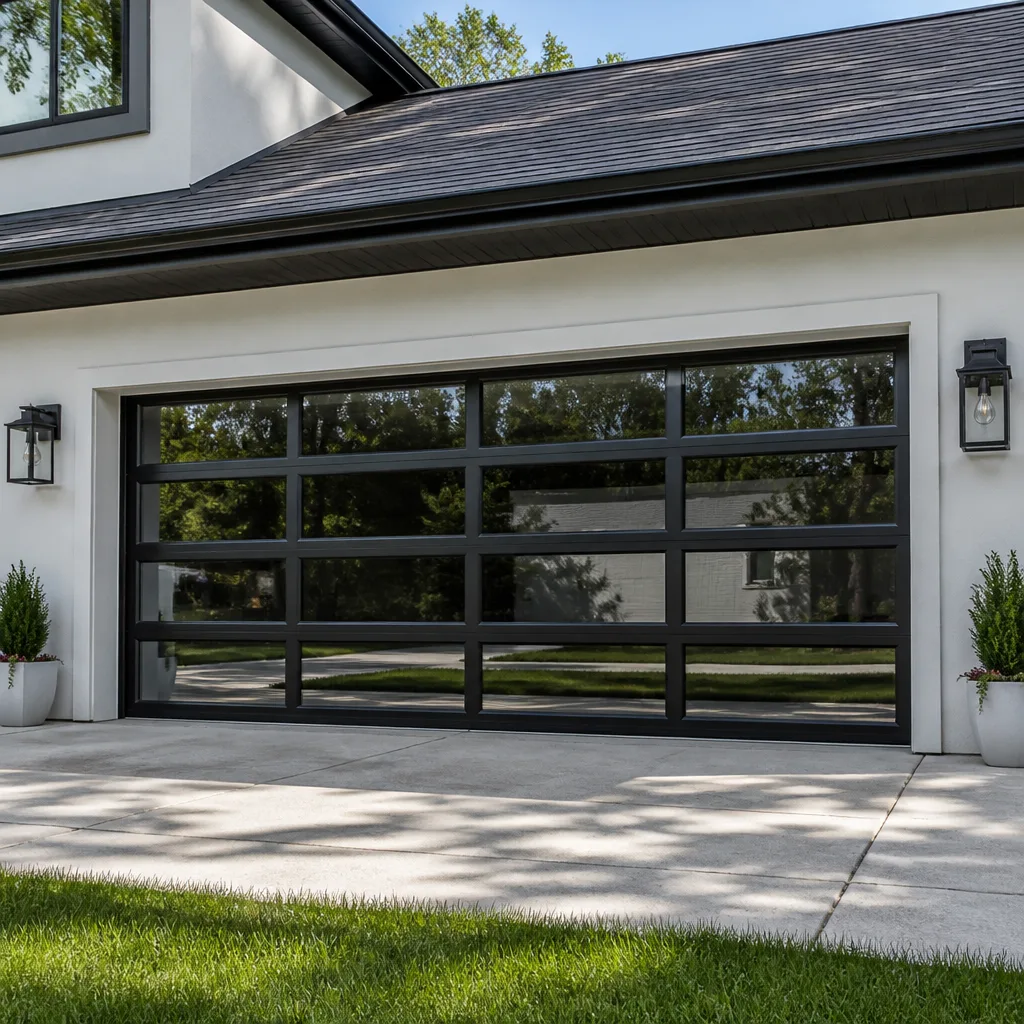
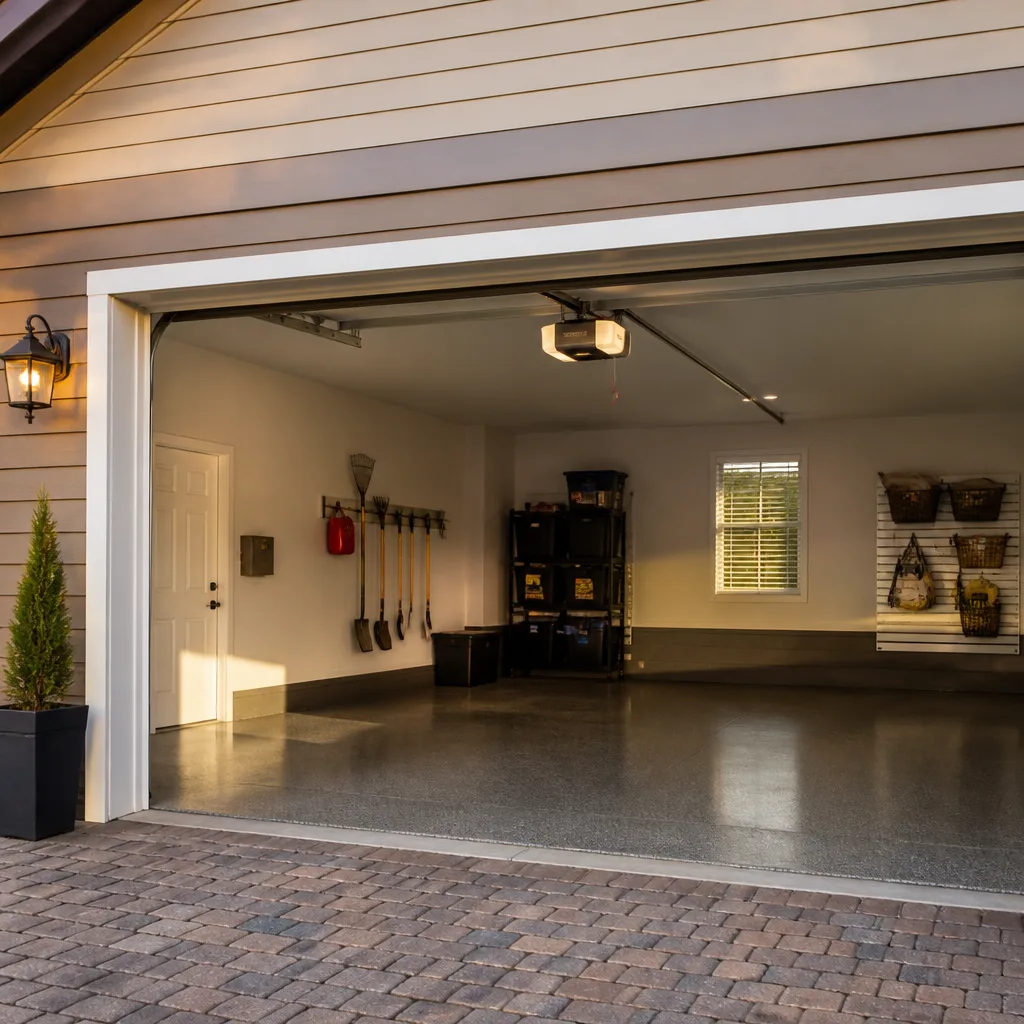
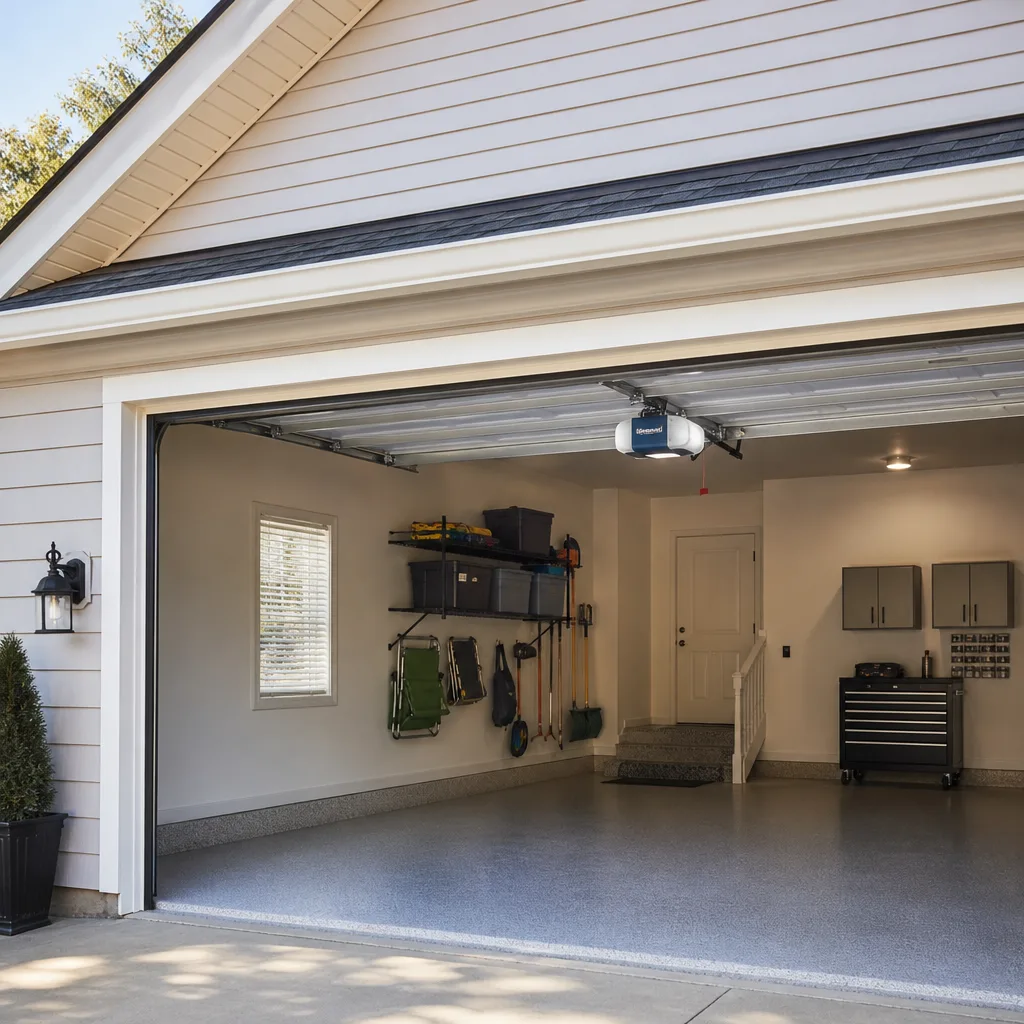
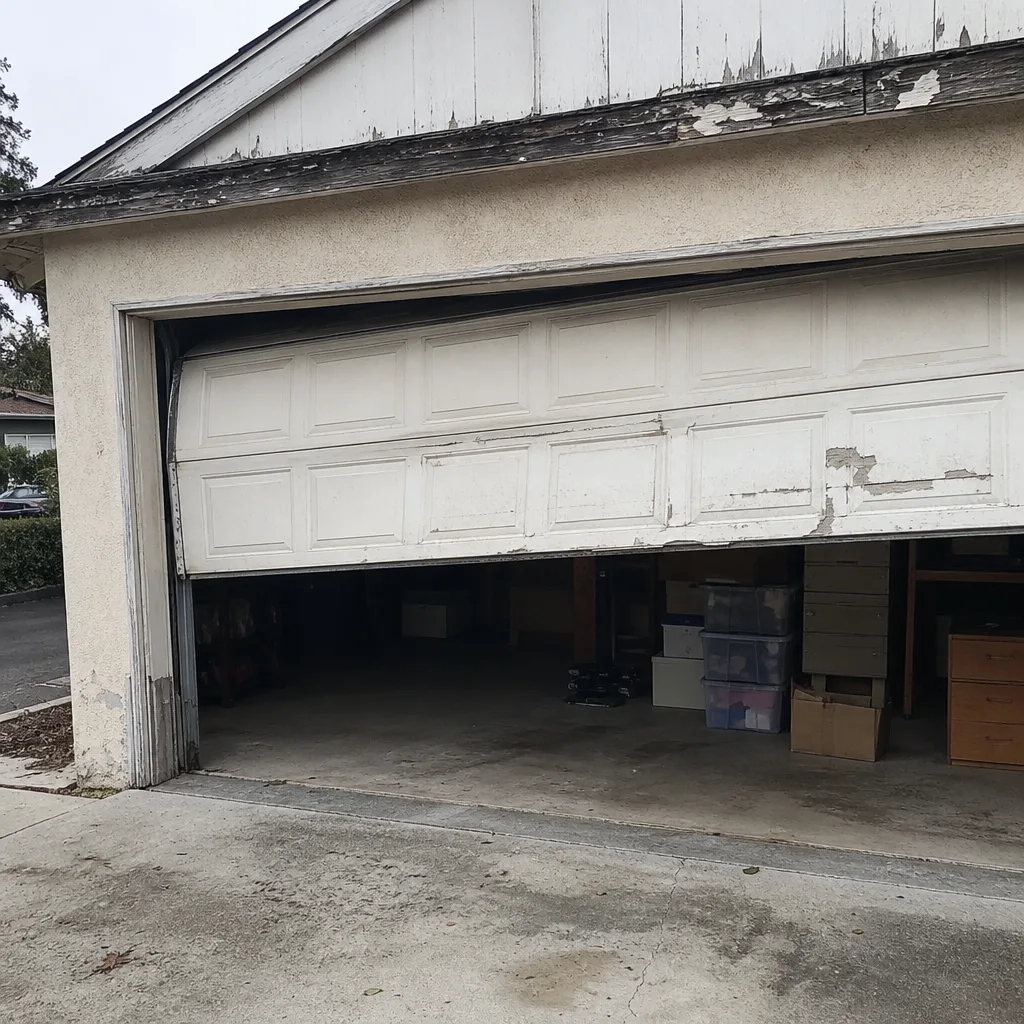 Before
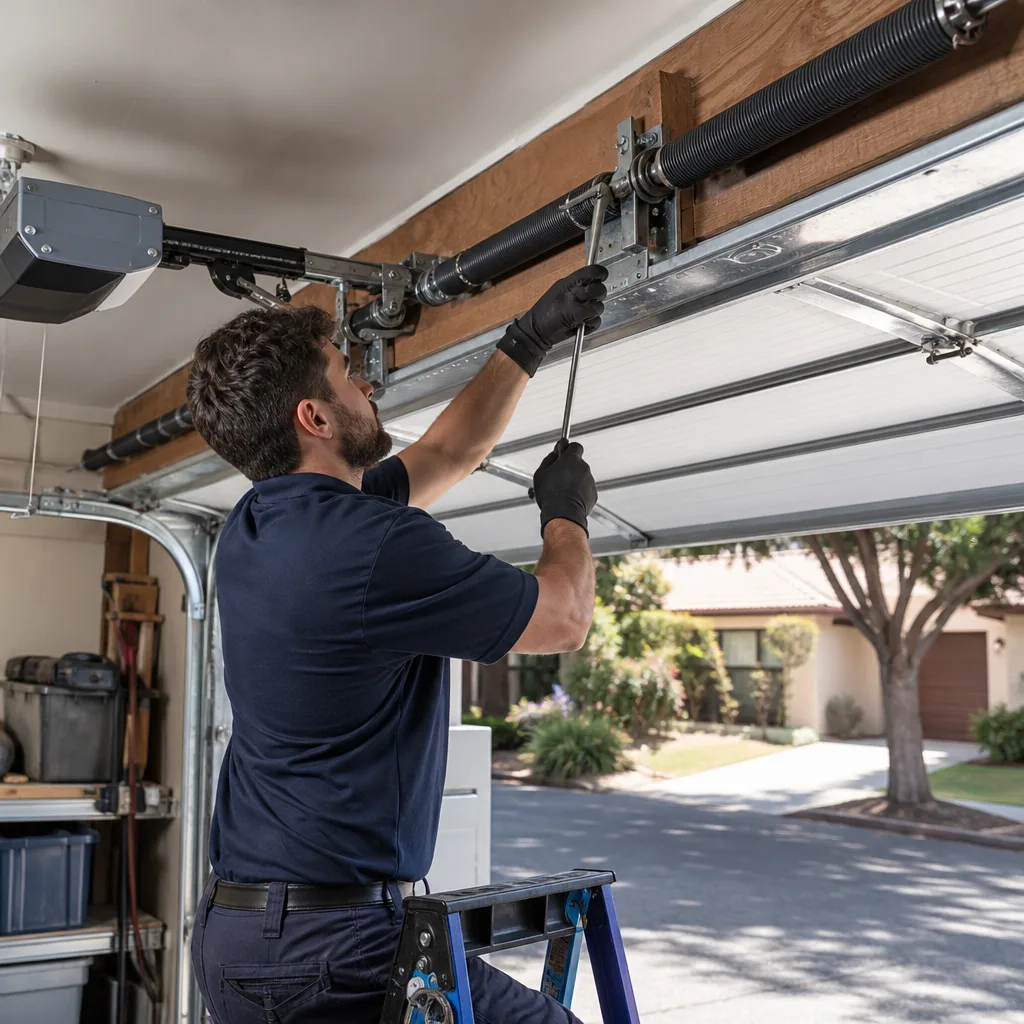 After
After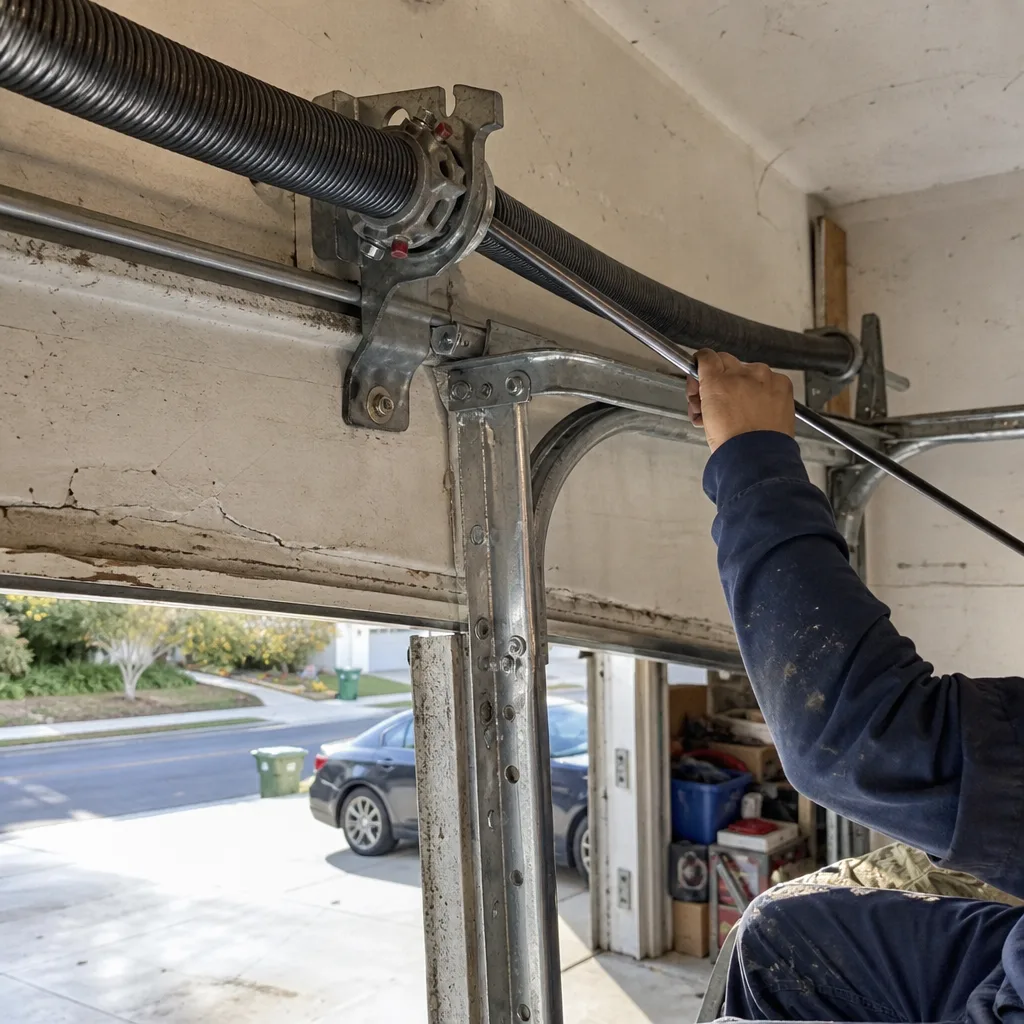 Before
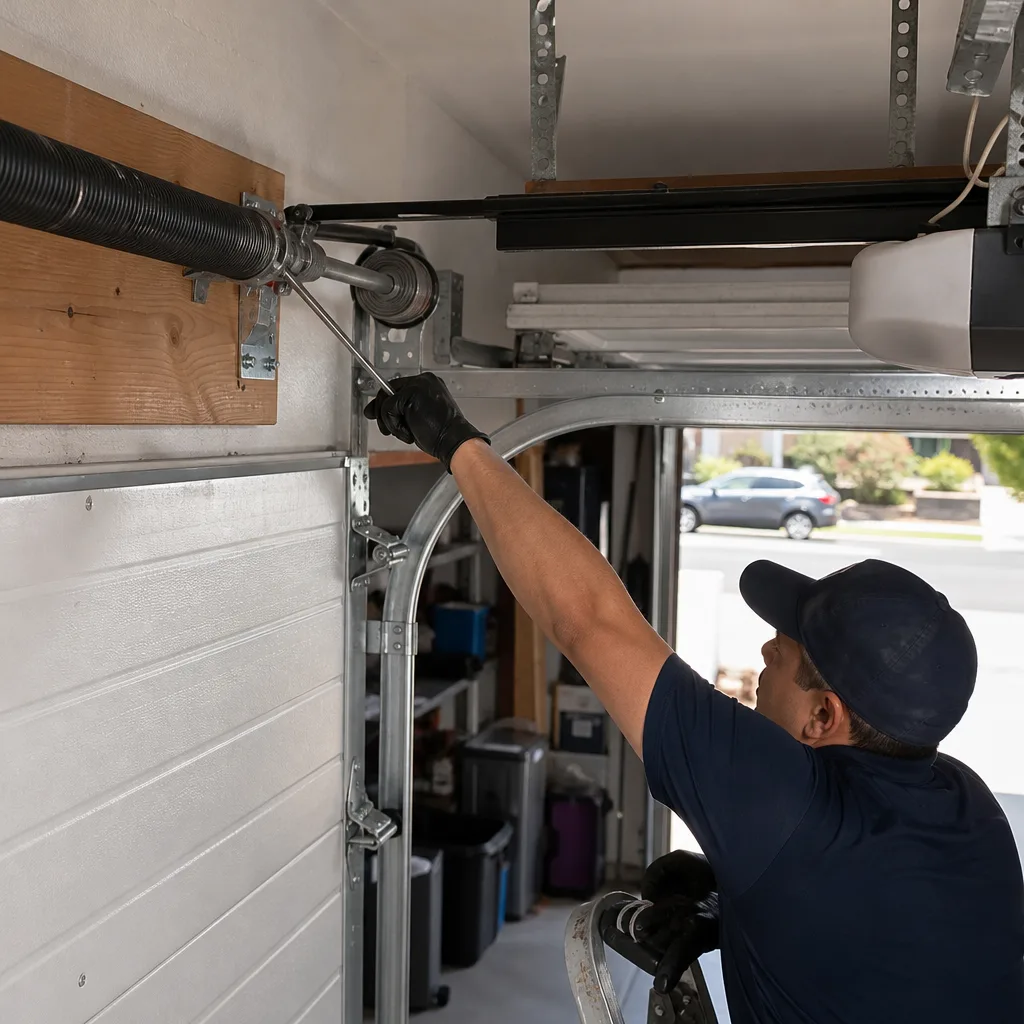 After
After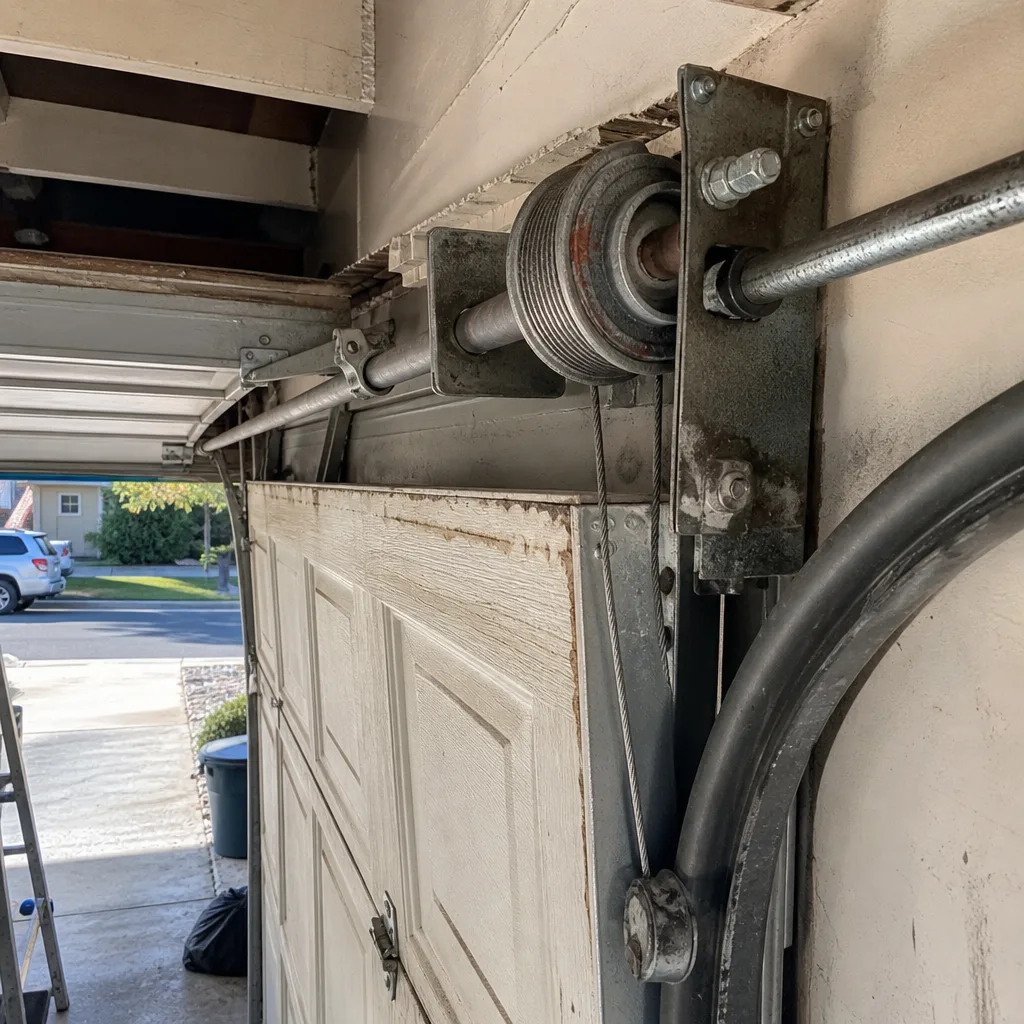 Before
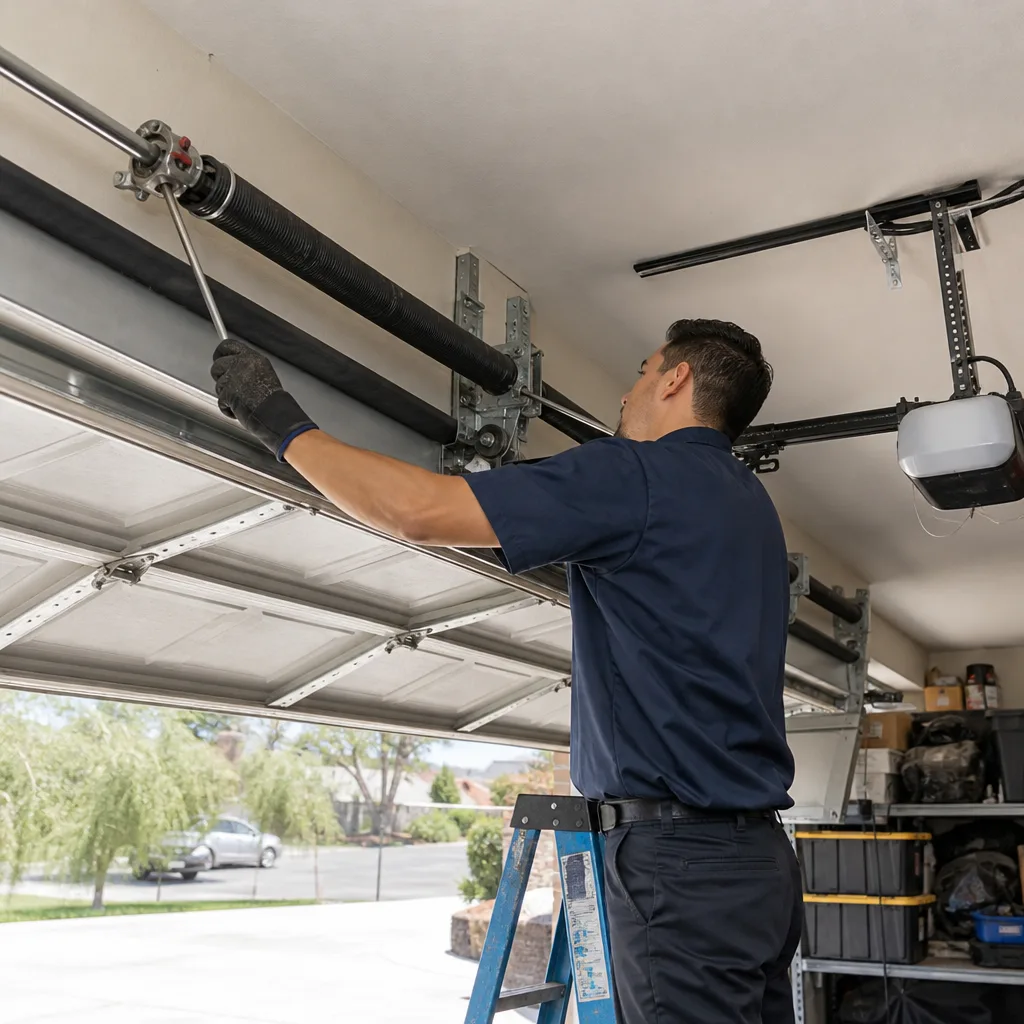 After
AfterGarage Door Opener Repair Troubleshooting: Common Problems and How to Fix Them
Sixty percent of “my opener stopped working” calls are resolved in under ten minutes because the problem is in the power supply or the remote, not the opener itself. The other forty percent need Garage Door Opener Repair, and knowing which category you’re in before you call saves everyone time. This guide walks through the diagnostic framework our technicians use in Los Angeles every day: power, signal, and mechanical load. By the end, you’ll know what to check, what the indicator lights mean, and when to pick up the phone.
Quick Answer
Garage door opener problems fall into three categories: power supply failures, signal/receiver issues, and mechanical load problems. For Garage Door Opener Repair Warning Signs Every Homeowner Should Know, read our detailed guide. Start by testing the wall button: if it works but the remote doesn’t, the issue is signal-related. If nothing works and you hear no motor sound, check the outlet, breaker, and GFCI. If the motor strains but can’t lift the door, the problem is mechanical load, and that’s a job for a professional.
Table of Contents
- The Three Categories: Power, Signal, and Mechanical
- Power Supply Checks: What to Test Before Calling Anyone
- Signal and Receiver Problems: Remote, Wall Button, and App
- Mechanical Load: When the Door Is Too Heavy for the Opener
- Reading Indicator Lights: Blink Codes for LiftMaster, Chamberlain, Genie, and Craftsman
- How to Disengage the Opener Safely When Your Car Is Inside
- Common Mistakes to Avoid
- When to Call a Professional
- Frequently Asked Questions
- The Bottom Line
The Three Categories: Power, Signal, and Mechanical
We’ve set foot in thousands of Los Angeles garages, from 1920s bungalows in Highland Park to 1990s tract homes in Porter Ranch. The symptoms vary, but the root cause almost always lands in one of three buckets. Here’s the framework:
- Power supply: The opener gets no electricity, or intermittent power. The motor makes no sound at all, or clicks without engaging. The wall button’s backlight may be dark.
- Signal/receiver: The opener has power and the motor runs when you use the wall button, but the remote or keypad won’t trigger it. Or the opener runs briefly, then stops without lifting the door.
- Mechanical load: The opener strains, grinds, or reverses mid-lift. The door may open six inches and stop, or the trolley moves but the door doesn’t follow. This is the category where the opener is often blamed for a problem that actually lives in the springs, rollers, or track.
Knowing which category your symptom falls into does two things. It lets you describe the problem accurately when you call a garage door repair service, and it protects you from paying for a new opener when the real issue is a ten-dollar capacitor or a failing spring. In our experience, homeowners in Los Angeles who can say “the wall button works but the remote doesn’t” get a faster, more accurate diagnosis than those who say “it’s broken.”
Power Supply Checks: What to Test Before Calling Anyone
Openers stop getting power more often than people expect. Los Angeles homes built before the 1980s often share the garage outlet with other circuits, and modern openers with battery backup add another layer of failure points. Run these checks in order:
- Confirm the opener is actually plugged in. This sounds obvious, but ceiling-mounted openers get unplugged by accident when people store bikes, ladders, or holiday decorations in the rafters. Look at the outlet itself, not just the cord near the motor.
- Check the breaker and GFCI. Most Los Angeles homes built after the mid-1970s have GFCI protection on the garage circuit. A tripped GFCI cuts power to the opener even if the breaker looks fine. Find the GFCI outlet, press the reset button until it clicks, and test the opener again.
- Test the outlet directly. Plug a lamp or phone charger into the same outlet. If it doesn’t work, the problem is upstream of the opener, and a new motor won’t fix it. If the outlet works, move to the opener’s own fuse or circuit board, which typically means calling a technician.
- Look at the wall button’s LED. If the wall button has a backlight and it’s dark while the outlet tests fine, the opener’s logic board is likely dead. That’s a repair or replacement decision, not a troubleshooting one.
- Battery backup openers: If you have a LiftMaster or Chamberlain with a battery backup module and the opener runs intermittently or beeps without lifting, the battery may have failed. These batteries typically last three to five years. A failing backup battery can drain the opener’s system even when plugged in, causing the exact symptoms of a power failure.
One Los Angeles-specific note: summer heat waves in the San Fernando Valley push older openers over the edge. Capacitors and solder joints that tolerate normal temperatures fail during hundred-degree afternoons. If your opener only fails during extreme heat, that’s a sign the capacitor is nearing end of life, not a problem with the outlet.
Signal and Receiver Problems: Remote, Wall Button, and App
When the motor runs from the wall button but not from your remote, the problem is in the signal chain: remote, receiver, or wiring. The three-input test is the fastest way to isolate it:
- Test the wall button. If it opens and closes the door consistently, the opener’s motor and logic board are functioning. The issue is downstream.
- Test a second remote or keypad. If you have two remotes and neither works, the opener’s receiver board is suspect. If one remote works and the other doesn’t, the remote’s battery or transmitter is the issue. Replace the remote battery first, then re-sync it according to the brand’s pairing procedure.
- Test the app. If the app opens the door but the remotes don’t, the receiver is likely fine and the remotes need attention. If the app and remotes both fail while the wall button works, the receiver board inside the opener has failed. That’s a component-level repair that most homeowners in Los Angeles outsource.
Wall button wiring deserves a closer look. These low-voltage wires run from the button to the opener’s terminals, usually through the wall and ceiling. A staple driven through the wire, a mouse chewing the insulation, or a loose screw terminal can make the wall button work intermittently while everything else tests fine. We see this in older Los Angeles homes where garage walls have been remodeled repeatedly and wires get pinched behind new drywall.
One brand-specific tip: Chamberlain and LiftMaster openers manufactured after 2011 use Security+ 2.0, which is not compatible with older remotes. If you buy a used remote at a garage sale in the Valley and it won’t sync, that’s usually why. Craftsman openers made before 2010 use a rolling code system that sometimes loses sync after a power outage. Re-pairing takes about two minutes and resolves the symptom without any parts.
Mechanical Load: When the Door Is Too Heavy for the Opener
This is where misdiagnosis gets expensive. A garage door opener is designed to lift a door that the springs have balanced. When the springs wear out, the door becomes heavy, and the opener strains against the extra weight. The homeowner hears grinding and assumes the opener is dying. The technician who replaces the opener without checking the springs sells a new motor that will fail again within a year because the underlying problem never changed.
How to tell the difference:
- Disengage the opener (pull the red emergency release cord) and lift the door manually. A properly balanced door should lift with one hand and stay open about waist-high on its own. If it feels heavy, slams shut, or won’t stay open, the springs are failing, not the opener.
- Watch the door during operation. If the opener lifts the door slowly, hesitates, or reverses partway up, the motor is fighting the door’s weight. A healthy opener on a balanced door moves smoothly at a consistent speed.
- Listen for the motor’s sound. A straining opener sounds like it’s working hard. A failing capacitor sounds like a click followed by nothing. A stripped gear sounds like grinding from inside the opener unit itself. Different sounds point to different repairs.
In Los Angeles, torsion springs last roughly seven to twelve years depending on climate and cycle count. Coastal areas with salt air in places like Playa del Rey and San Pedro can shorten that. Valley heat cycles stress the metal differently. If your door is more than eight years old and the opener has started straining, the smart money is on springs, not the motor. For a deeper look at spring-related problems, see our guide to Garage Door Cable Repair in Los Angeles.
Reading Indicator Lights: Blink Codes for LiftMaster, Chamberlain, Genie, and Craftsman
Modern openers diagnose themselves. The indicator light on the motor unit blinks in patterns that translate to specific faults. Here’s the plain-English translation for the four brands we service most in Los Angeles:
- LiftMaster (and most Chamberlain models): One blink means no issue with the safety sensors. Two blinks indicate misaligned safety sensors. Four blinks mean the safety sensors are shorted or blocked. Five blinks signal an overheating motor, often from excessive door weight on a hot Valley afternoon.
- Chamberlain models with the round LED: The same code structure as LiftMaster applies, since Chamberlain manufactures LiftMaster. The distinction matters for older units: pre-2011 Chamberlain openers used a different code set where two blinks meant a wiring short, not a sensor alignment issue. Check the sticker on the back of the motor for your unit’s specific chart.
- Genie: Red and green lights on the sensor tell you alignment status. The motor’s light blinks a long-short pattern for a sensor obstruction and a rapid blink for a fault in the control board. Genie’s older screw-drive models don’t blink at all, which means any diagnostic must come from manual testing.
- Craftsman: Most Craftsman openers made after 2005 use the Chamberlain code set, since Chamberlain built Craftsman’s openers during that period. Pre-2005 Craftsman units lack blink codes entirely. On those, the diagnostic path is the three-input test described above.
If the blink code points to safety sensors, the fix is usually simple: clean the sensor lenses, remove anything stored in the doorway that blocks the beam, and confirm both sensors are level and facing each other. But if the code indicates a logic board fault or motor failure, that’s a technician-level repair. A board replacement on a ten-year-old opener often costs more than the opener is worth, and a straight-talking technician will tell you that instead of selling you the repair. For Garage Door Permits, Codes & Inspections in CA: What You Need to Know, check local requirements before any major work.
How to Disengage the Opener Safely When Your Car Is Inside
When the opener fails with your car trapped in the garage, you can still get out. The red emergency release cord hangs from the trolley, which is the carriage that travels along the rail above the door. This cord disengages the door from the opener so you can lift the door by hand. Here’s the exact sequence:
- Confirm the door is fully closed. If the door is partway open and the spring system is compromised, releasing the opener can let the door fall. If the door is stuck open, do not pull the release. Call a professional before moving anything.
- Pull the red cord straight down and toward the garage interior. You’ll hear a click and the trolley will separate from the door arm. Some models require a firm tug.
- Lift the door by hand. A balanced door lifts smoothly and requires moderate effort. If the door feels heavy or won’t stay up, the springs have failed. Lower the door carefully and call for service. Do not leave a spring-failed door open, and do not attempt to force it.
- To re-engage the opener: run the opener with the door in the closed position. The trolley will travel forward and reconnect to the door arm automatically on most models. On others, pull the cord again toward the opener to reset the mechanism, then run the opener briefly so it clicks back into place.
A word of caution from a company that has seen this go wrong: the emergency release system works exactly once per cycle. If you release the door and then try to force it back onto the trolley by hand, you can damage the trolley, the door arm, or both. Follow the re-engagement procedure instead of improvising. If the door won’t re-engage, leave it alone and call a technician. For a full breakdown of how emergency release works with different brands, our Garage Door Opener Repair in Los Angeles page covers it.
Common Mistakes to Avoid
- Replacing the opener when the springs are the problem. An opener that strains against a heavy door will die again within a year. Check the door’s balance before spending money on a motor. We see this pattern repeatedly in Los Angeles, where homeowners pay for a new opener and then have the same symptom six months later.
- Ignoring the safety sensor alignment. A misaligned sensor makes the opener reverse or refuse to close, which gets read as an opener failure. The fix is usually two minutes with a screwdriver. Clean the lenses, confirm the small lights on the sensors are both lit, and try again.
- Stacking surge protectors on the garage outlet. Some surge protectors and power strips filter line voltage in ways that confuse modern opener logic boards. Plug the opener directly into the wall for testing. If it works, the problem was the intermediary device.
- Buying a universal remote without checking compatibility. Not every “universal” remote works with the rolling-code encryption on all brands. A remote that didn’t pair with your Chamberlain may not be defective. It may simply be incompatible. Check the packaging against your opener’s brand and year before returning it.
- Running the opener repeatedly while it’s failing. Grinding gears, stalled motors, and shorted boards get worse with each cycle. If the opener makes a sound you haven’t heard before, stop testing it and get it looked at. Ten extra cycles can turn a gear repair into a motor replacement.
When to Call a Professional
Some problems are worth fixing yourself. Most aren’t, especially when safety sensors, logic boards, or spring-loaded components are involved. Call a technician when the opener runs without lifting the door, when the blink code indicates a motor or board fault, when smoke or burning smell comes from the motor unit, or when the door won’t re-engage after an emergency release. These symptoms point to failures that can damage the door, the opener, or a person standing nearby. Brock Garage Door Repair offers free estimates throughout Los Angeles. Call (254) 602-5116, and a real person answers around the clock, including weekends and holidays.
Frequently Asked Questions
The receiver board inside the opener is the most likely culprit when the wall button works and all remotes fail. If only one remote fails, replace its battery and re-pair it to the opener. If the app works and remotes don’t, the remotes are the problem. In Los Angeles homes with older LiftMaster or Craftsman openers, a power surge often knocks out the receiver while leaving the logic board operational. Call (254) 602-5116 and describe the symptom: “wall button works, remote doesn’t” is enough for an accurate phone diagnosis.
Opener repairs in Los Angeles typically run $85 to $340 depending on the part. Gear and sprocket replacements run $110 to $190. Logic board replacement runs $160 to $280. Capacitor replacement runs $85 to $130. If the opener is over twelve years old, replacement often makes more sense than repair. Every job with Brock Garage Door Repair includes a written price before any work starts, so the number on the invoice matches the number you approved.
A click without motor movement usually means the capacitor has failed or the gear is stripped. Both are repairable, but the gear failure produces a grinding sound when the motor tries to run, while a capacitor failure is silent except for the click. Either repair runs under $190 in most Los Angeles cases. If the click happens only on hot days, the capacitor is on its way out and will fail completely soon.
Yes, and you should not wait for a technician to arrive before getting your car out. Pull the red emergency release cord to separate the door from the trolley, then lift the door by hand. If the door feels heavy or won’t stay up, the springs have failed and you should call a professional before operating the door further. A door with a failed spring can fall and cause serious injury.
Openers benefit from annual inspection of the drive mechanism, chain or belt tension, and safety sensor alignment. Los Angeles weather accelerates wear in two ways: Valley heat degrades capacitors and solder joints, while coastal humidity promotes corrosion on terminals and wiring. A yearly visual check catches failing components before they strand your car inside the garage. Most homeowners can do the visual inspection. The physical adjustments are better left to a trained technician because the torsion spring system is under high tension and dangerous to work on without proper training.
Most openers last ten to fifteen years in Los Angeles with proper maintenance. Belt-drive models from Chamberlain, LiftMaster, and Craftsman tend to outlast chain-drive units by two to three years because they generate less vibration. Raynor openers are less common in Los Angeles but comparable in lifespan. If your opener is over twelve years old and needs a logic board or motor repair, replacement is usually the better financial decision. We’ll tell you straight when repair doesn’t make sense, because the 365-Day Done Right Promise means we stand behind every recommendation we make.
The Bottom Line
Garage door opener problems aren’t mysterious. They come from power, signal, or mechanical causes, and the diagnostic steps in this guide identify which one you’re dealing with in under ten minutes. Power problems live at the outlet, breaker, or GFCI. Signal problems live in the remote, receiver, or wall wiring. Mechanical problems live in the springs, rollers, and track, not the motor itself. Run the checks, read the blink codes, and if the fix is beyond a battery swap or sensor alignment, call Garage Door Repair in Los Angeles. We answer live around the clock at (254) 602-5116, hand over the price in writing before turning the first bolt, and back every repair with a full-year guarantee. No pricing games, no no-shows, no guesswork.
Written by Wade Mercer, Owner at Brock Garage Door Repair, serving Los Angeles since 2001.