
Last updated October 9, 2026
Full 25-point door and opener safety check with every visit - springs, cables, rollers, tracks, and your LiftMaster or Chamberlain opener included
You get a price before we start. It does not change when the truck arrives.
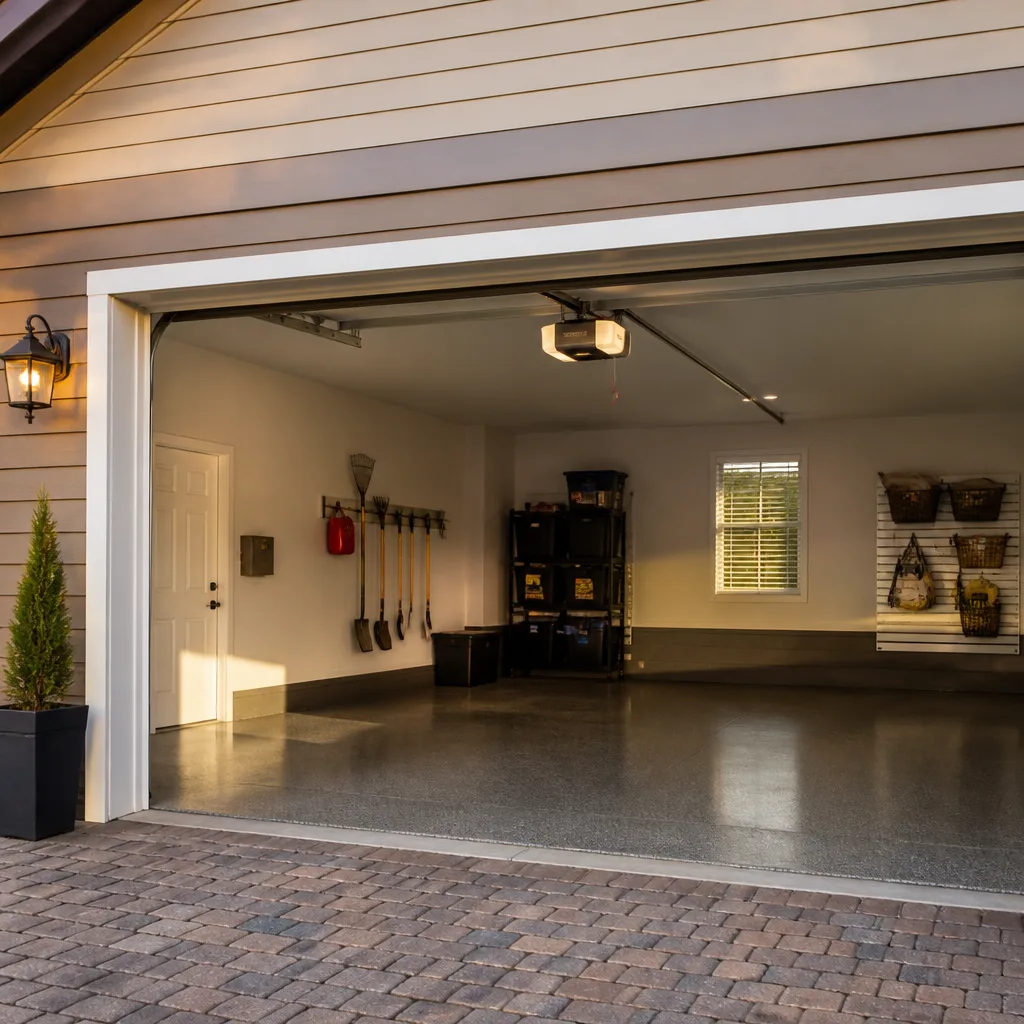
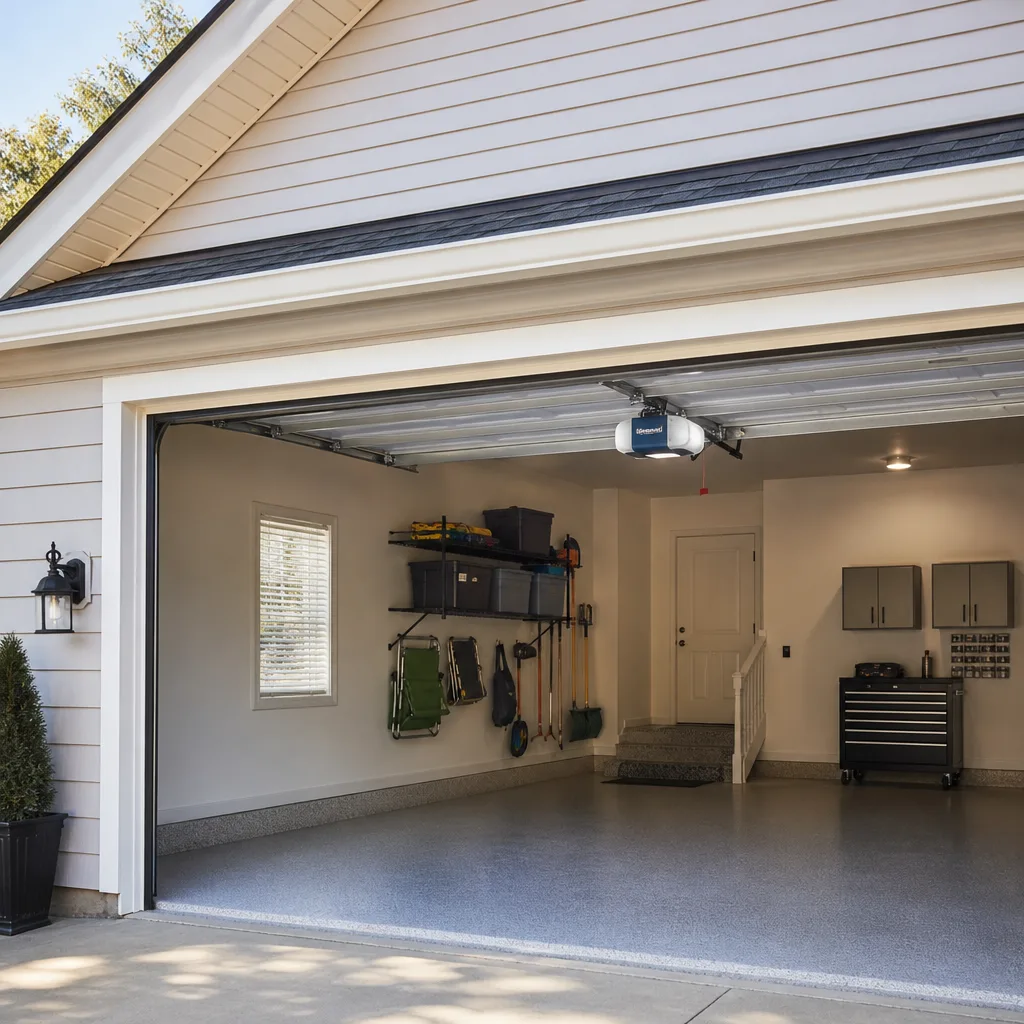
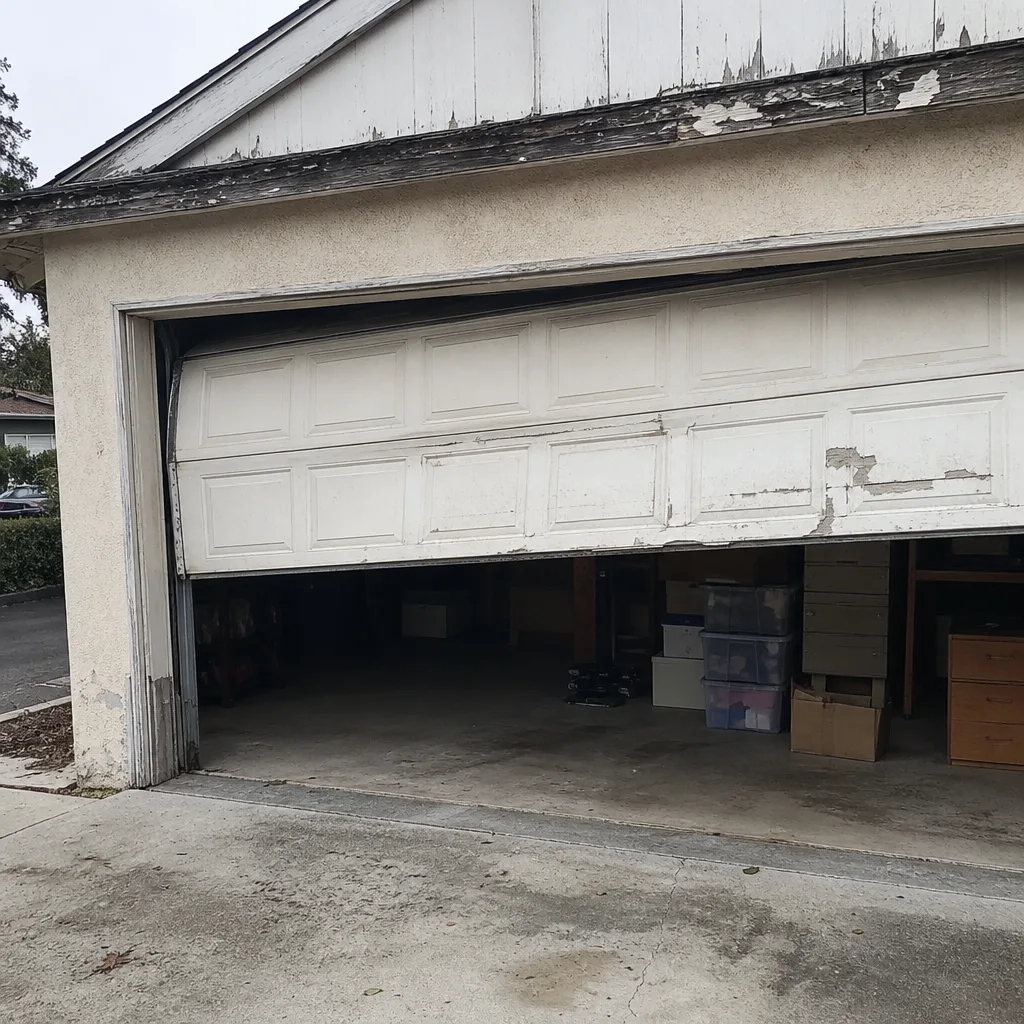 Before
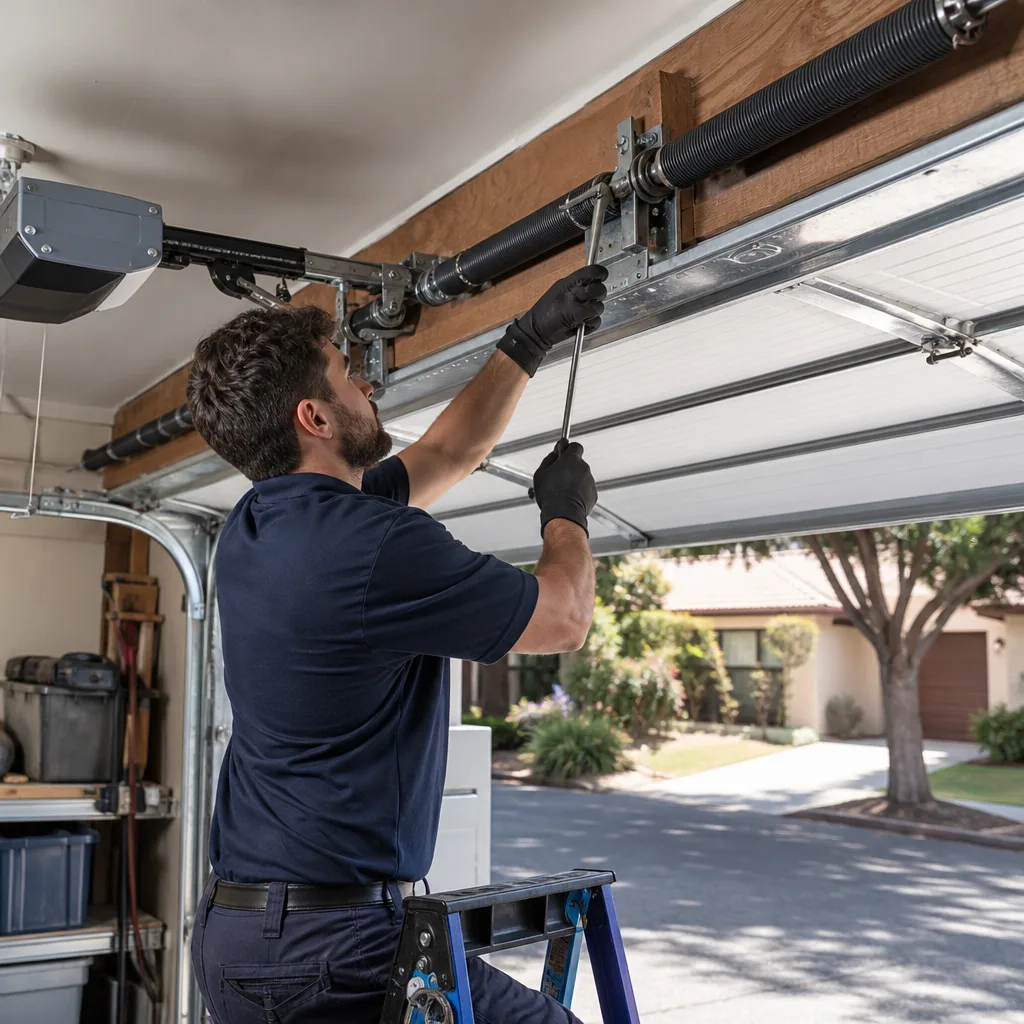 After
After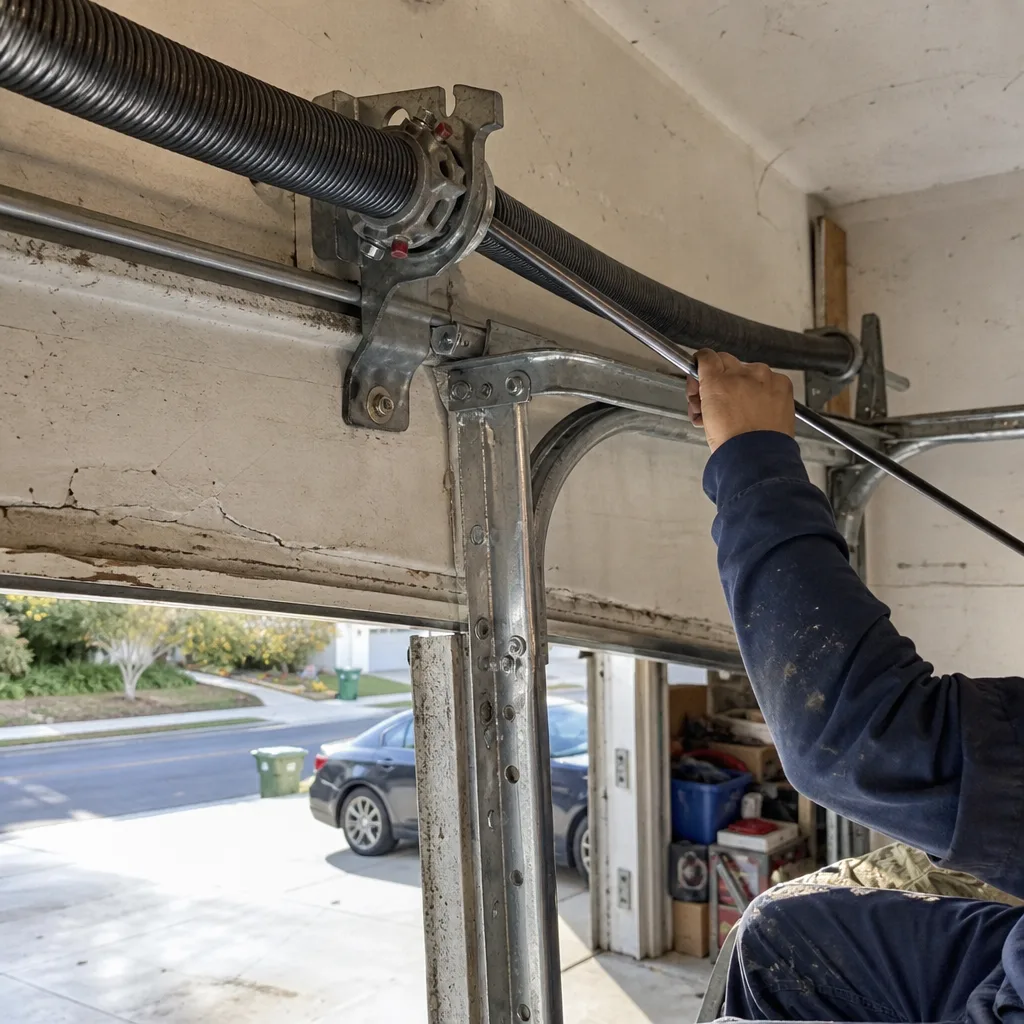 Before
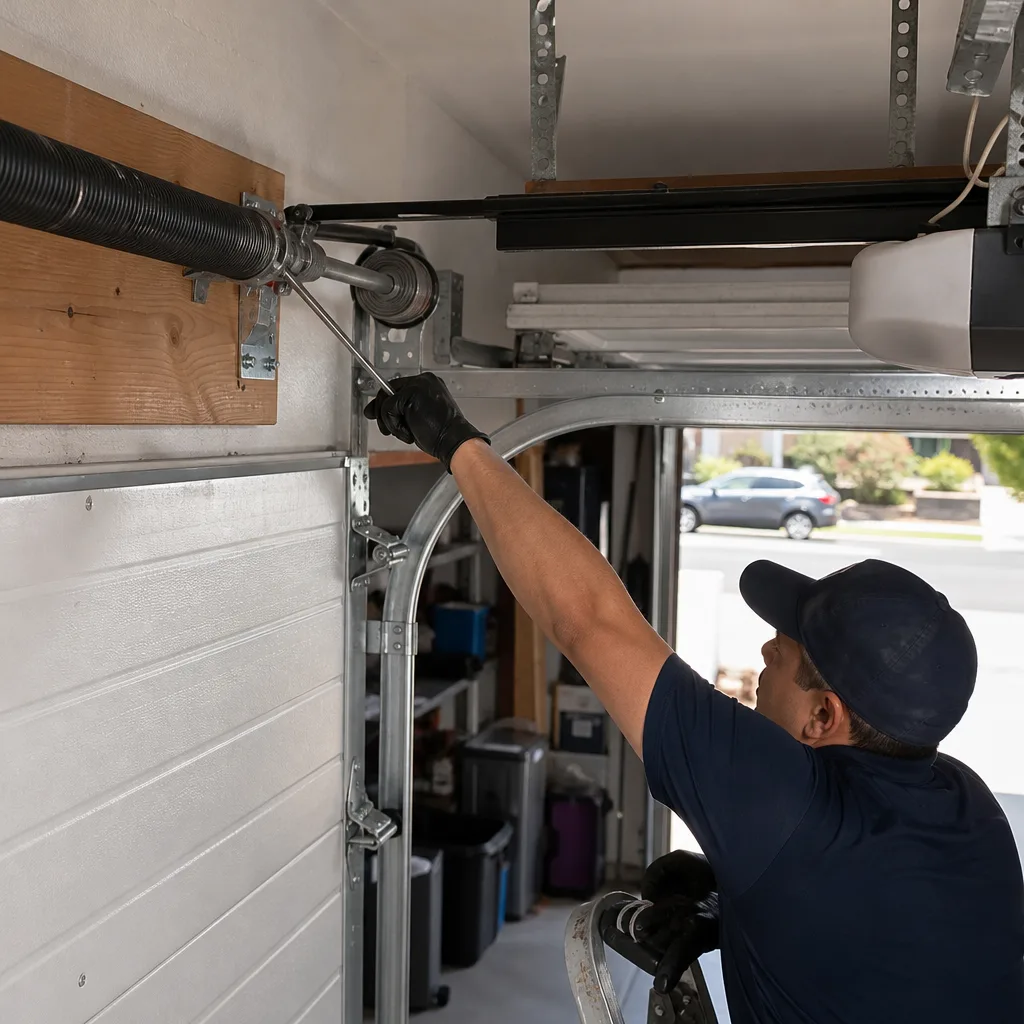 After
After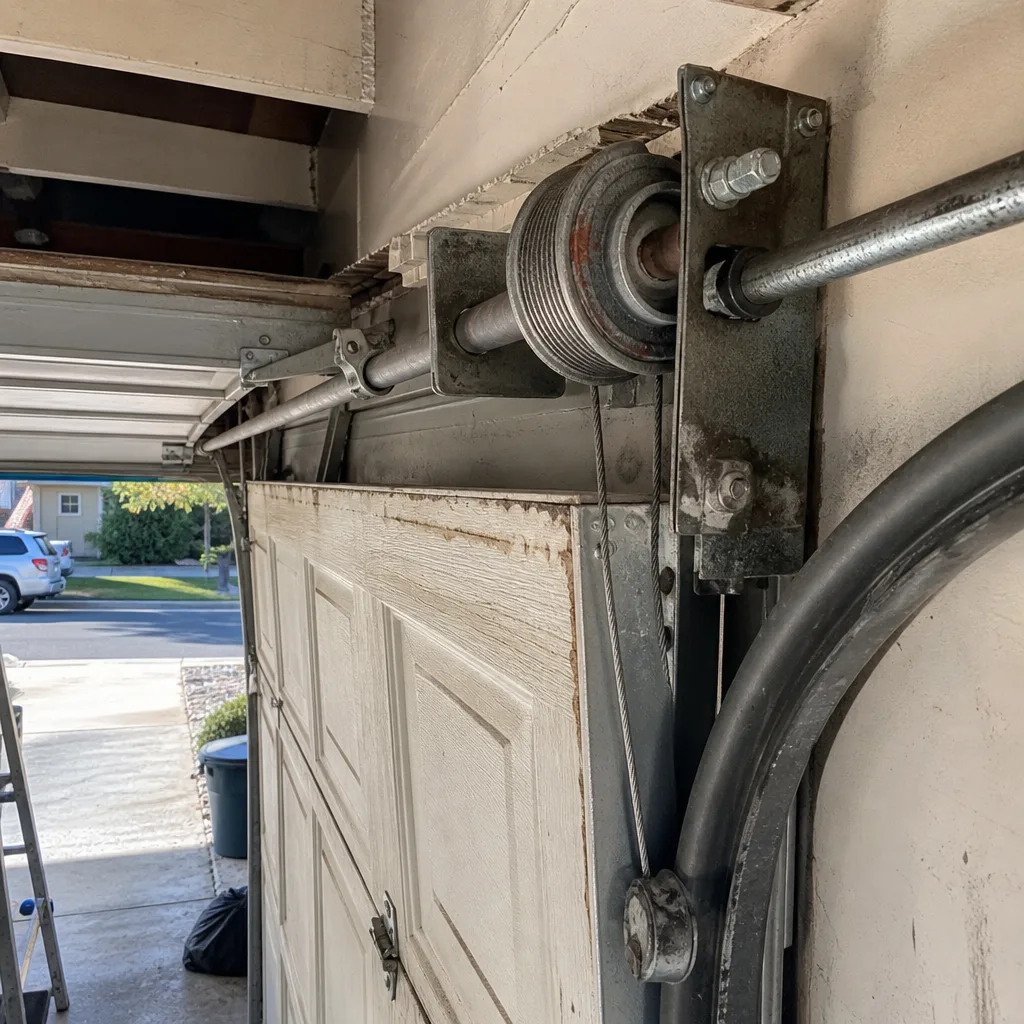 Before
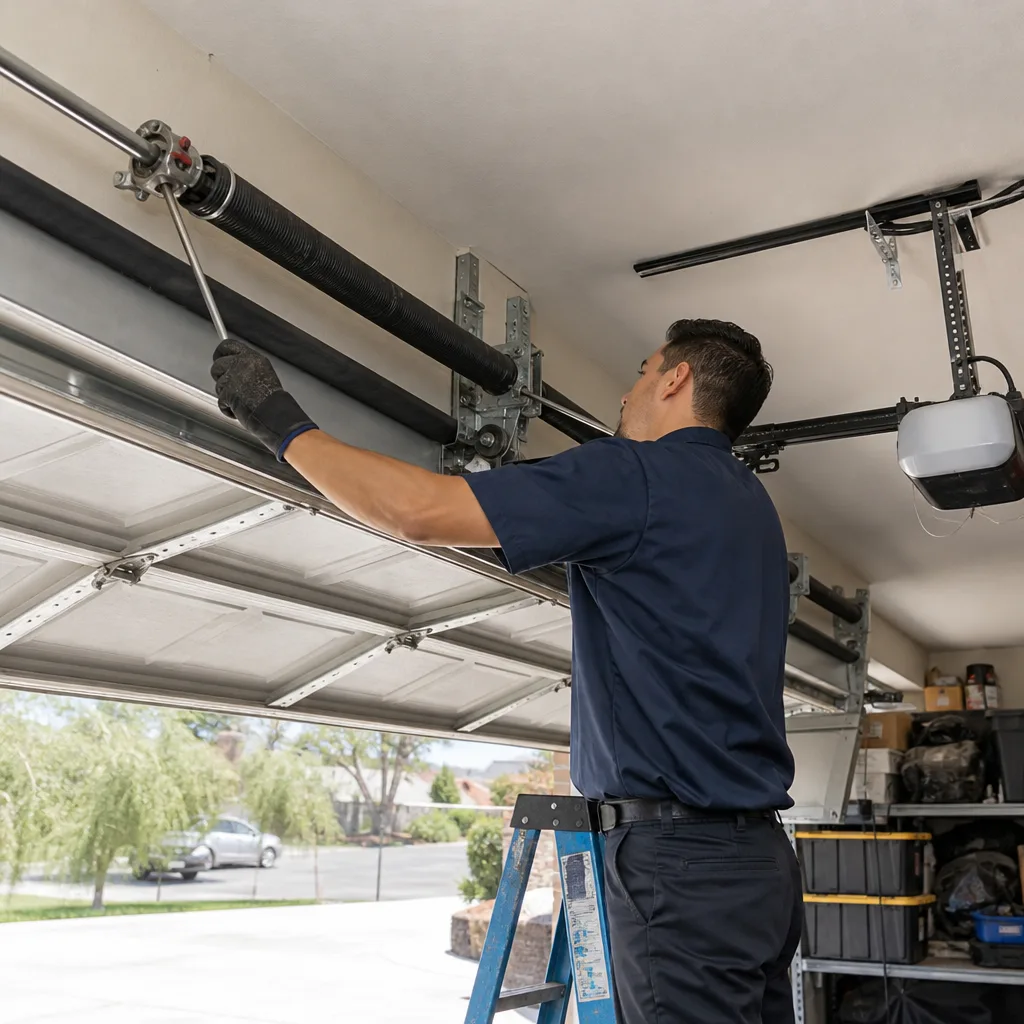 After
AfterGarage Door Repair Maintenance Checklist for Los Angeles Homeowners
The standard advice is “lubricate your springs twice a year.” In coastal Los Angeles, salt-laden air can corrode torsion spring coils in 18 months flat, and the relentless UV exposure breaks down weatherstripping at roughly double the rate seen in inland climates. This guide is built around what Los Angeles actually does to a garage door: sun, marine layer moisture, Santa Ana winds, and the occasional seismic shift that loosens hardware no national checklist ever mentions. By the end, you’ll know exactly what to inspect, when to inspect it, what products to use, and which failures signal a call to our Garage Door Repair services before the door fails on a car, a child, or you.
Quick Answer
A garage door maintenance checklist for Los Angeles homeowners should be organized by failure mode, not calendar month. Inspect torsion springs and cables monthly during coastal marine-layer season, check rollers and hinges every three months, replace UV-degraded weatherstripping before Santa Ana season, run a four-point post-earthquake check after any tremor above 3.5, and use a silicone-based lubricant instead of white lithium grease, which thins and drips in LA’s heat. For more guides & resources, print this checklist, tape it inside the garage door track, and run it in under fifteen minutes.
Table of Contents
- What Los Angeles Specifically Does to a Garage Door
- Torsion Spring and Extension Spring Inspection
- Cable and Drum Wear: The Hidden Failure Point
- UV Degradation: Weatherstripping and Threshold Seals
- Salt-Air Hardware Check for Coastal LA Homes
- Post-Earthquake Quick-Check: Four Components
- Lubrication Product Selection for LA’s Climate
- Santa Ana Wind Season: Seals and Debris Protocol
- Common Mistakes to Avoid
- When to Call a Professional
- Frequently Asked Questions
What Los Angeles Specifically Does to a Garage Door
We’ve repaired enough doors across Los Angeles to know the failure map by neighborhood. A steel door in Sherman Oaks ages differently than an Amarr wood-composite door in Brentwood than a Wayne Dalton steel door in San Pedro. The common denominator is that Los Angeles attacks garage doors through four distinct mechanisms that national maintenance guides simply miss.
First, UV radiation. Los Angeles averages 284 sunny days per year, and the sun does not just fade paint. It breaks down the polymer chains in rubber weatherstripping, vinyl trim, and nylon rollers. A seal that would last five years in Portland lasts two and a half in Encino. Second, the marine layer. Homes within five miles of the coast get a nightly salt-and-moisture cycle that accelerates corrosion on springs, cables, hinges, and fasteners. Third, Santa Ana winds. Those hot, dry gusts push fine dust and grit into tracks, rollers, and bearing plates, creating an abrasive paste that wears moving parts prematurely. Fourth, seismic micro-shifts. Even tremors you barely feel can move a track out of alignment by an eighth of an inch, and an eighth of an inch at the track means a quarter inch at the top panel, which means the door binds, the opener strains, and something fails early.
This checklist is organized around those four failure modes. Inspect by what breaks, not by what month it is.
Torsion Spring and Extension Spring Inspection
Most Los Angeles garage doors use a torsion spring: the thick coiled spring mounted horizontally above the door that bears most of the lifting load. Some older or lighter doors use two extension springs that stretch along the horizontal tracks. Both types fail. When a torsion spring snaps, the sound is a gunshot. When an extension spring breaks, the door drops or hangs crooked. Neither is predictable by age alone, but both are predictable by inspection.
What to look for, monthly
- Rust on the coils. Surface rust on a torsion spring is the first visible sign of weakening. In coastal Los Angeles, salt in the air speeds this up measurably. If you see orange bloom on more than 20% of the coil surface, plan a replacement rather than waiting for the snap.
- Gaps in the coil. A torsion spring under tension should show even, consistent spacing between coils. A visible gap means the spring has begun to deform, which means it has already lost part of its rated cycle life.
- Uneven lifting. Disconnect the opener and lift the door manually halfway. It should hold position. If it creeps down, the springs are losing tension. If it creeps up, someone over-wound them. Both conditions put strain on the opener.
- Extension spring safety cables. If you have extension springs, a steel safety cable should run through the center of each spring and anchor to the track brackets. If that cable is missing or frayed, the spring becomes a missile when it breaks. This is a same-week fix.
Safety note: Torsion springs operate under 100 to 200 pounds of torque. Never attempt to remove, adjust, or replace a torsion spring yourself. The inspection above is visual only. If you find rust, gaps, or sag, call a professional. The kinetic energy released by a failing spring has broken bones and worse in Los Angeles garages every year.
Spring replacement in Los Angeles typically runs $180 to $340 per spring, depending on wire gauge, spring diameter, and cycle rating. A professional replacement includes the spring, installation, and in our case, a written 365-day guarantee. That guarantee matters here, because the spring is the single most likely component to fail.
Cable and Drum Wear: The Hidden Failure Point
Cables are the most under-inspected component on any Los Angeles garage door. The torsion spring does the heavy lifting, but the cables transfer that force from the drums at each end of the spring shaft down to the bottom brackets that actually pull the door. When a cable frays, it does not snap immediately. It unwinds strand by strand, and most homeowners do not see it until the door hangs at a 15-degree angle and one corner is jammed in the track.
Monthly cable checklist
- Look for fraying. Run your eyes along the full length of both cables with the door closed. You are looking for individual wire strands that have broken loose from the main cable. A frayed cable is a failing cable.
- Check the cable drums. The drum is the grooved spool at the top of the torsion shaft where the cable winds. The cable should sit in the groove, not cross itself, not climb the drum flange.
- Inspect the bottom brackets. The cable attaches to a steel bracket at the bottom corner of each door section. Look for cracked welds, loose bolts, or rust at the attachment point. This is the most common cable failure point on Raynor and Craftsmans doors we service.
- Confirm equal tension. With the door closed, both cables should feel firm. If one cable has visible slack and the other is taut, the door is off-balance and the drum may have slipped.
Most cable repairs in Los Angeles run $150 to $275, depending on cable type and drum condition. If the cable snapped while the door was mid-travel, the door likely came down hard, and we usually find bent track sections or a cracked panel in the same visit. We see it often on doors near the coast, where salt corrosion attacks the cable-to-drum contact point first.
For more detail on cable failure patterns, see our page on Garage Door Cable Repair in Los Angeles.
UV Degradation: Weatherstripping and Threshold Seals
Los Angeles sun has a measurable effect on every rubber and vinyl component of a garage door. The bottom seal, the vinyl trim around the opening, the gasket between door sections. All of them degrade faster here than in any climate a national maintenance guide assumes. This is not cosmetic.
When the bottom seal cracks and flattens, you lose the barrier that keeps water, leaves, dust, and rodents out of the garage. In Los Angeles, that means Santa Ana grit blowing under the door, water seeping in during winter rain, and in hillside neighborhoods like Mount Washington or Baldwin Hills, the occasional snake or rat finding a new home. The fix is simple and inexpensive.
What to check
- The bottom seal (astragal). Close the door and look at the bottom edge from inside. If daylight shows through, the seal is gone. If the rubber feels hard, cracked, or leaves a black residue when you run a finger across it, it has lost its flexibility and is no longer sealing.
- Side and top weatherstripping. The vinyl trim around the sides and top of the opening should press firmly against the closed door. UV exposure makes it brittle, and brittle vinyl cracks at the fastener points and pulls away.
- Section-to-section seals. On sectional doors, a thin gasket or tongue-and-groove joint runs between each panel. The top panels take the most sun. If you see daylight through any joint, replace the seal before Santa Ana season.
Bottom seal replacement runs $75 to $150 on most doors. Full perimeter weatherstripping replacement runs $150 to $300. These are the cheapest components on the door and among the most important for keeping the garage clean, dry, and less attractive to pests. We recommend checking them every time you run this checklist.
Salt-Air Hardware Check for Coastal LA Homes
If you live within five miles of the coastline, from Pacific Palisades down through Redondo Beach and San Pedro, the air is doing something to your garage door hardware that a Pasadena homeowner never sees. The marine layer deposits a fine saline film on exposed steel. Combined with moisture, that film becomes an electrolyte, and galvanic corrosion starts anywhere two different metals meet: steel bolts in aluminum brackets, zinc-plated hinges on steel track, steel cable on cast-iron drums.
Salt-air inspection protocol, run quarterly
- Inspect every hinge. Open the door fully and look at the 18 to 24 hinges between sections. Coastal homes show rust bloom at the hinge pins first. Surface rust on the hinge body is cosmetic. Rust at the pin means the bearing is eating itself.
- Check all fasteners. Look at the bolts holding the track brackets to the wall and the lag screws into the door frame. Salt corrosion attacks the threads first. If you see white powder or rust staining around any bolt head, the fastener is compromised.
- Examine the spring anchor bracket. The center bearing plate and the spring anchor bracket are the most corrosion-prone components on a coastal door. If either shows heavy rust, have a professional assess it before the spring is replaced or the door is cycled again.
- Test the rollers. Steel rollers on steel track corrode fastest in salt air. Listen for grinding or squeaking when the door moves. Nylon rollers with sealed bearings hold up better in coastal conditions, and if you replace steel rollers, that is the upgrade to choose.
For coastal homes, plan on a hardware inspection twice as often as an inland homeowner, and expect springs and cables to have a useful life roughly 30% shorter than the manufacturer’s rating. That is not a defect. It is the environment. Plan the replacement budget accordingly, and do not be surprised when a spring rated for 10,000 cycles fails after 7,000 in a Santa Monica garage. We replace spr